Peel-and-stick wallpapers have quickly become a game-changer for renters and DIY enthusiasts. Unlike traditional wallpaper, they don’t require messy glue or complex tools. You simply peel off the backing and stick it right onto your wall—easy as pie! This simplicity means you can refresh a room without stressing about permanent changes, making it ideal for those who love to switch up their style frequently.
Anyone who’s ever wrestled with scraping old wallpaper knows the struggle: torn paper, stubborn glue, and hours lost. “Removing traditional wallpaper is like unwrapping a stubborn gift that doesn’t want to be unwrapped,” an interior designer jokes. Peel-and-stick takes all that hassle away. With minimal fuss, even beginners can transform their space quickly and confidently, turning walls from drab to fab with just a few tools and a little patience.
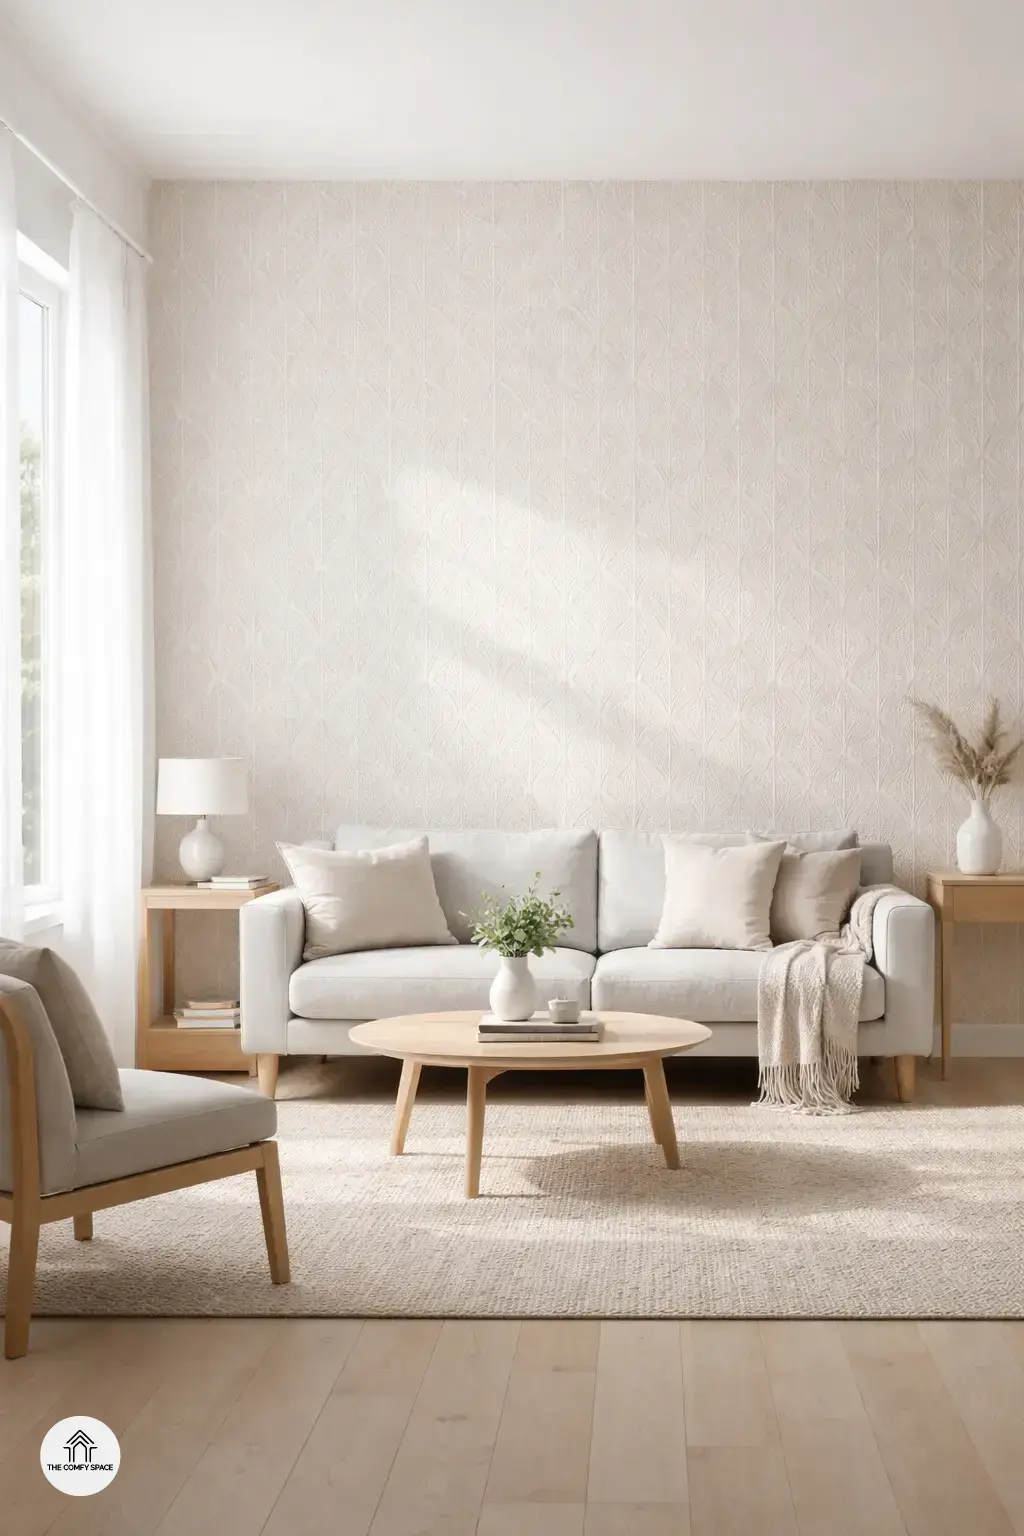
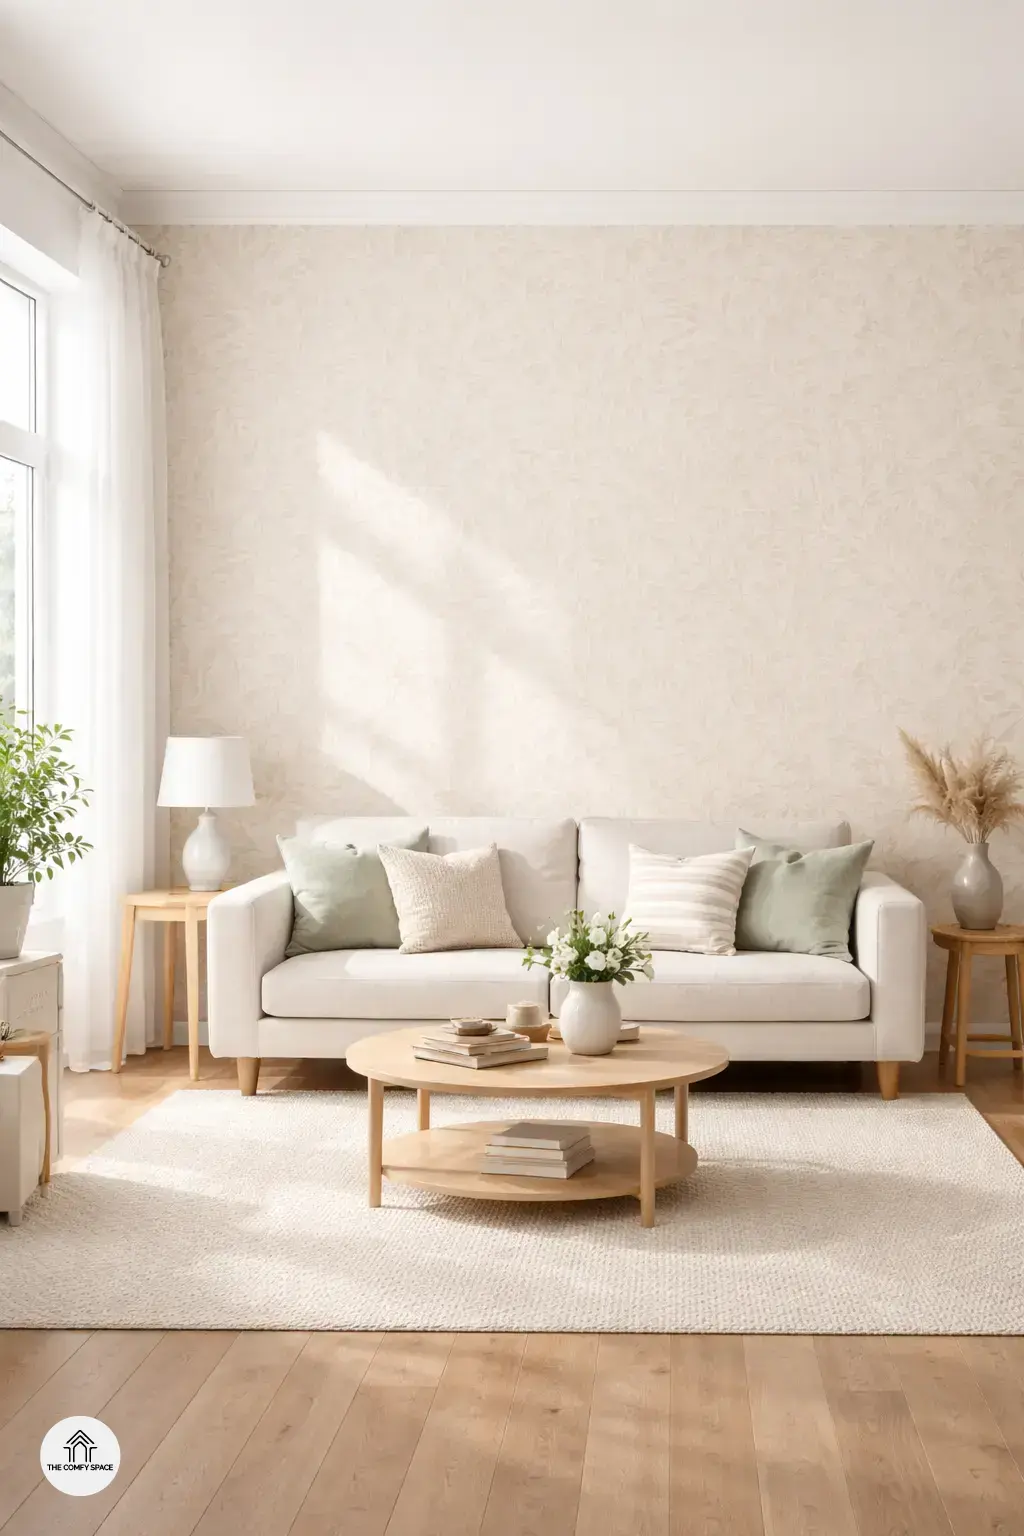
Top Stylish Peel-and-Stick Wallpaper Patterns
When it comes to choosing stylish peel-and-stick wallpaper patterns, trendy options like geometric shapes, florals, and faux textures are all the rage. Geometric patterns add a modern and edgy vibe, while florals bring a touch of nature inside—think fresh and inviting. Faux textures, such as brick and wood, can transform any dull wall into a statement piece instantly. “Picking a pattern that resonates with your personal style will make your accent wall a true conversation starter,” a home decor expert advises.
- Consider your current furniture and color palette before picking a pattern to keep the room cohesive.
- Avoid overly busy patterns if your space is already colorful—less can be more!
- Test a small swatch on your wall first to see how lighting affects the design.
Choosing wisely helps you dodge common mistakes like clashing patterns or overwhelming your room, a mistake many DIYers learn from after too many trips to Home Depot and paint store debates.
How to Prep Your Wall for Peel-and-Stick Wallpaper
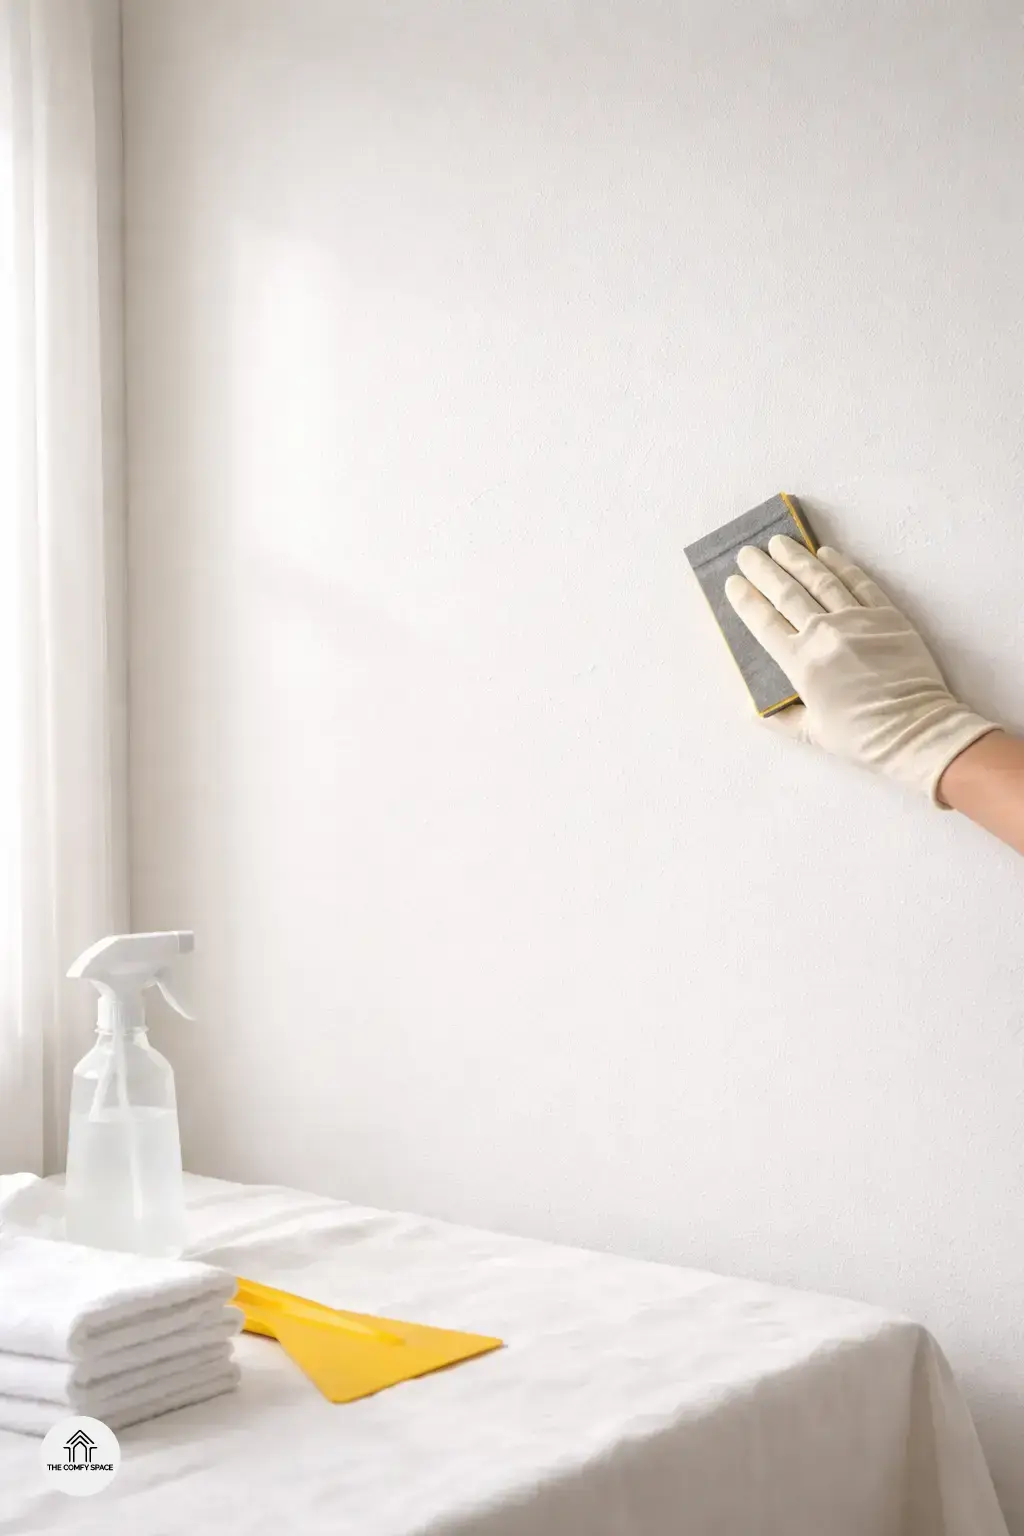
Before diving into the fun part of sticking your peel-and-stick wallpaper, prepping the wall is a game-changer. Cleaning and smoothing your wall surface is the first step. Trust me, I’ve had those ‘oops’ moments where dust or bumps showed through, turning my masterpiece into a mess. Give your wall a good wipe-down with a damp cloth and fix any rough spots. “A clean surface ensures the wallpaper sticks properly,” interior designer Amy Wells advises.
Don’t rush fixing those little wall imperfections! Simple fixes like spackling tiny holes or sanding rough patches can make a big difference. Also, proper lighting helps you spot trouble spots before application, and measuring your space accurately prevents those ugly gaps. I learned this the hard way at a local home store—always double-check measurements and lighting first!
Applying Peel-and-Stick Wallpaper Like a Pro
Applying peel-and-stick wallpaper can feel like tackling a giant puzzle, but with the right approach, it’s a fun and rewarding DIY project. Start by carefully measuring and cutting your wallpaper, then use a step-by-step guide to line up the pattern perfectly—precision is key! A smoothing squeegee works wonders to remove air bubbles, and a sharp utility knife helps with clean edges. Think of it as prepping for a mini art installation in your own home.
Many first-timers get tripped up by bubbles or wrinkles. Don’t panic—this happens to the best of us. “If a bubble sneaks in, gently lift the wallpaper and reapply while smoothing out the air,” a design expert advises. Having a clean, dust-free wall is another lifesaver in avoiding these hiccups. Just remember, patience and a steady hand transform your old wall into a stylish statement piece!
Maintaining and Removing Peel-and-Stick Wallpaper
Maintaining your peel-and-stick wallpaper accent wall is easier than you might think, but there are a few tricks to keep in mind. Cleaning it gently with a soft, damp cloth is your best bet to avoid any damage. Avoid harsh chemicals—those can be wallpaper nightmares! If you’re like me, you’ve probably wondered if scrubbing a stubborn stain would ruin the whole vibe. Spoiler: it can. As interior designer Jane Doe wisely puts it,
“Treat your wallpaper like your favorite sweater—gentle care keeps it looking great.”
Removing the wallpaper is just as simple, thanks to the peel-away design that usually leaves no sticky residue behind—hallelujah for easy changes! However, during my first try, I made the rookie mistake of peeling too fast and pulled off some paint—not fun. My tip? Go slow, steady, and if you feel resistance, warm the wallpaper slightly with a hairdryer. That little extra patience saves you headaches and extra wall repairs.