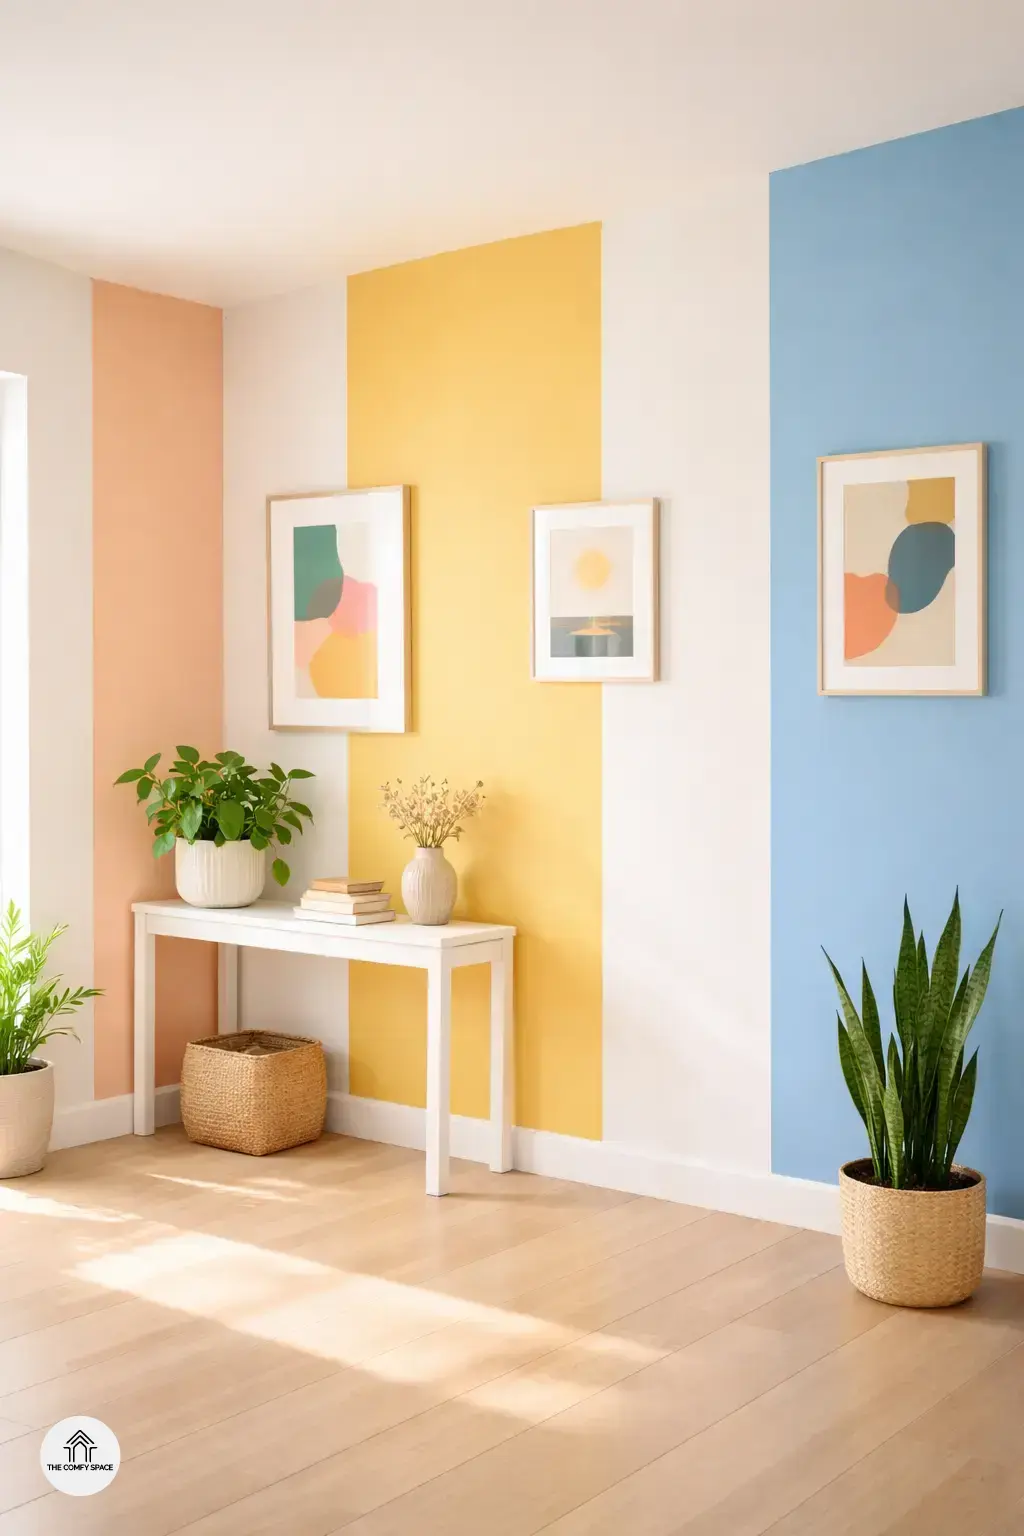
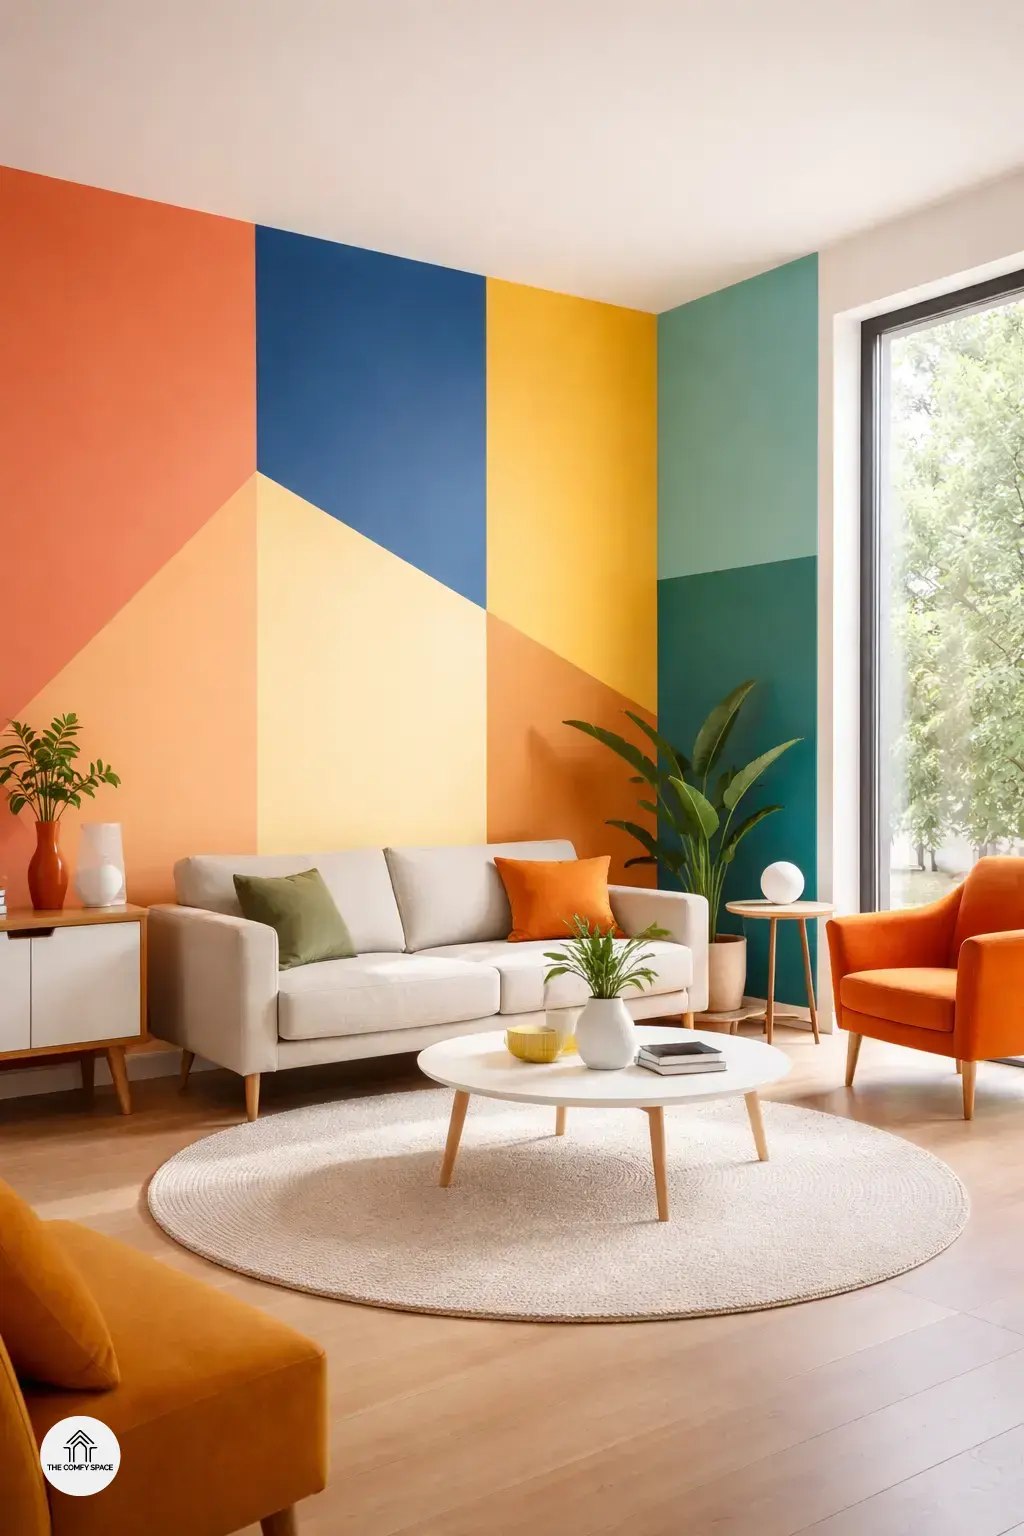
Color blocking walls might sound fancy, but it’s really just a playful way to jazz up your space using bold chunks of color. Basically, you pick a few colors that vibe well together and paint distinct sections on your walls. “Think of it as art you live in,” color expert Jamie Lee says. It’s a game changer because it turns a plain room into something lively and unique without needing expensive decor or major renovations.
The magic of color blocking isn’t just in looks. Using multiple shades in one room can boost your mood, make spaces feel bigger or cozier, and even showcase your personality. Maybe you’re bright and energetic, or maybe you like calm and soothing vibes — color blocking helps you shout this from the walls! I remember my first attempt wasn’t perfect – too much blue or too little tape! But hey, it’s all part of the fun and learning curve when you shop around for paints at your local hardware store and try new combos.
Choosing the Right Colors for Your Space
Choosing colors for your color blocking walls can feel like trying to pick the perfect outfit for a big night out—exciting but a tad overwhelming! Start by thinking about your existing decor. If your furniture and accessories lean neutral, bold colors can really pop and bring fresh energy. On the flip side, if you’ve got lots of vibrant pieces, neutrals create a nice balance and keep the room from feeling too crazy. “The goal is harmony, not a color battle,” interior designer Jane Doe says.
Here are some tips to keep you on track and away from color chaos:
- Start with paint swatches at home; light changes everything!
- Don’t be afraid to mix warm and cool tones for contrast.
- Avoid clashing brights—test small patches first.
- Remember, sometimes less is more; white space is your friend.
Remember my first attempt? I went full neon pink and quickly learned that less flashy really feels more comfy. Take your time experimenting—it’s all part of the colorful journey.
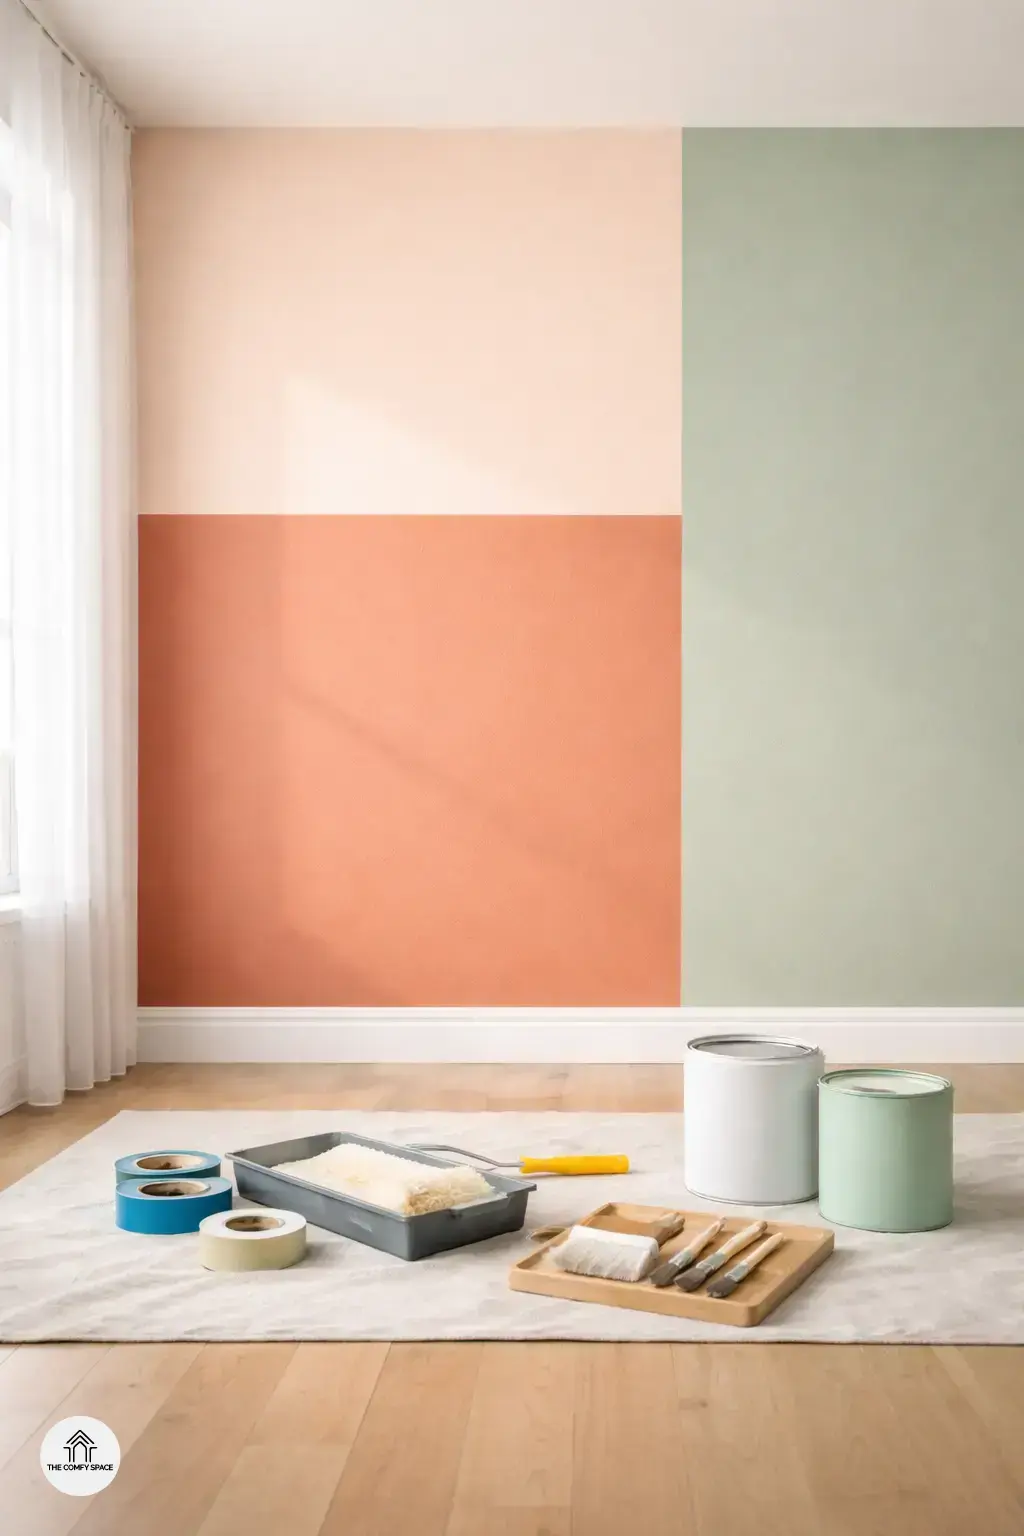
Tools and Materials You’ll Need
Diving into color blocking on your walls? First, let’s talk tools and materials—because trust me, skipping this step can lead to some pretty messy moments. Essentials like painter’s tape, good-quality brushes, and rollers are your best friends. I learned the hard way that cheap tape can leave ugly residue or worse, let paint bleed under. As interior designer Jamie Reynolds says,
“Good prep and the right tools are half the battle won.”
When selecting paint, opt for ones that dry smoothly to help those crisp edges really pop. Matte or eggshell finish often works best for color blocking since it reduces glare, making clean lines stand out. And don’t forget prepping your walls! A quick wash and a bit of sanding can save you headaches later. I once rushed this, and the uneven surface showed every brush stroke. Take your time here, and your walls will thank you.
Step-by-Step Color Blocking Painting Process
Color blocking walls is all about precision and patience. First things first: measuring and marking your wall before painting is a game-changer. Grab a measuring tape, a pencil, and a level to make sure your lines are straight and your blocks are perfectly sized. Trust me, no one wants crooked color zones—it’s like wearing stripes that don’t match. A good pro tip from an experienced decorator: “Taking the time to plan your sections saves hours of headaches later,” Sarah from ColorCraft Design says.
Next up, painter’s tape is your best friend but also your biggest challenge. Applying it cleanly means pressing down hard on edges—no half-hearted stickies allowed! Painting edges without bleeding can be tricky; the secret is to paint the tape’s edge first with the base color to seal it, then apply your bold colors. Mess-ups? Don’t sweat it. Keep a small artist’s brush handy for quick touch-ups. After all, even pros admit, “Mistakes happen—embrace them as part of the creative process,” notes Jason, paint specialist at HomeStore.
Finishing Touches and Maintenance Tips
Deciding when to add decorative elements to your freshly color-blocked walls can be tricky. My advice? Wait a few days after painting to see how you feel about the colors in different lighting. “Patience is key to ensuring your space truly speaks to you,” interior designer Laura James says. Start with simple touches like framed art or plants that complement your blocks without overwhelming them. It’s easy to get carried away, but less is more here.
Keeping your colorful walls clean is a different ballgame. Use a soft, damp cloth and mild soap for spot cleaning. Avoid abrasive scrubs that can ruin the paint. Learn from my own mishap: I once used a harsh cleaner which left a dull patch—yeah, rookie move! Remember, routine gentle maintenance keeps your walls vibrant for years, because a fun project shouldn’t turn into a maintenance nightmare.