
Peel-and-stick tiles are the unsung heroes of quick home makeovers. These nifty little tiles come with an adhesive backing, so you just peel off the paper and stick them on your walls, backsplash, or even floors. No grout, no mess, no fuss. They’re perfect for those of us who love a stylish update but don’t have a weekend to spend tiling or a contractor’s budget.
One weekend, I bought these tiles at my local store, skeptical but hopeful. Let’s just say, what I thought would be a laborious DIY disaster turned into a fun project completed in no time! “Peel-and-stick tiles cut down installation time dramatically,” design expert Jane Smith says. They save you both time and money, plus you can switch things up anytime. It’s like giving your walls a makeover without breaking a sweat or the bank!

Choosing the Right Peel-and-Stick Tiles for Your Space
Picking the perfect peel-and-stick tiles can feel a bit like choosing an outfit for a big night out — it needs to look great and work for the occasion. First, consider the room’s function and moisture levels. For instance, kitchens and bathrooms are prone to humidity, so opt for water-resistant tiles. Living rooms or bedrooms, on the other hand, allow for more creative freedom. “Selecting tiles that handle moisture well ensures your update lasts longer,” interior designer Sarah Mathers advises.
Next, think about how the tile style fits with your existing decor. If your space is modern, sleek tiles work best; for a vintage vibe, something rustic might be your go-to. When in doubt, neutral shades and classic patterns are your best friends — they won’t feel outdated in a year. I once grabbed a trendy bright pattern from a popular home store, only to regret it six months later when it clashed with my furniture. So, a tip: test samples in your space and live with them near your decor for a few days before committing!
Preparation Tips Before Applying Peel-and-Stick Tiles
Before diving into your peel-and-stick tile project, preparation is key. First up, make sure the surface is squeaky clean and totally dry. This little step saves you a headache later, trust me! Dust, grease, or leftover glue from old tiles can seriously mess with how well your new tiles stick. I learned this the hard way, peeling off a tile only to reveal a sticky mess underneath. As interior designer Jane Smith says,
“A clean base is half the job done.”
Next, always test a tile before going full force. Stick one up in a hidden spot and live with it for a day or two. Check if it holds up and looks good in natural light. This simple trick helps you avoid unpleasant surprises and wasted tiles! It’s like a dress rehearsal before the big performance. This small step makes a huge difference in your final, flawless look.
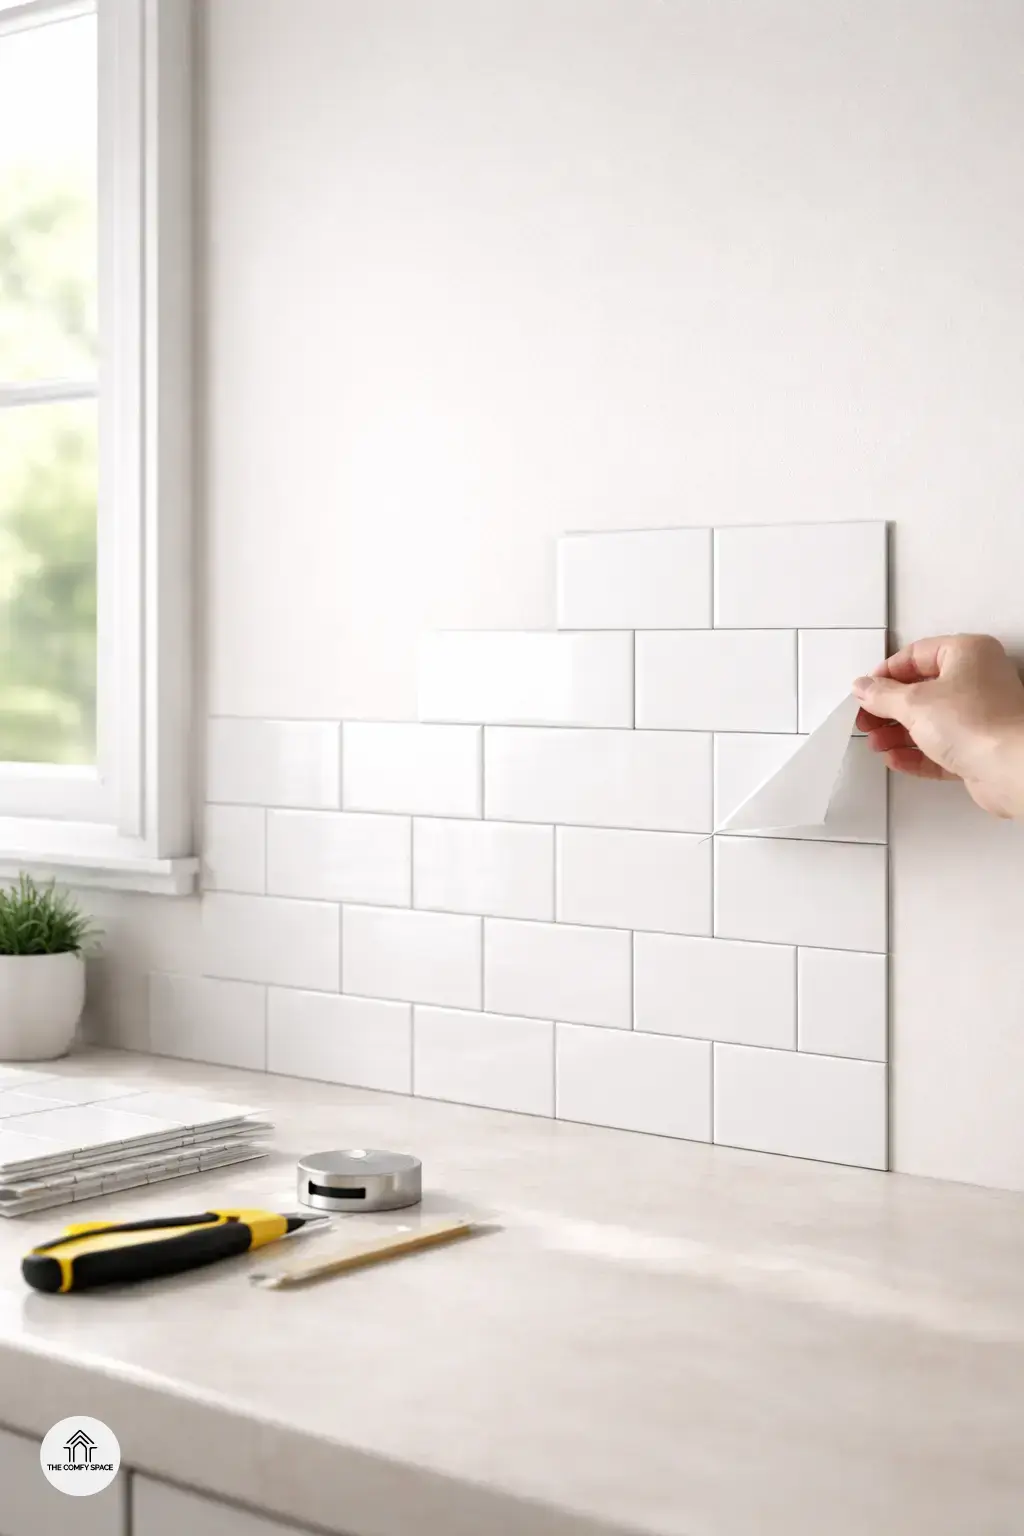
Step-by-Step Guide to Installing Peel-and-Stick Tiles
Installing peel-and-stick tiles can feel a bit like a DIY adventure, especially if you’ve ever accidentally stuck a tile upside down (guilty here!). The key to a flawless finish starts with measuring and marking the area precisely to avoid those ‘oops’ moments later. Take your time with this step—it’s a game changer. Once your area is ready, peel off the backing carefully, aiming to apply the tile from one corner to maintain control.
As you press down, smooth out air bubbles using a flat tool or even a trusty credit card. Believe me, those bubbles have a sneaky way of ruining the sleek look you’re going for. Designer Ana Lopez says,
“Patience during installation always pays off with a professional-looking finish.”
So, channel your inner craftsman, and enjoy this fun and rewarding project!
Common Mistakes and How to Avoid Them with Peel-and-Stick Tiles
One of the biggest pitfalls when using peel-and-stick tiles is not prepping the surface right. Skipping this step can cause your tiles to peel off faster than you’d like, turning your stylish update into a sticky mess. I learned this the hard way when I rushed to apply tiles over a slightly dusty wall—lesson learned! To avoid this, clean surfaces thoroughly and let them dry before sticking tiles on. As design expert Sarah L. warns,
“A clean, dry surface is your tile’s best friend for sticking around long-term.”
Another common error is overstretching tiles during application, which can lead to warping and that pesky bubbled look no one wants. It’s tempting to stretch tiles to cover awkward spots quickly, but resist that urge. Also, don’t ignore the manufacturer’s recommended drying or curing times. Rushing this part can seriously mess with durability. Take a deep breath, follow instructions, and remember: good things take a little time, even when updating your home in a snap!
