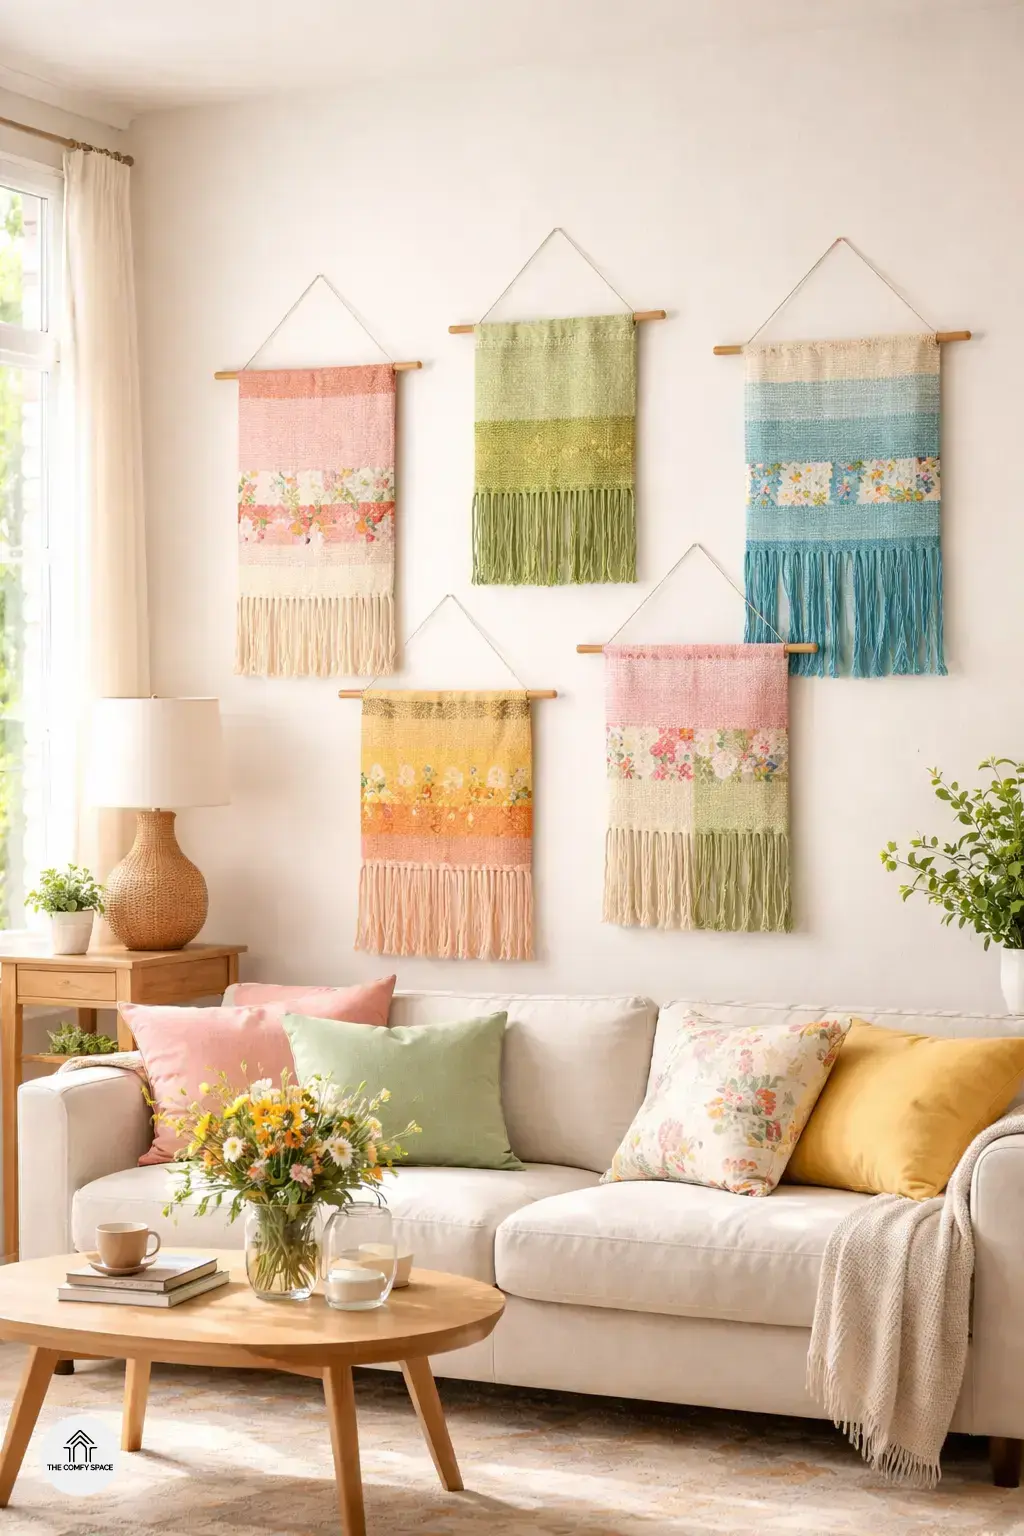
Welcome spring into your home by celebrating the season with vibrant fabric wall hangings. These cheerful pops of spring colors instantly brighten any room and add a personal touch that store-bought decor just can’t match. Plus, the best part is you can customize your wall hangings to fit your unique style and space. It’s a fun way to shake off those winter blues!
Enjoy a relaxing and rewarding DIY project that doesn’t demand fancy tools or expensive materials. Simple fabric, a wooden dowel, and some basic crafting supplies available at your local stores are all you need. “Creating something with your hands brings a special kind of joy that fills the room,” designer Lily Andrews says. And trust me, if I can figure out how to tame the wild fabric mess in my craft room, so can you!
Choosing the Perfect Spring Palette for Your Fabric Art
Choosing the perfect colors for your DIY fabric wall hangings is where the magic begins. Picking soft pastels like blush pink, mint green, and lavender can instantly bring a calm, fresh vibe—like a gentle spring breeze indoors. On the flip side, mixing bright hues such as sunny yellows and coral can inject a burst of energy and happiness into your space. Remember, it’s all about balance; if you go too wild with colors, the harmony might just run away! I once bought a whole bunch of neon fabric from that well-known craft store, only to realize it clashed terribly with my mellow living room colors. Lesson learned!
Pro tip? Consider your room’s existing color scheme before diving headfirst into your fabric choices. “Matching colors for harmony is your best friend when designing any space,” interior designer Anna Kim says. Don’t hesitate to take swatches home and observe them in your room’s natural light. Trust me, it’s worth the extra effort to avoid that cringe moment when your wall hanging looks out of place.
Step-by-Step Guide to Creating Your First Fabric Wall Hanging
Starting your first fabric wall hanging is easier than you think! First, gather supplies like fabric scraps, wooden dowels, and some colorful yarn. I once thought I needed expensive materials, but honestly, a trip to your local craft store or even that forgotten fabric drawer works wonders. Remember, variety is key—mix patterns and solids for a fun blend.
Next, cut and layer your fabrics to create texture and depth. Don’t stress over perfection—quirks give your piece character. Arrange them until it feels just right, like when you finally find your favorite coffee mug on a cluttered shelf. To finish, use easy hanging methods like tying yarn to the dowel. You’ll soon find your wall glowing with cozy, handmade magic.
“The charm of fabric hangings lies in their playful imperfections,” craft expert Emily Watson says.

Common Mistakes and How to Avoid Them When DIYing Wall Hangings
Embarking on DIY fabric wall hangings is super fun, but beware of some common pitfalls! Avoid choosing fabric that’s too heavy or slippery, as it can hang awkwardly or slip off hooks. Trust me, I once picked a silky fabric and it turned into a slipping disaster. Always opt for lighter, textured fabrics that hold shape well.
Also, don’t rush the glue drying process; patience here means less mess and a sturdier finish. One time, I skipped drying and the wall hanging fell apart—lesson learned! And remember the classic tip “measure twice, cut once” to save time and materials. These simple steps keep your project smooth and stress-free.
“Patience in crafting leads to perfection every time,” says design expert Mia Thompson.
Adding Personal Touches: Customize with Embroidery and Beads
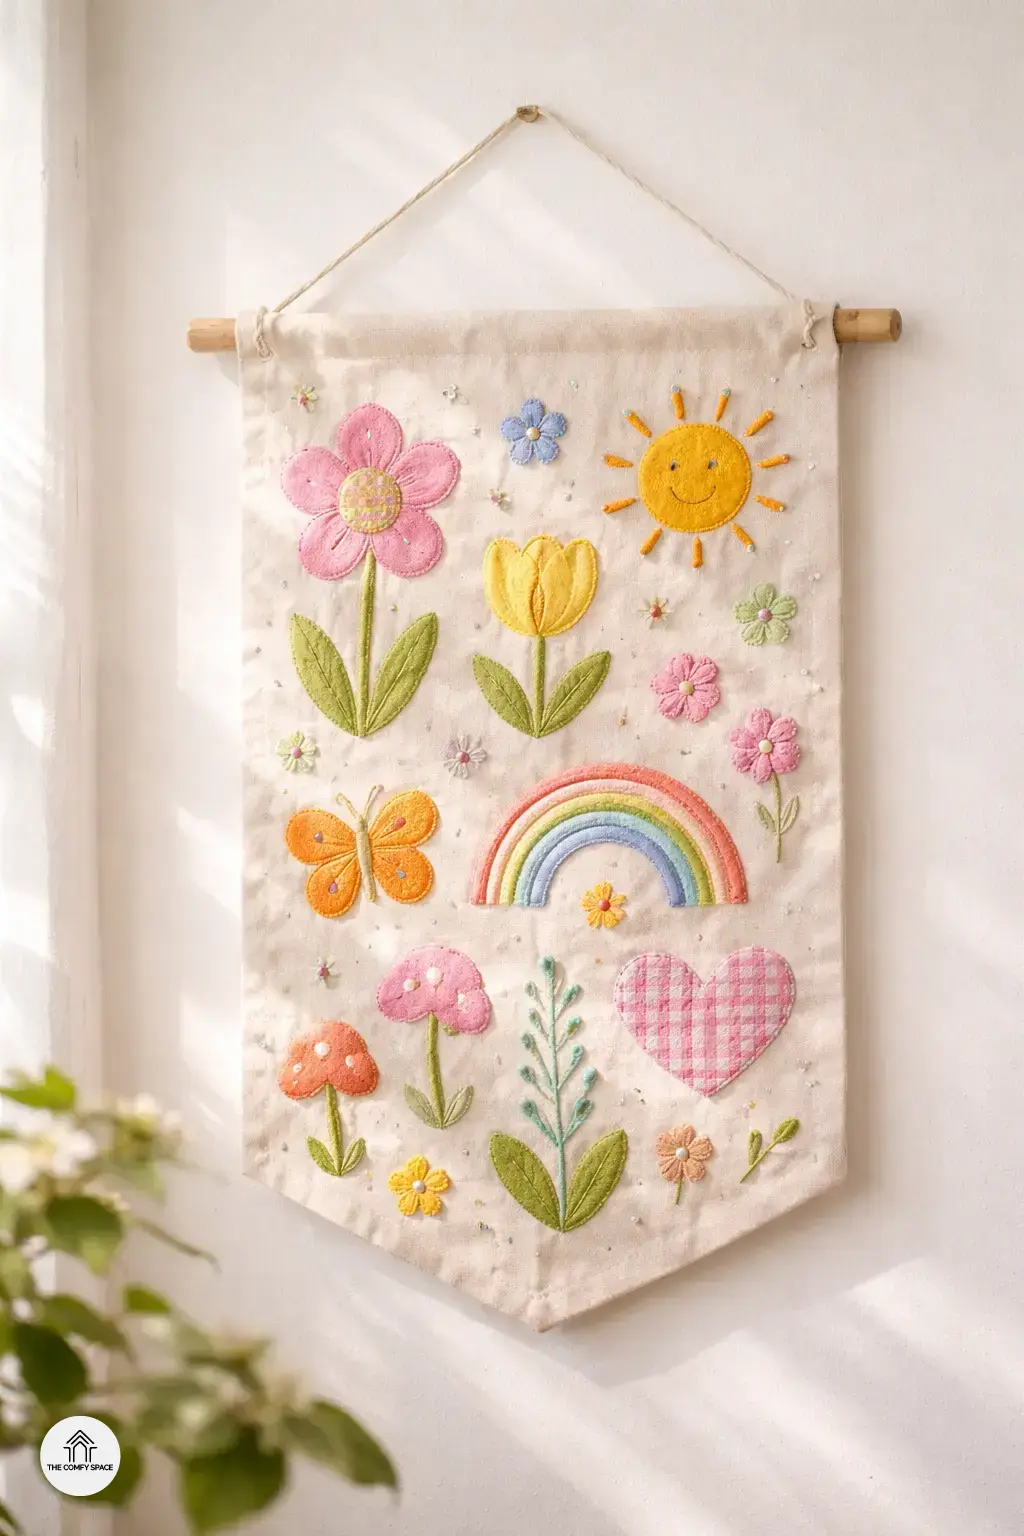
Adding personal touches to your DIY fabric wall hangings can turn a simple craft into a heartfelt story. Try simple embroidery stitches to add patterns; even if your stitching isn’t perfect at first (I’ve had my fair share of tangled threads!), the charm is in the handmade look. “Embroidering your story stitch by stitch makes every piece uniquely yours,” says Emma, a local textile artist. Don’t shy away from mixing colors or playful shapes—imperfections often add character.
Incorporate beads or sequins for some sparkle that catches the spring sunlight just right. I once experimented by adding shiny beads randomly; it was a bit messy but fun to see how light danced on the piece. Remember, these little embellishments can highlight key areas or simply add texture. Overall, your fabric art becomes a vivid reflection of your creativity and experiences, making your walls not just decorated, but telling your unique story.