
Spring is the perfect time to refresh your space, and floating shelves offer an easy way to add style without clutter. They’re a game changer, especially if you’re dreaming of showcasing your favorite plants and knick-knacks but don’t want a bulky shelf getting in your way. I remember struggling with traditional shelving that just screamed ‘clunky’—floating shelves saved me with their sleek, airy look.
These shelves are perfect for small spaces looking for a boost; they create the illusion of more room while adding personality. “Floating shelves maximize space and style simultaneously,” designer Jamie Lee says. So, why not give your walls a fresh new canvas this spring?
Choosing the Right Materials for Your DIY Shelves
When starting your DIY floating shelves project, picking the right materials is key. Wood choice can make all the difference—pine is great for beginners due to its affordability and easy workability, while oak offers strength and a classy look. “Choosing quality wood ensures your shelves not only look good but last longer,” expert carpenter Jake Miller says. Don’t underestimate the brackets either! Durable brackets support your shelves safely and keep everything sturdy, so invest wisely to avoid the dreaded shelf collapse at a party.
Next up: finishes. Stain brings out natural wood grain for a warm, classic vibe, while paint offers endless color options to freshen up any room. I once painted my shelves bright blue, which was fun, but a little stain might have saved me from the touch-up headaches! Whether you prefer paint or stain, test samples first at your local home store to find your perfect match. DIY success is all about tweaking until it feels right.
Step-by-Step: Installing Your Floating Shelves Successfully
Installing floating shelves may seem like a breeze, but a few key steps can make all the difference between a stunning display and a shelf that falls flat—literally. First things first, always find studs for strong support. Trust me, I learned the hard way after my new shelves decided to take a nosedive from drywall alone. Using a stud finder is your best friend here, ensuring your shelves hold the weight of all your decor dreams.
Next up, level your shelves carefully. Nothing screams “DIY fail” like a tilted shelf trying to defy gravity. Grab a spirit level and double-check your measurements—twice! Remember, “Patience and precision make the difference,” as a seasoned carpenter once said. Lastly, beware of common mistakes like ignoring weight limits. Floating shelves are sleek but don’t test their strength too much unless you want a crash course in gravity.
Creative Styling Ideas for Your New Shelves
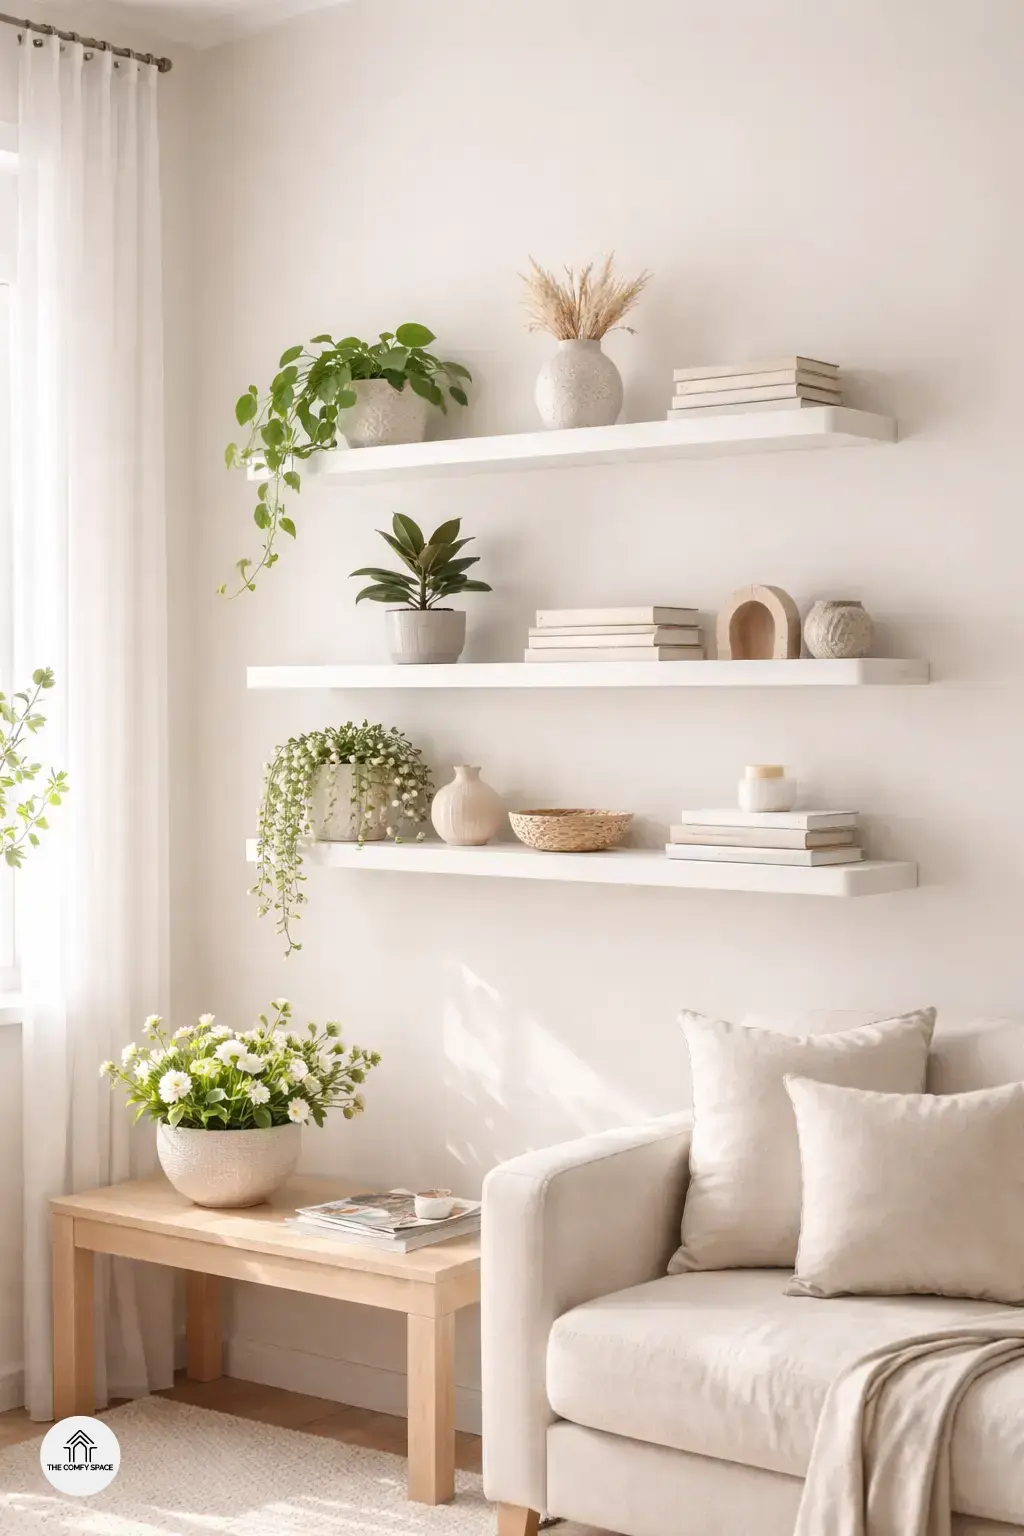
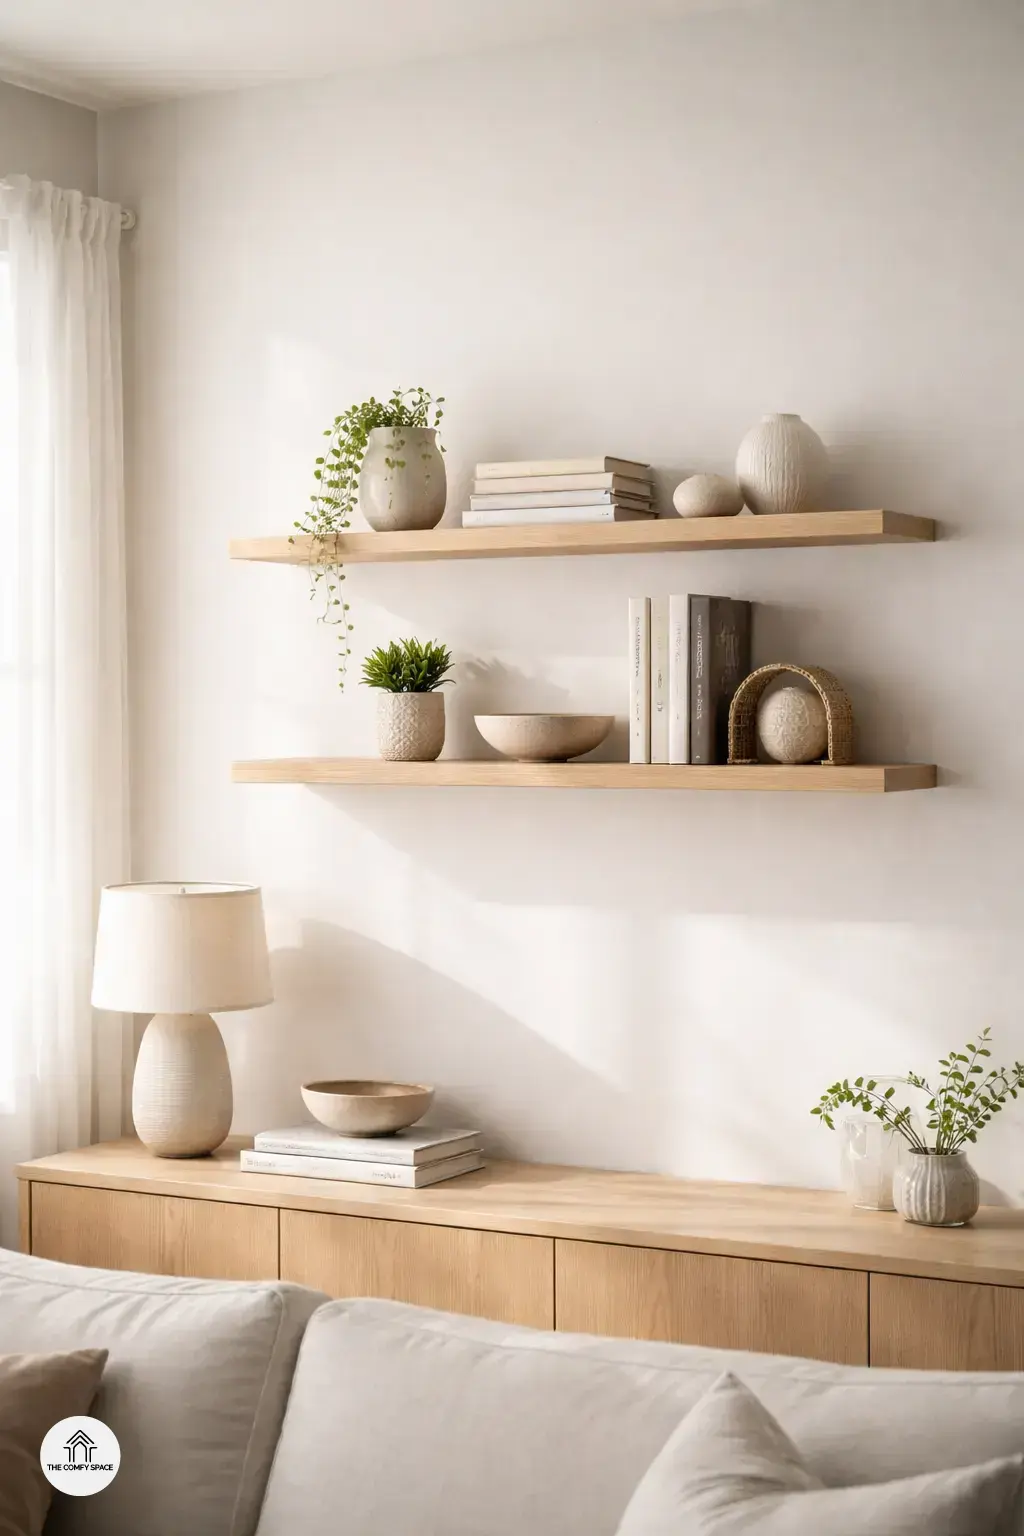
Once your floating shelves are up, it’s time to have some fun with styling! Mixing plants and books creates an inviting, cozy vibe that’s perfect for bright spring days. Adding a little greenery instantly freshens up any space, and books add personality. I remember trying to balance a wobbly cactus with a stack of novels—lesson learned: heavier books go on the bottom!
To make your shelves truly yours, display your favorite photos or souvenirs picked up during travels. These little personal touches tell a story and spark joy every time you glance their way. Color-coordinated decor is another smart trick. Choose items that play well together in hue for a clean, cohesive look. “A well-styled shelf feels like an extension of your personality,” interior designer Lisa Ryan says, and she’s absolutely right!