When you’re looking to refresh your kitchen this spring, peel-and-stick backsplashes are a total game-changer. They’re affordable and budget-friendly, which means you can give your kitchen a fresh look without draining your wallet. I remember shopping for backsplash options at the local home store and almost fainted at some price tags! Thankfully, peel-and-stick options come to the rescue by offering stylish designs that won’t break the bank.
Plus, the quick installation saves time, allowing you to skip the hassle of grout and messy adhesives. As a renter, I found them ideal since I could update my space without worrying about permanent changes. DIY lovers, beware: it’s super easy but don’t rush! I learned my lesson applying a tile crooked the first time. Slow down, take your time—this is your kitchen’s glow-up! As designer Julie Banks says,
“Peel-and-stick backsplashes are perfect for those seeking a stylish, quick upgrade without the fuss.”
Top Materials and Designs for Peel-and-Stick Backsplashes
When it comes to choosing the perfect peel-and-stick backsplash, the materials can definitely make or break your kitchen’s look. Vinyl tiles are a fantastic go-to because they’re super durable and a breeze to clean—think of them as your kitchen’s new best friend who doesn’t mind the occasional splash of sauce or coffee.
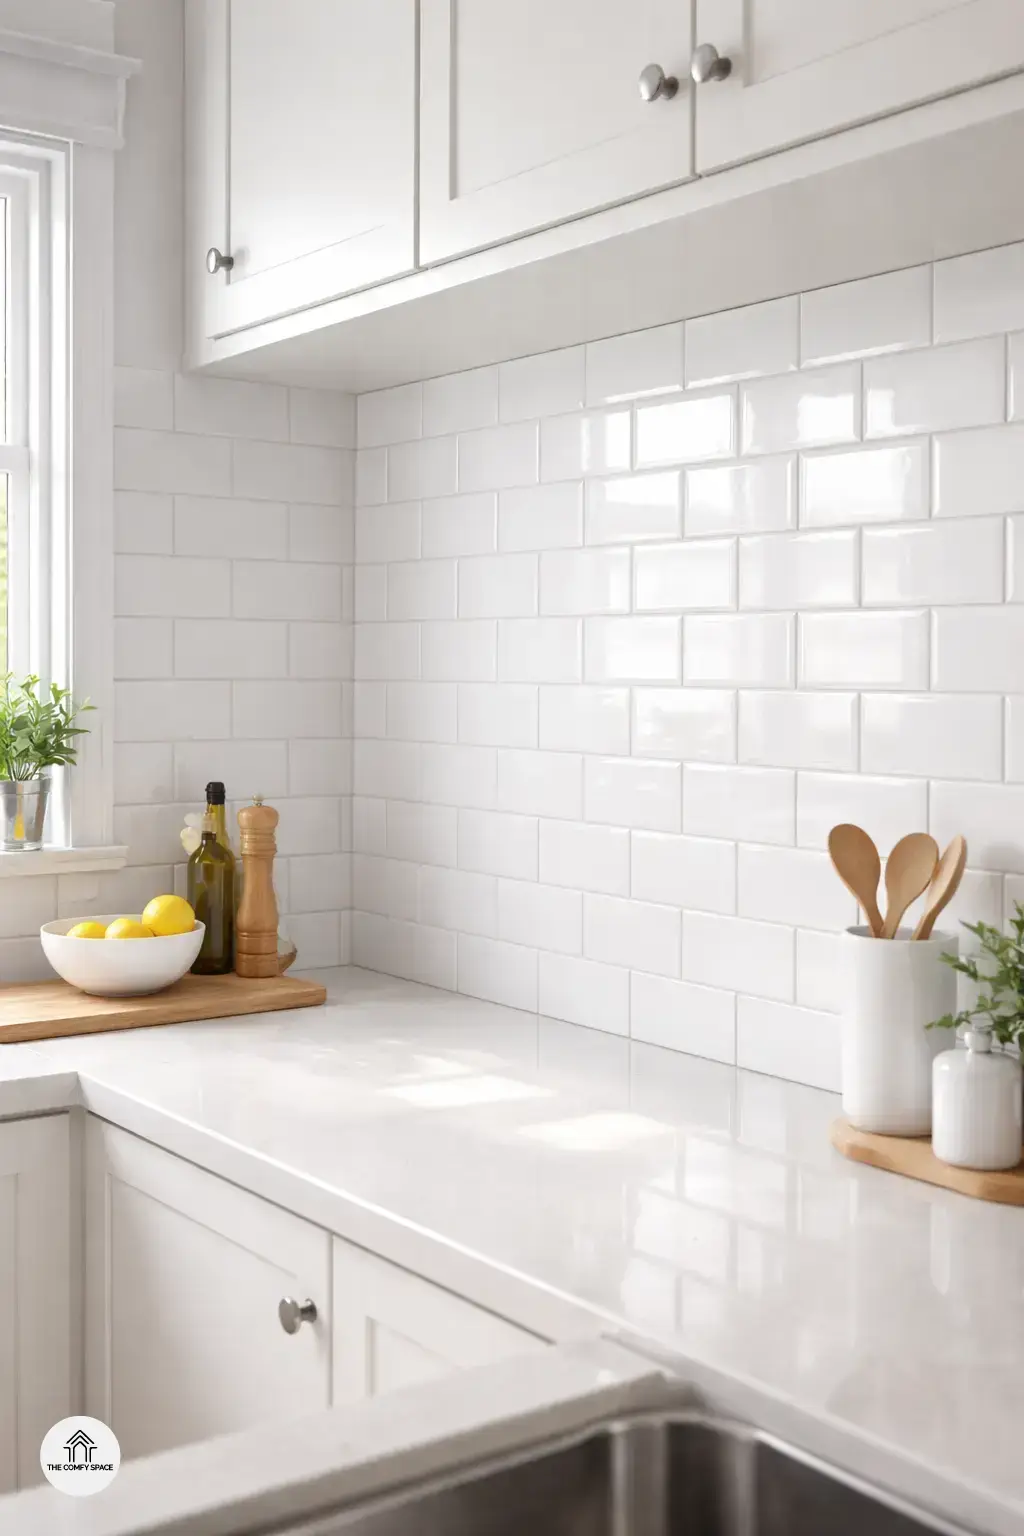
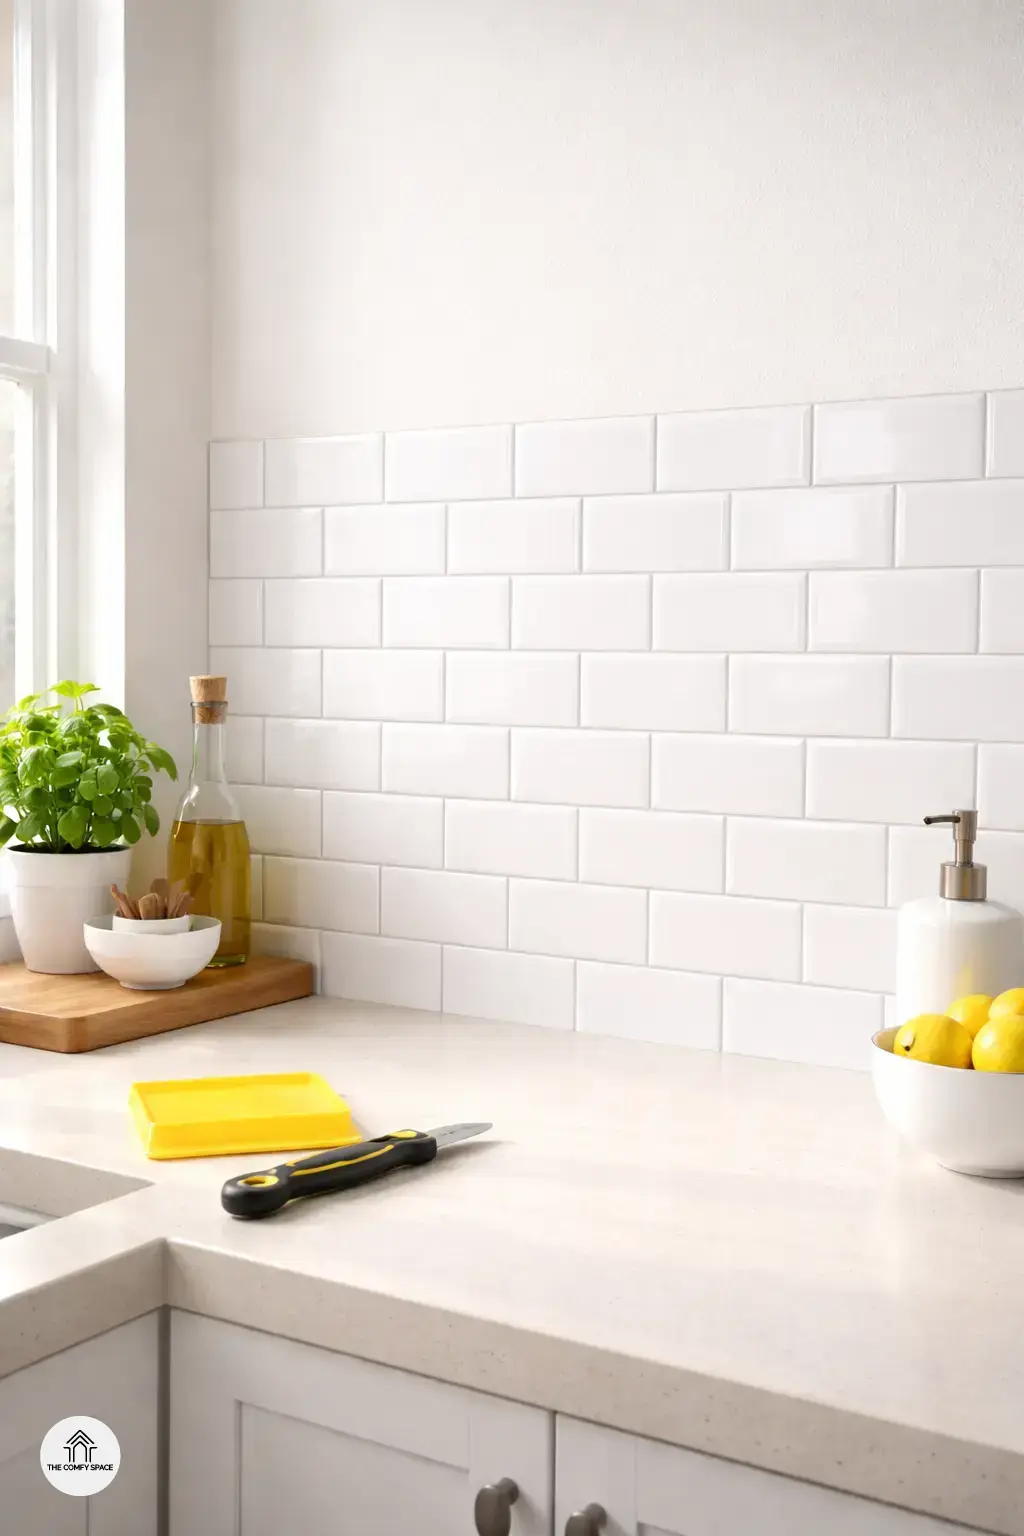
Faux subway tiles offer that timeless, classic charm without the hassle of grout and mess. Plus, they bring a cozy, inviting vibe that can tie your whole kitchen together. And if you’re feeling adventurous, metallic finishes give your space a sleek, modern flair. As design expert Jane Doe puts it,
“Metallic backsplashes can elevate even the simplest kitchens to a chic, trendy level without pricey renovations.”
Just a heads up, I once picked a metallic peel-and-stick and learned that fingerprints show up easily—so keep those microfiber cloths handy!
Step-by-Step Guide to Installing Your Peel-and-Stick Backsplash
Installing a peel-and-stick backsplash might sound easy, but prepping your wall is key to success. First off, make sure your kitchen wall is clean and dry – this is where most of us stumble! I once skipped this step and ended up peeling off a chunk during cooking. Lesson learned! Wipe it down with some rubbing alcohol and say goodbye to grease and dust. As Rachel Thompson, an interior designer, says,
“A clean canvas makes for a flawless finish.”
Next up, measuring and cutting the tiles is actually simpler than it sounds. Measure twice, cut once is the golden rule here. Use a sharp utility knife and a metal ruler to get those edges perfect. Then comes the fun part – smooth application without bubbles. Start from the middle and work your way outwards, gently pressing and smoothing with a plastic card, like a credit card. Avoid rushing; patience here is your best friend. Soon enough, you’ll have a kitchen backsplash that looks professionally done, without the fuss!
Common Mistakes to Avoid During Installation
Installing peel-and-stick backsplashes sounds like a breeze, but a few common mistakes can turn your kitchen refresh into a frustrating ordeal. Trust me, I once ignored surface cleaning and ended up with a patch peeling off just days later. A clean surface is your best friend for good adhesion—always wipe down with rubbing alcohol to get rid of grease and dust.
Another rookie error? Rushing the placement. It’s tempting to slap it on and be done, but moving too fast can cause ugly wrinkles. Take your time, peel a little at a time, and smooth as you go. And don’t skip alignment! I learned the hard way that even a tiny misalignment makes the whole backsplash look off. Measure twice, stick once!
“Patience and preparation are the secrets to a flawless peel-and-stick backsplash,” design expert Lisa Graham says.
Real-Life Tips and Tricks from Peel-and-Stick Backsplash Enthusiasts
When it comes to installing peel-and-stick backsplashes, real-life tips are worth their weight in gold. One handy trick enthusiasts swear by is using a simple credit card to smooth out any air bubbles as you go. It’s like giving your backsplash a little massage, ensuring a flawless finish without those pesky bumps. Starting from the center of your wall also helps with balanced placement, so you avoid awkward gaps or uneven edges. I learned this the hard way after wrestling with a crooked panel—don’t make the same mistake!
And here’s a relief: don’t be afraid to peel off and reposition your tiles if something looks off. “Peel-and-stick backsplashes are forgiving, so take advantage of that,” says home design expert Lena Martinez. Shopping for materials at big box stores can feel overwhelming, but these practical tips turn the process into a fun weekend project rather than a stressful chore. Just remember, it’s all part of the adventure!