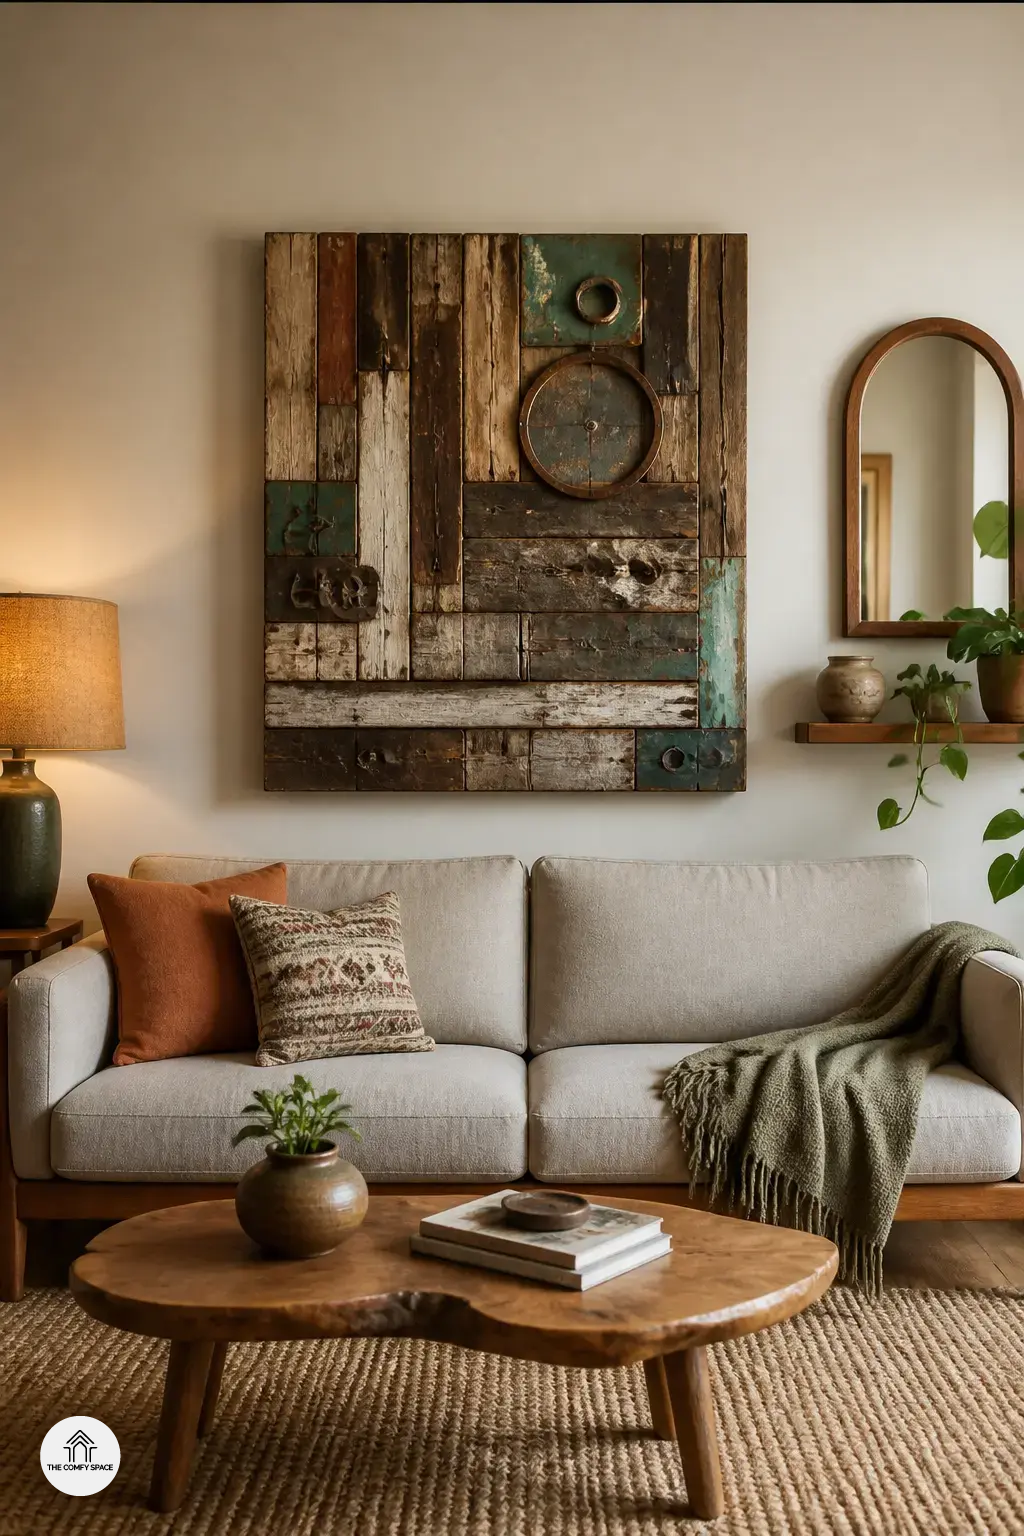
Upcycled wall art has a way of making a room feel lived in, not staged. I once grabbed a sad-looking old frame from a thrift store and turned it into something I actually wanted to hang, even though my first paint job was a little too “kindergarten craft hour.” That is the fun part. Your walls get texture, charm, and a story.
“The best decor often comes from what you already have,” interior designer Maya Reed says.
- Try old wood scraps, fabric bits, magazine pages, or even broken tiles.
- Use glue, paint, and scissors before you panic and buy fancy tools from the hardware aisle.
- Think small mistakes are part of the look. They usually are.
The Best Everyday Materials to Upcycle for Wall Art
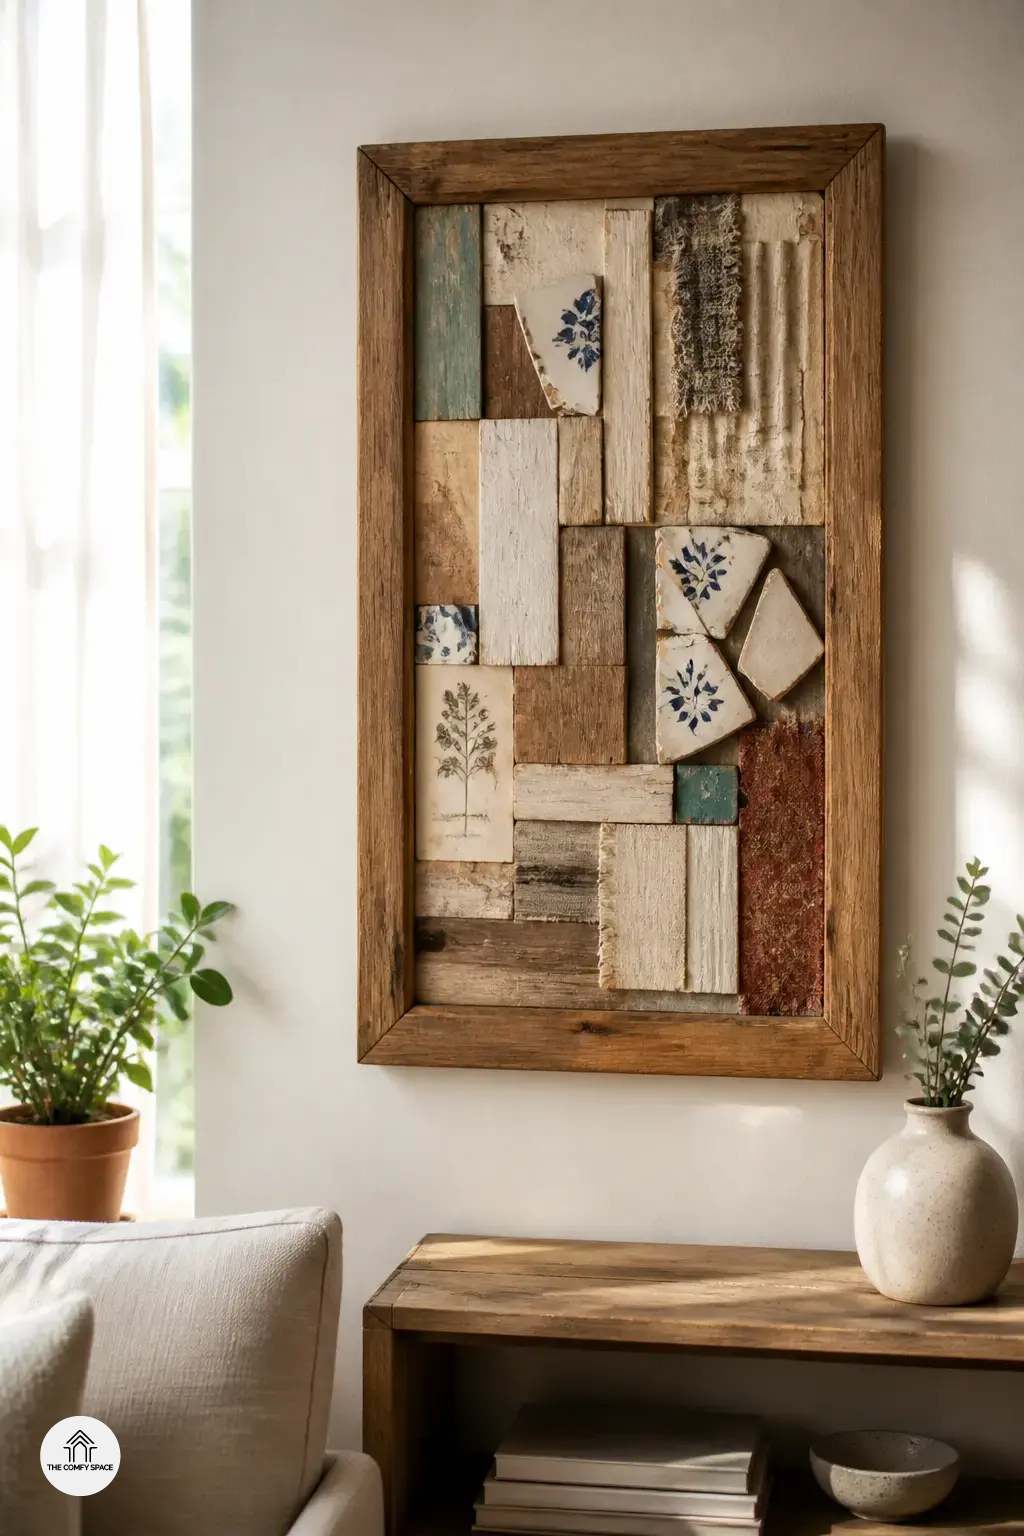
The best wall art ideas often start with the stuff we almost tossed. Cardboard, wood scraps, fabric, and broken frames can turn into surprisingly stylish pieces, especially when you layer textures or paint them in one bold color. I once grabbed “just a few supplies” from a familiar craft store and came home with a bag of regret and glitter. Lesson learned: check your junk drawer first.
Old magazines, packaging, and tiles can also hide great patterns and colors. Try cutting shapes, making a collage, or framing one odd tile as a mini statement piece. “Creative reuse is less about perfection and more about seeing potential,” interior designer Mia Hart says. Think about what you already have at home before heading out. Your next favorite wall piece might be sitting in the recycling bin.
Easy Design Ideas That Actually Look Stylish
Upcycled wall art is one of those happy DIY projects that sounds simple until you’re elbow-deep in glue and wondering why the cardboard is curling. Still, the results can be so stylish. As interior designer Nate Berkus says,
“Your home should tell the story of who you are.”
That’s the fun part: your old magazines, fabric scraps, and wood offcuts can become something personal.
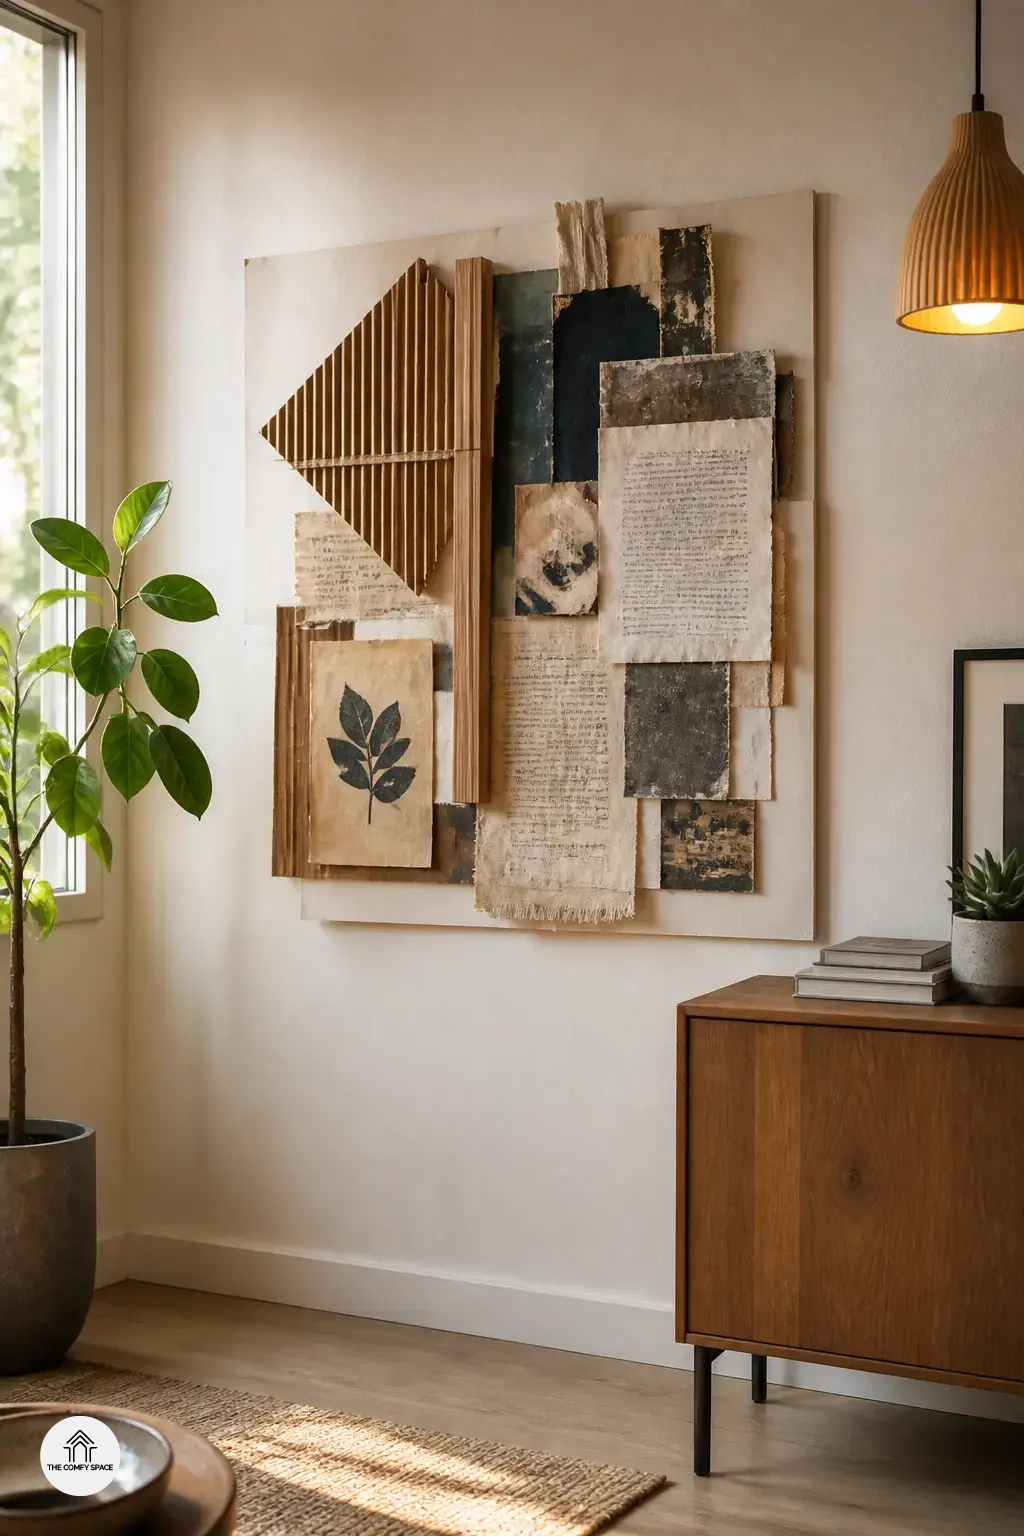
- Create layered collages for a bold, modern look.
- Make geometric wall pieces from cut wood or cardboard for a clean finish.
- Try fabric panels, pressed-paper art, or mixed-media frames for a softer feel.
I once tried a “quick” frame project from a craft store haul and ended up with crooked corners. Lesson learned: measure twice, glue once, and maybe keep a coffee nearby. Small mistakes are part of the charm, and they make your sustainable home feel real.
How to Plan Your Wall Art Without Making a Mess
Planning your wall art before you start gluing is the difference between “wow” and “why is that upside down?” I learned that the hard way after a late-night craft session and one too many trips to the hardware store. First, sketch your layout on paper, then tape it to the wall for a quick reality check. As interior stylist Sarah Lang says,
“A simple plan saves time, money, and a lot of sticky regrets.”
Next, choose a color palette that plays nicely with your room, not against it. Think soft neutrals, bold accents, or whatever already lives in your space.
- Test materials on a small scrap first
- Adjust spacing before final assembly
- Keep a few extra pieces nearby for mistakes
It makes the whole DIY process calmer, and honestly, less messy than a Saturday at the craft aisle.
Tools and Tricks That Make DIY Easier
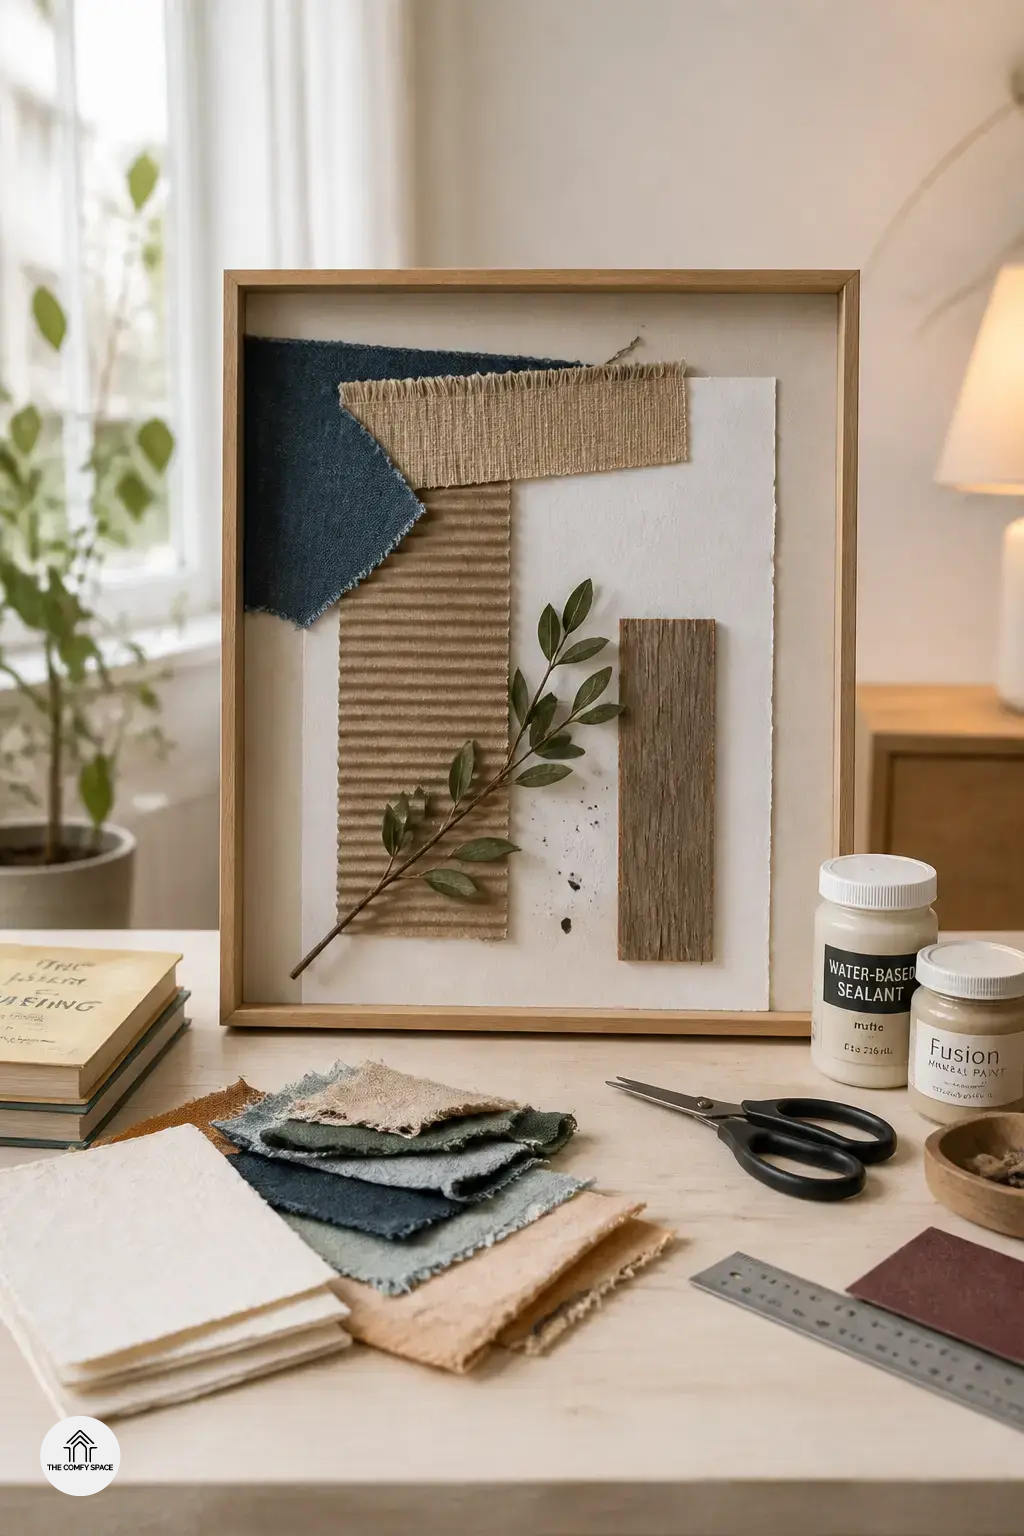
When I first tried making wall art from upcycled materials, I thought I needed a fancy studio. Nope. A pair of scissors, glue, paint, and a ruler got me surprisingly far. The real trick is keeping your setup simple so you can actually enjoy the mess. “Good design starts with tools you already know how to use,” says interior stylist Mia Clarke.
- Sandpaper helps rough edges behave.
- Sealant keeps old bits from looking, well, extra old.
- Frame backing gives everything that clean, finished look.
I once grabbed supplies from a local hardware store and a familiar big-box shop after ruining a frame with too much glue. Classic beginner move. A few budget finds later, the project looked polished instead of patchy.
Common Mistakes People Make with Upcycled Decor
When I first tried making upcycled wall art, I got a little too excited and glued everything on like a craft tornado. Big mistake. Common mistakes people make with upcycled decor usually start with overcrowding the design so the piece loses its visual balance. Keep it simple. Let one material shine, and give your eyes room to breathe.
Another easy slip is forgetting to clean, flatten, or prep materials before using them. Trust me, that soup label still smelled weird for days. Also, choosing fragile materials that cannot hold up on the wall can turn your masterpiece into floor confetti. As designer Nate Berkus says,
“Good design is often about editing, not adding.”
A quick trip to a familiar store for sturdy backing can save the whole project.
How to Style Your Finished Art in Real Rooms
Styling your finished wall art is where the fun really starts. I once hung a bold upcycled piece over my sofa and, honestly, it looked a little lonely at first. Then I added a shelf, a mirror, and one stubborn plant that somehow survives my busy weeks, and suddenly the whole room felt warm and collected. Mix your custom piece with shelves, mirrors, or plants for an easy lived-in look.
If you want a simpler win, go big with one statement piece above a sofa, bed, or entry table. As designer Nate Berkus says, “Your home should tell the story of who you are.” Rotate smaller pieces seasonally when you feel like refreshing the space without buying more stuff. It is a small trick, but it keeps your home feeling fresh, creative, and a little less like a store display.