
Spring is the perfect season to refresh your home with a touch of rustic charm, and what better way to do it than by crafting your own pallet furniture? Simple wooden pallets, which you might have overlooked before, can transform into stunning, functional pieces with just a little creativity and elbow grease. Trust me, I started with my first pallet coffee table a few years ago and, despite a couple of miscalculations (like that wobbly leg incident), I ended up with a host of unique furniture that guests always compliment.
Whether you’re a total newbie or a seasoned DIY enthusiast, these pallet projects are designed to be approachable. Start with basic designs like a charming garden bench or a cozy outdoor sofa. And if you run into trouble, remember what my mentor always says:
“Every mistake is a stepping stone to a masterpiece.”
So grab some pallets, put on your favorite tunes, and let’s make this spring unforgettable by crafting furniture that’s as personal as it is practical!
Choosing the Right Pallets for Your Projects
Finding the perfect pallet can feel a bit like a treasure hunt, but it’s totally worth the effort. Start by scouting local stores or warehouses, where you can often score sturdy, untreated wood pallets. These pallets are like blank canvases, ready to be transformed into just about anything. A handy tip: always avoid pallets with chemical stamps or visible damage — those can bring more headaches than beauty to your project.
Before diving in, it’s smart to test each pallet’s strength and cleanliness. Give it a good shake or bang to check stability, and a quick sniff test can weed out any funky odors signaling unwanted chemicals. As interior designer Jess Martin once said,
“Solid pallets make solid projects — don’t rush the selection.”
Trust me, spending a little extra time here saves you from scraps and stress later on!
Creating a Rustic Coffee Table
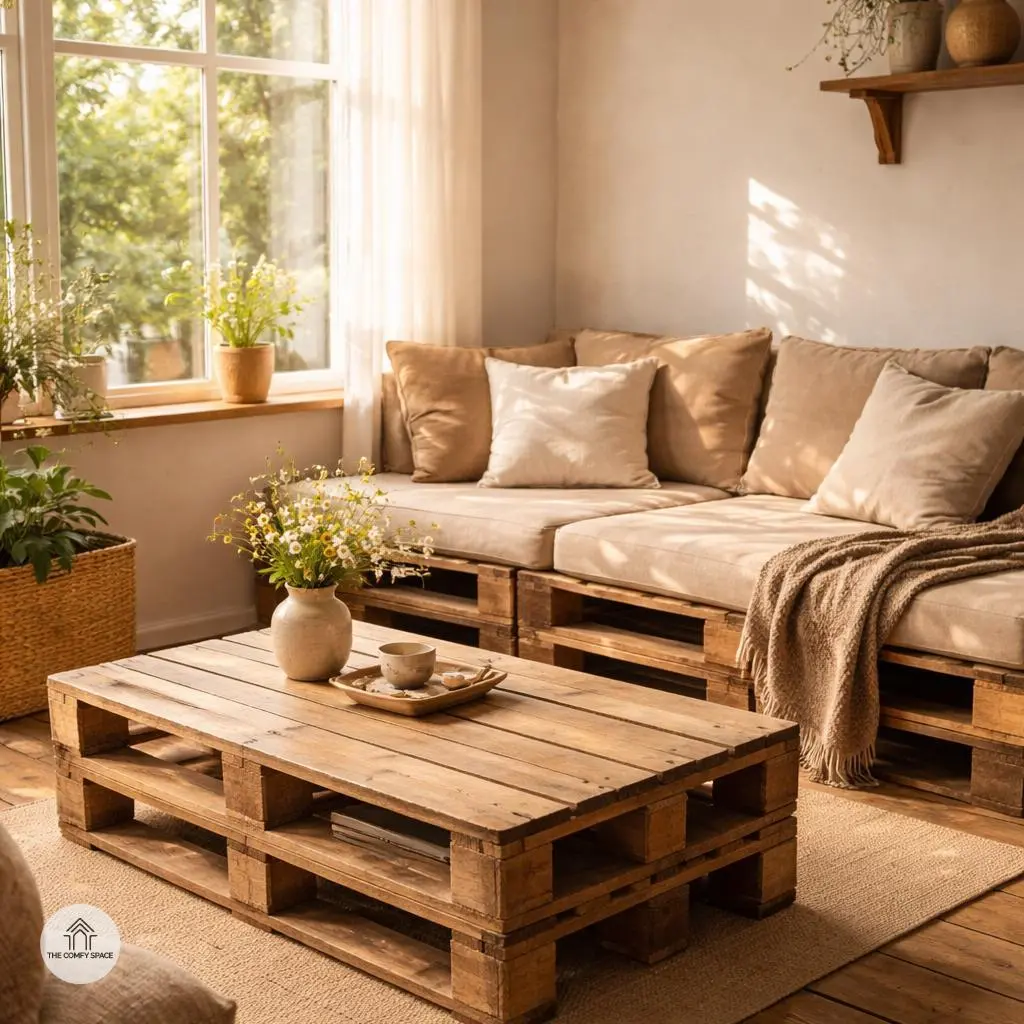
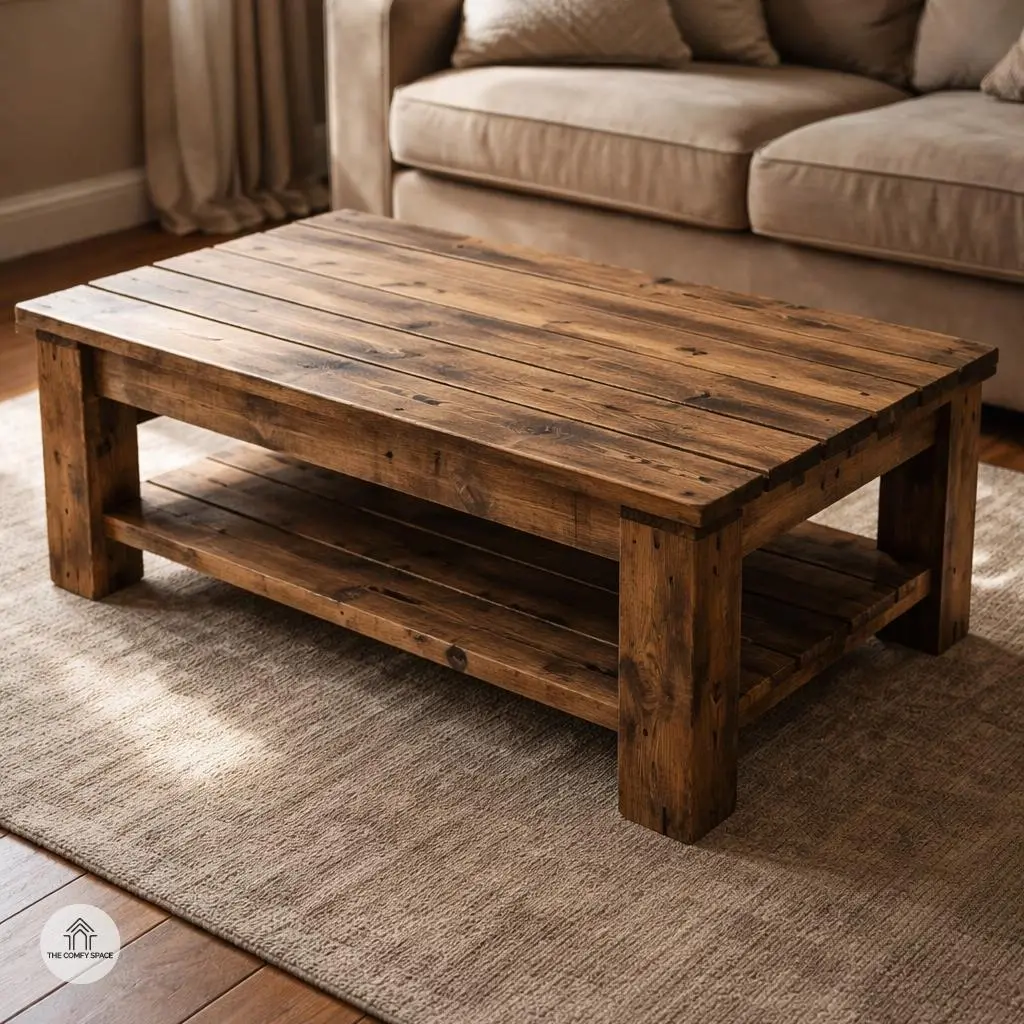
Creating a rustic coffee table from pallets is a rewarding DIY project that brings character straight into your living room. Start by stacking and sanding the pallets until the surface is smooth but still retains that charming rugged look. The sanding process might feel tedious, especially if you’re juggling it with a busy schedule, but it’s worth every minute—nothing beats the satisfaction of transforming rough wood into a functional piece.
Next, add casters or sturdy legs to your table for both practical use and a touch of style. Casters are perfect if you love rearranging your space often, while solid legs offer stability and a classic vibe. Don’t forget to customize the finish! Consider staining or painting the table to complement your spring decor palette—fresh, bright hues or warm, earthy tones. “Rustic furniture is all about embracing imperfections and making them shine,” a savvy interior designer once said, which really resonates when working with recycled wood.
Building a Comfy Pallet Couch
Building a comfy pallet couch is easier than you might think, especially if you’re not a DIY pro. Start by stacking two or three durable pallets to create a sturdy base for your seating. Then, use another set of pallets vertically for back support — it’s like building your own throne, one pallet at a time! If you’re worried about getting fancy tools, don’t. Basic hand tools like a hammer, nails, and a screwdriver will do the trick. Remember, the key is patience and a bit of elbow grease.
When it comes to cushions, opt for weather-resistant fabrics. These babies withstand spills, sun, and even the occasional clumsy coffee cup — perfect if you want your couch to last seasons. Here’s a tip from an interior designer: “Choose cushions that are thick and firm, but soft enough to sink into. Comfort is key.” Also, avoid the common mistake of skipping pallet sanding; splinters are real and not fun to explain. Trust me, your guests (and your hands) will thank you!
Designing a Charming Garden Planter
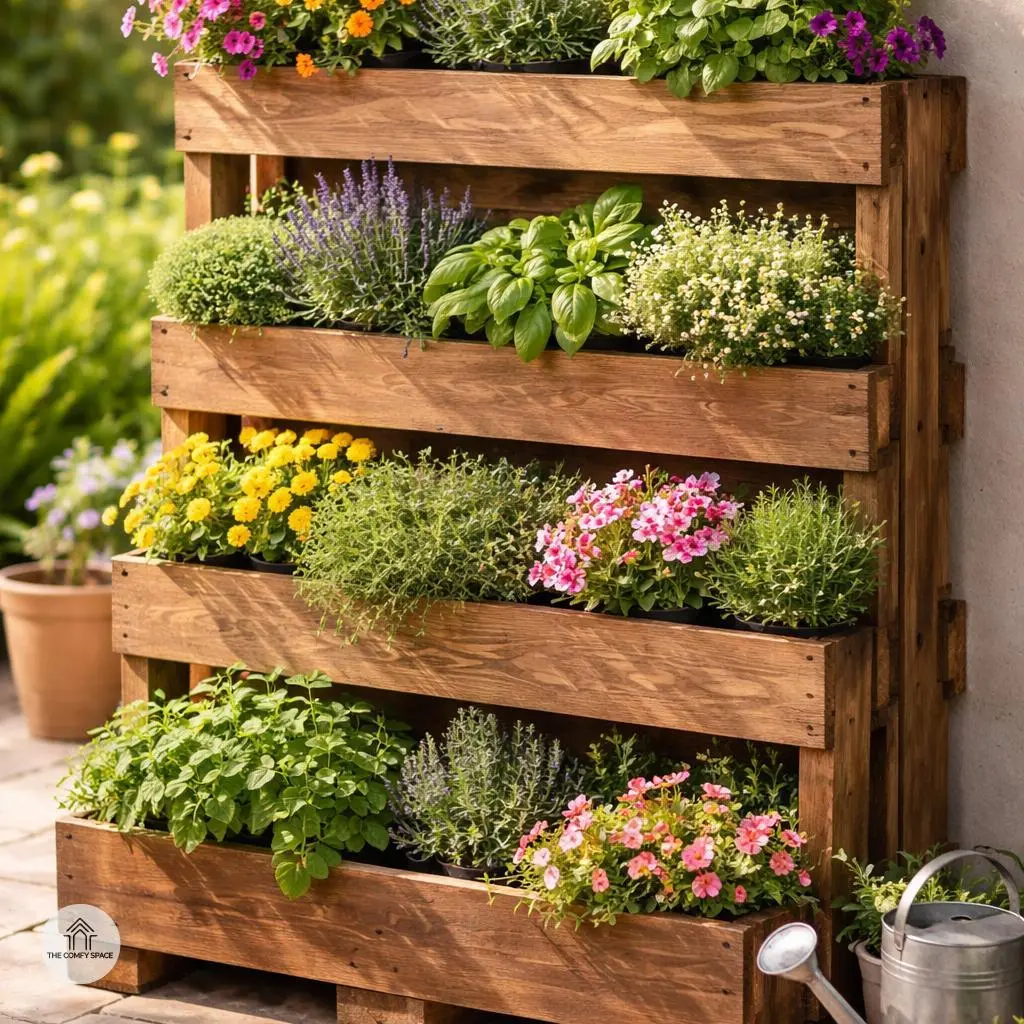
Transforming old pallets into vertical garden planters is a clever way to bring charm and greenery to small spaces. Stacking them vertically creates a multi-tiered effect, perfect for a burst of color or a fragrant herb garden right outside your door. The key is sealing the wood to shield it from moisture, which helps the planter stand the test of time—because nothing kills gardening morale faster than rotted wood! As landscape designer Emma Green says,
“Sealing your wood isn’t just about protection, it’s about preserving your garden’s personality.”
Start by thinking about placement—sunlight is vital, so choose a spot where your plants will thrive. Mixing flowers with herbs makes the space not only lovely to look at but also functional for cooking and fresh scents. I once planted thyme and basil with bright marigolds, and neighbors kept stopping by for gardening tips—and fresh herbs! Remember, it’s okay to experiment—it’s part of the gardening adventure.
Crafting Rustic Pallet Shelves
Creating rustic pallet shelves is a charming way to add both character and functionality to your space. Start by cutting old pallets into smaller, manageable sections—this not only makes the shelves versatile but also gives you the freedom to customize their size and shape to perfectly fit your walls. Believe me, I once tried a giant shelf without measuring and ended up with a crooked masterpiece that even my dog avoided!
Mount these shelves using hidden brackets for a clean, floating look that highlights your spring-themed decor or favorite keepsakes without visual clutter. Interior designer Jamie Lee notes,
“Hidden brackets make all the difference—your shelves look like magic, just hanging there!”
Plus, they’re easier to dust, so those fresh blooms and vintage trinkets can shine without a dirt trap haunting you.
Personalizing Your Pallet Projects
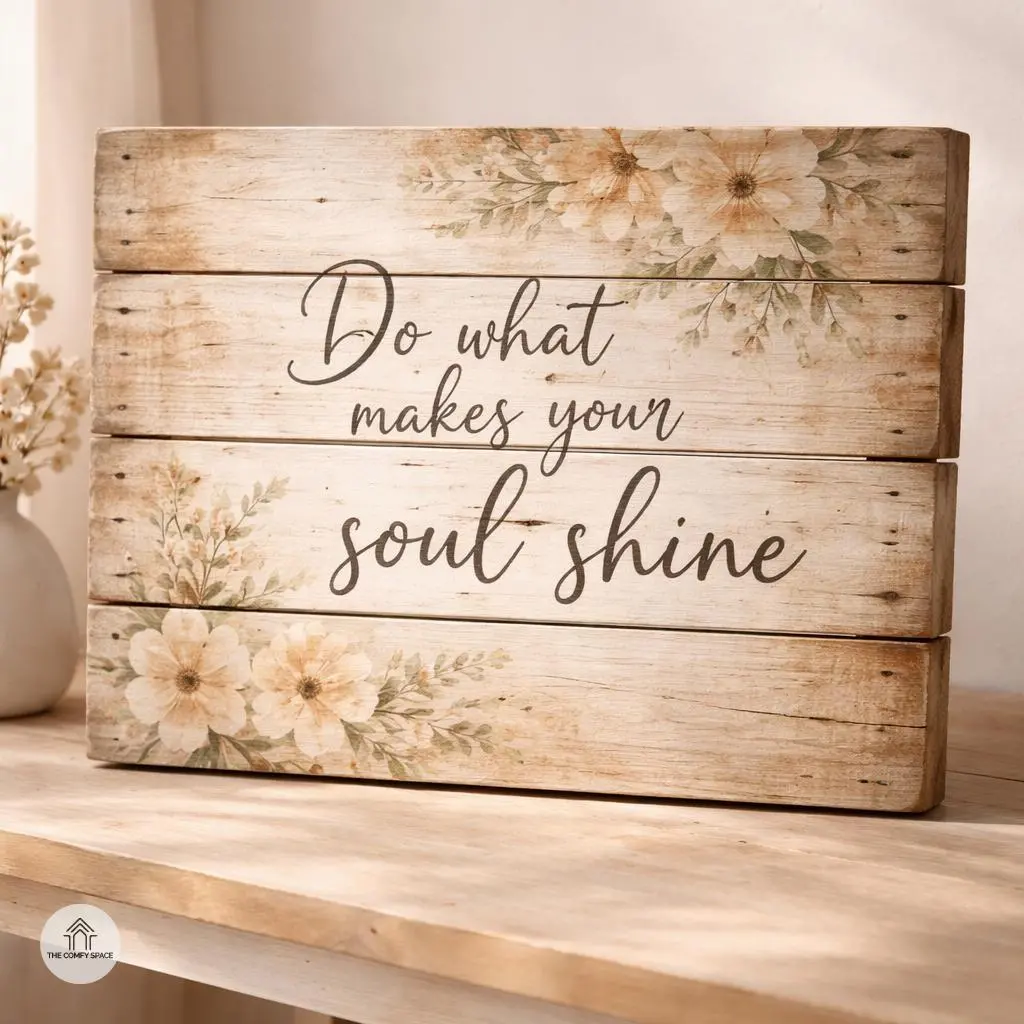
Personalizing your pallet projects is like adding a splash of your own personality to a rustic canvas. One fun way to do this is by adding stenciled quotes or floral patterns. I remember the first time I tried stenciling—my enthusiasm got ahead of the drying time, and the paint smudged. If that happens, don’t panic! Just give it a light sanding and try again. A quick tip: use painter’s tape to keep your stencils steady, ensuring crisp lines every time.
Another lovely method is experimenting with color washes to keep the rustic vibe light and airy. Think of it as a coffee stain on paper, inviting yet soft. I once went overboard with sanding, which stripped all the charm right off the wood—lesson learned! The fix? Use gentle strokes next round and seal with a matte finish to preserve that lovely texture. Trust me, it’s all part of the creative journey!
Finishing Touches to Elevate Your Rustic Look
When it comes to nailing that cozy rustic vibe, natural fabrics are your best pals. Think burlap and linen cushions or throws that add texture and warmth without screaming for attention. These materials not only feel great but also age beautifully—plus, let’s be honest, nothing beats the satisfaction of finding that one cushion at your local home store that just feels right, despite a few wrinkles. As interior designer Emma Lawson says,
“Natural fabrics ground a space in authenticity—it’s like bringing a bit of the outdoors in.”
Lighting is another secret weapon. Soft glows from lanterns or fairy lights can transform a room from ‘meh’ to magical. I once spent hours untangling fairy lights just to create the perfect nook for reading—totally worth it! And remember, rustic style is all about embracing imperfections. A knock here or uneven stitching there? That’s the handcrafted charm speaking. Don’t stress over flawless finishes; instead, celebrate these quirks as your space’s own character markers.