
Spring is that fresh breath of air we all crave after the long, chilly months. Nothing says “welcome” quite like a bright, cheerful front door. It’s the first thing guests—and frankly, you—see when approaching your home. Adding a splash of color can completely transform your entryway and set the tone for the whole house. I’ve learned the hard way that a dull front door can drag your mood down, like forgetting your morning coffee. But a vibrant door? Instant happiness boost!
Enter the magic of DIY wreaths. They’re the unsung heroes of curb appeal—easy to make, endlessly customizable, and they instantly say, “Hey, I care about this place!” Even “If you’re new to crafts, start simple,” designer Lila Monroe says. Honestly, nothing beats the satisfaction of stepping back and seeing your personality blooming on your door. Plus, it’s a fun project that turns into an everyday mood lifter for you and your neighbors. Talk about a win-win!
Choosing the Right Base for Your Spring Wreath
Choosing the right base for your spring wreath is like picking the perfect canvas for a painting—it sets the entire vibe. Grapevine bases bring a rustic charm and work well if you’re going for a natural look. Wireframes offer a flexible structure, great for experimenting with floral arrangements, while foam bases are sturdy and make attaching decorations a breeze. A pro tip? Don’t be fooled by price tags; sometimes that bargain bin foam can crumble at the worst moment. As interior designer Lisa Marks says, “Investing in a quality base saves you hours of frustration later.”
When shopping at your local craft store, it’s easy to grab whatever’s cheapest, but trust me, those bases often leave you wrestling with flimsy wire or sticky foam that just won’t hold. A sturdy base keeps your wreath intact through weather changes and handling, so it’s worth the extra dime. Think about how you want to hang your wreath too; some bases come with built-in hooks or loops, making life simpler. Remember, a solid foundation means a stress-free, fun crafting session—the stuff that turns a hobby into a proud display on your door.
Fresh Flowers vs. Faux Florals: Pros and Cons
Choosing between fresh flowers and faux florals can feel like a real dilemma, especially when you want to brighten up your space without the hassle. Fresh flowers bring that wonderful, vibrant scent and natural beauty that simply can’t be matched. However, they demand regular watering, trimming, and sometimes it feels like they wilt faster than you can say ‘oops, forgot to water again.’ As designer Emma Bloom says,
“Fresh flowers add life to a room, but they’re a commitment, not just a decoration.”
On the flip side, faux flowers offer unbeatable longevity and are super low maintenance, ideal for a hectic lifestyle filled with trips to the grocery store or busy workdays. They don’t wilt or lose their charm and can be reused season after season. I’ve learned from trial and error that blending both styles works best—fresh flowers for special occasions and faux for everyday elegance. It’s like having the best of both worlds without the stress!

Incorporating Natural Elements for a Rustic Look
Embracing natural elements like twigs, pinecones, dried citrus, and moss patches is a fantastic way to bring a rustic charm into your space. These little wonders add texture, warmth, and an organic feel that instantly makes your decor cozier. Think of it as inviting the outdoors inside without turning your home into a forest floor. A quick tip? Less is more here—start with a simple base and layer in these elements sparingly to create a balanced look.
Many dive headfirst, overcrowding their wreaths or displays, which ends up looking cluttered and stressful. Instead, leave some breathing room between pieces. This makes each natural element stand out and prevents the whole arrangement from feeling chaotic. Interior designer Jane Smith calls it “the art of subtlety,” saying,
“You want to suggest nature, not recreate a woodland.”
I learned this the hard way when my first wreath looked more like a bird’s nightmare than a welcoming piece. Lesson learned!
Adding Color with Ribbon and Accents
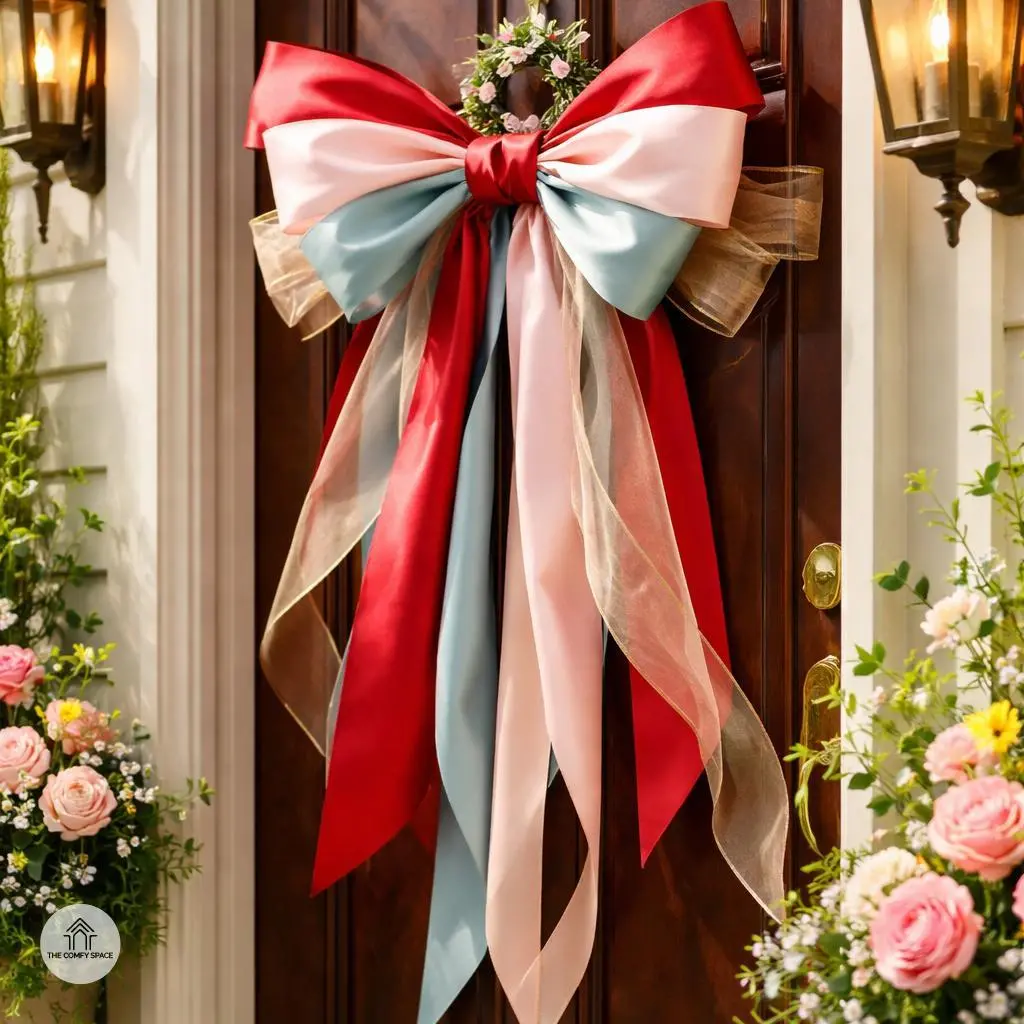
Adding color with ribbon and accents is a simple yet powerful way to refresh your front door’s look. Picking ribbons that either pop or blend with your door color can completely change the vibe—think bold reds on a dark door for a festive splash or soft pastels for a subtle charm. When shopping at your favorite craft store, don’t hesitate to test out colors against your door in natural light; it’s a little trick I learned after buying a ribbon that looked perfect inside the store but faded to dull in the sun.
DIY bows that withstand spring breezes can be tricky. Here’s a pro tip: double-knot the bow and secure it with a little clear floral wire hidden behind the ribbon—trust me, it keeps those bows from looking like a tangled mess. Speaking of which, I once struggled with a bow disaster that looked like my cat had wrestled with it! But after some patience and a few laughs, I figured out how to fluff it up right. As designer Jenna says,
“The secret to lasting decor is a pinch of patience and a dash of creativity.”
Give it a try and let your door shine with personality!
Seasonal Themes and Personal Touches
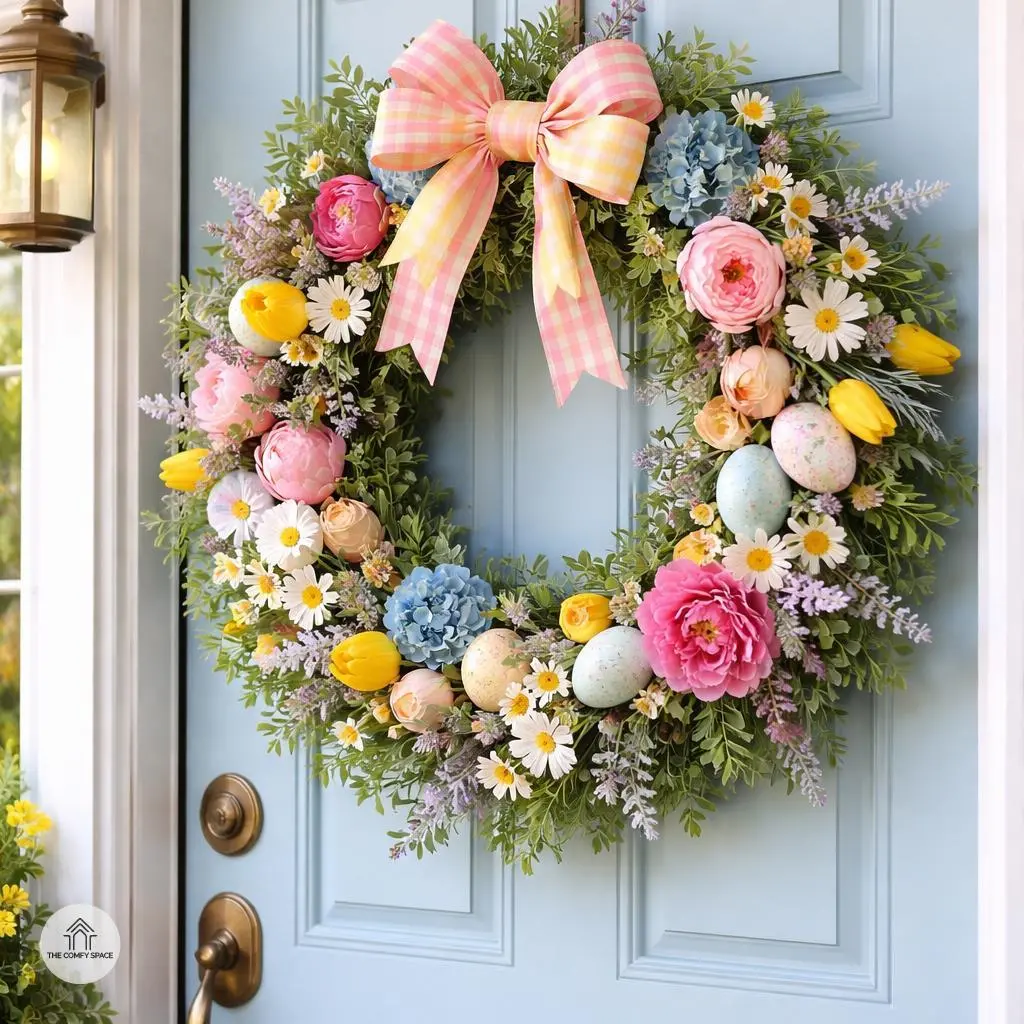
Seasonal themes breathe fresh life into your home decor, especially during spring when Easter eggs, butterflies, and pastel-themed charms come out to play. These delicate touches evoke joy without shouting for attention. I’ve found that sprinkling a few well-placed pastel eggs or butterfly motifs instantly brightens a room. But beware—my first holiday decor turned into a colorful chaos. I learned that less is more, and subtlety wins every time.
Adding personal touches—like monograms or handmade tags—gives your space warmth and character. Nothing says ‘home’ like a unique mark that tells your story. As an interior designer once told me,
“Simple accents speak louder than overcrowded displays.”
So, start small, enjoy the process, and let your creative spirit shine without stress or overload.
Tools and Supplies You’ll Need
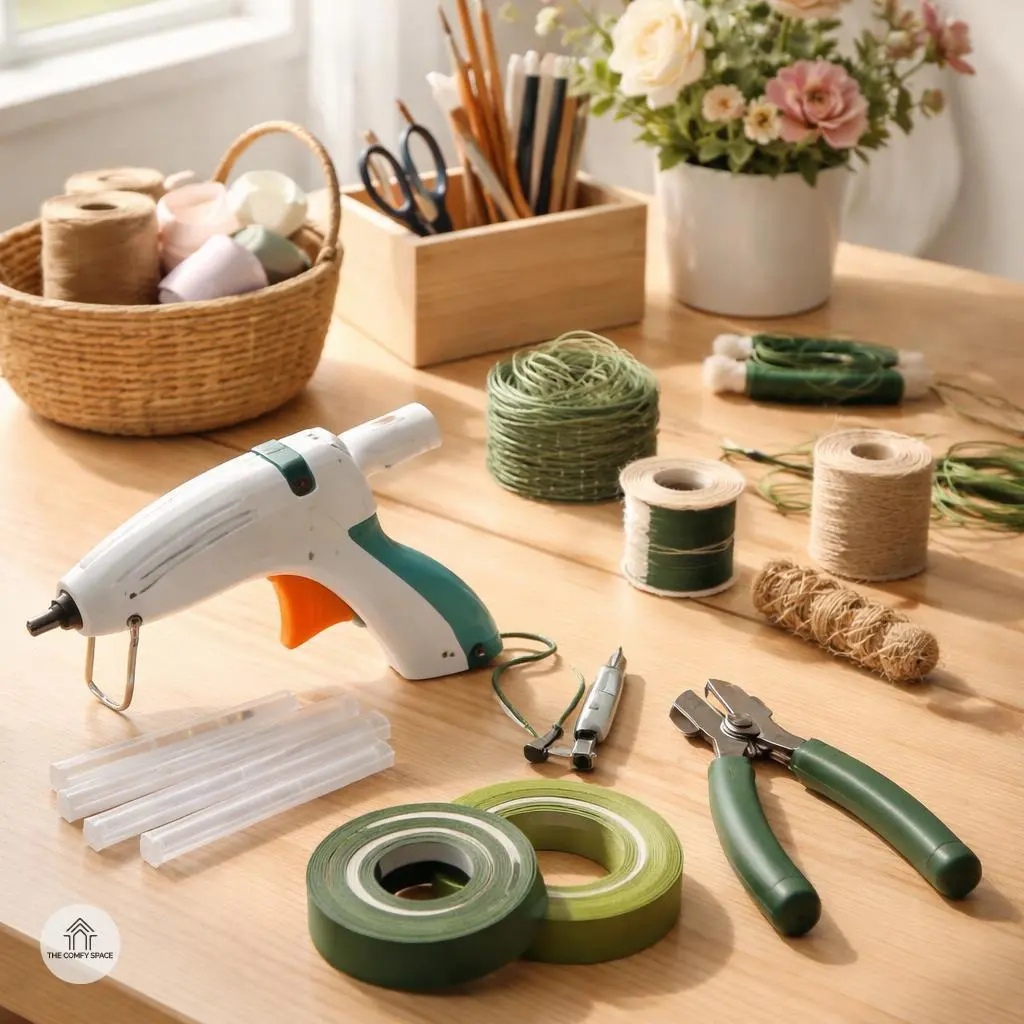
Walking into a craft store can be like entering a candy shop — so many shiny tools and supplies, it’s easy to get overwhelmed. Over the years, I’ve learned that having a trusty toolkit with essentials like hot glue guns, wire cutters, and floral tape makes all the difference. These basics save you from last-minute panic moments when your project starts falling apart, literally. Plus, investing in quality tools means they’ll last you through countless fun crafting sessions!
One time, I nearly faced a crafting meltdown because I was stuck hunting for floral tape in a chaotic store aisle. Lesson learned: always make a list before you shop and maybe visit that local craft store you trust. Honestly, having the right tools on hand feels like having a superhero sidekick in your creative corner. Like the pros say, “Good tools are the foundation of great crafts,” says my favorite craft store guru.
Maintaining Your Spring Wreath for Lasting Cheer
Finding the perfect spot to hang your spring wreath is key to keeping it cheerful for weeks. Avoid placing it where direct sunlight can bleach those vibrant colors or near the rain, which can turn your lovely piece into a soggy mess. I learned this the hard way when my favorite wreath ended up looking like a wilted salad after a surprise storm. Pro tip: A covered porch or shaded entryway is like a wreath’s little vacation spot.
Keeping your wreath fresh isn’t rocket science, but it takes some love. Gently dust the petals and leaves every week with a soft brush or a quick shake outdoors. Spritzing a light coat of water (not too much!) can revive those colors, especially if your wreath uses real greenery. Like a floral designer once told me, “Small, consistent care beats big fixes.” Trust me, a bit of upkeep keeps your wreath inviting and vibrant without feeling like a chore.