
Spring breathes new life into our homes, making it the perfect season to refresh your walls with some vibrant art. There’s just something about warmer days and blooming flowers that inspires creativity, right? Instead of heading straight to the mall, why not try a few DIY projects that add personal charm and character? As one seasoned interior designer puts it,
“Personal touches on your walls make your space truly yours.”
Plus, crafting your wall art is a fun, budget-friendly way to express yourself.
Expect easy, colorful ideas that don’t require fancy tools or a degree in painting. From abstract canvases to nature-inspired prints, these projects are designed to brighten your mood and your room without causing a creative meltdown. Trust me, after a few attempts and a bit of paint everywhere, there’s a wonderful thrill in seeing your space transform. So, get ready to roll up your sleeves and create some spring magic!
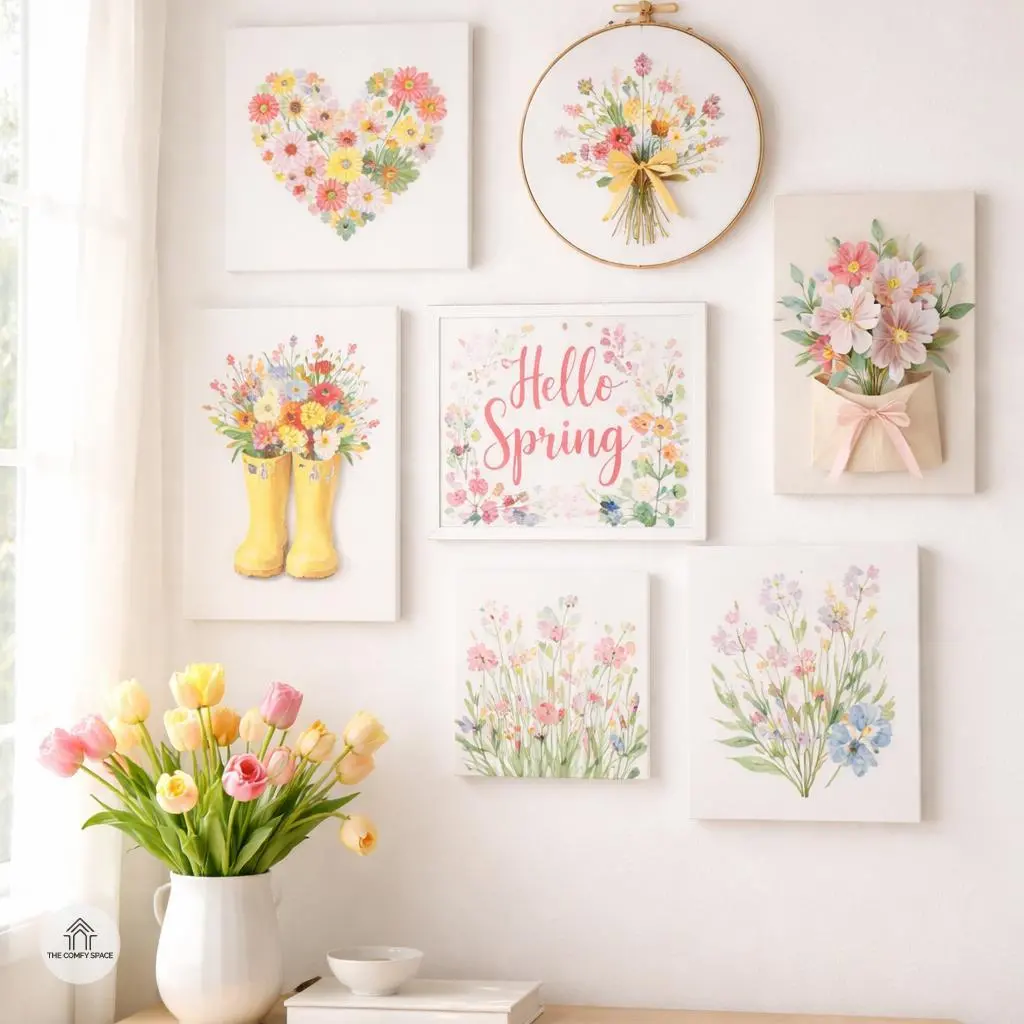
Floral Watercolor Prints
Creating floral watercolor prints is a delightful way to bring a touch of nature into your home decor. Start by gathering simple watercolor supplies—you don’t need fancy brushes or paints; even a basic set from your local craft store will do. Using pressed flowers as inspiration adds a lovely personal touch. These little treasures capture the real shapes and colors of your favorite blooms. It’s like painting with a story behind each petal.
Don’t stress about perfection here. Embrace those little wobbles and paint bleeds because, trust me, they add irresistible charm. As artist Emily Green says,
“Imperfections in watercolor create a magic that no photo can reproduce.”
Plus, if your brush slips or a color runs, it only makes the artwork more unique and cozy—just like real life.
Botanical Pressed Flower Frames
Collecting and pressing fresh flowers is a delightful way to capture nature’s beauty, but it’s also a bit of a patience game. I learned this the hard way when I squished a whole bouquet trying to hurry the process. Pro tip: press each bloom between parchment paper and heavy books, changing the paper every few days to avoid moisture. It’s like growing your own little piece of art over weeks!
Once your pressed beauties are ready, pop them into clear glass frames for a delicate, museum-worthy display. Mix and match shapes and sizes—think circles, rectangles, and even hexagons—to keep your walls dynamic and lively. “Framing these pressed flowers transforms simple moments into timeless memories,” a design expert notes. This approach turns an ordinary room into a botanical haven that sparks joy and conversation.

Spray-Painted Leaf Stencils
Creating spray-painted leaf stencils is an easy and fun way to bring a splash of nature into your home decor. Start by crafting stencils from real leaves or craft paper — the shapes of leaves give your artwork that whimsical, organic feel. Pro tip: Choose leaves with interesting edges or veins; they add texture and character. Then, lay these stencils on canvas or thick paper and get ready to spray paint. If you’re anything like me, juggling spray cans can be both messy and amusing, but that’s part of the creative process!
To truly capture the essence of spring, mix vibrant colors like fresh greens, cheerful yellows, and soft pinks. Layering these shades gives your piece a sense of depth and life. As interior designer Lisa Morgan wisely says,
“Playing with color layers can turn a simple stencil into a stunning centerpiece.”
So don’t be afraid to experiment—mistakes often lead to unexpected masterpieces! Plus, it’s a great excuse to make a bit of a mess and call it art.
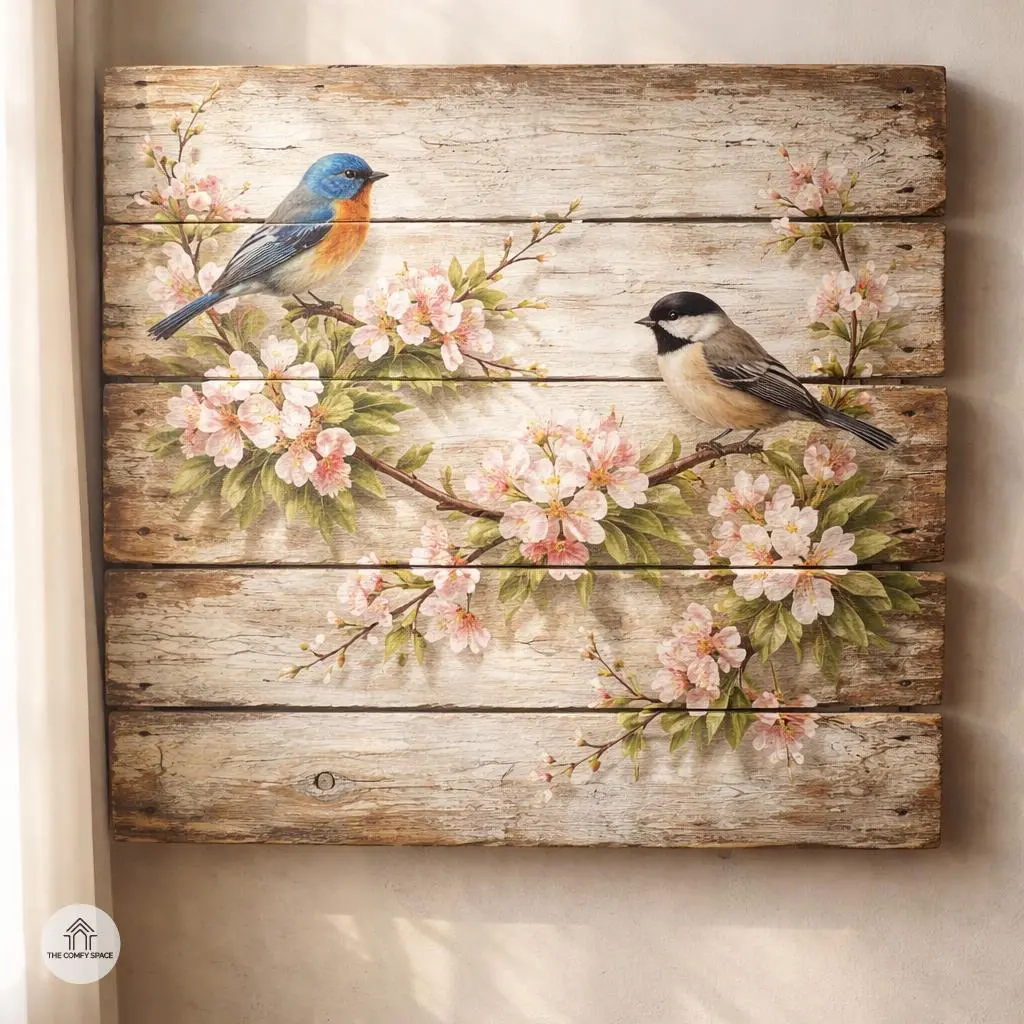
Upcycled Wooden Pallet Art
Upcycled wooden pallet art is a fantastic way to blend creativity with sustainability. Finding inexpensive pallet wood is easier than you think—just check your local hardware store or ask around at nearby cafes or warehouses; many are happy to give away pallets they no longer need. Once you have your wood, painting spring motifs like birds and blossoms can instantly brighten up any room. I once tried painting a cheerful robin and ended up chuckling at my less-than-perfect brush strokes—it’s all part of the charm!
To give your creation that perfect rustic vibe, distressing the paint is key. Light sanding or using a dry brush technique can mimic natural wear, making your piece look like it’s got a lovely story to tell. As interior designer Anna Smith says,
“Distressing brings character and life; it’s like adding the soul of the wood back into the art.”
So, embrace the imperfections and have fun turning those pallets into personalized spring masterpieces!
Yarn Wrapped Wall Hangings
Yarn wrapped wall hangings bring a cozy burst of color and texture to any space. Using embroidery hoops or natural sticks as your base makes the project both affordable and fun. Just wrap vibrant strands of yarn around the shape, layering colors or alternating thicknesses for an eye-catching effect. Adding spring-themed charms like tiny flowers or pastel butterflies gives a fresh, seasonal touch that lifts the room’s vibe instantly.
Don’t be afraid to mix and match textures! Play with fuzzy yarns, smooth cotton, or even add some sparkly thread for extra flair. As designer Lara James puts it,
“Mixing textures keeps your art interesting and tactile.”
Personally, I once spent hours untangling my yarn mess (lesson learned—always have a calm yarn zone!). But the result was a stunning, playful wall piece that sparked compliments from everyone who visited. Yarn wrapped hangings are low fuss, high impact—they’re your new spring decor BFF!
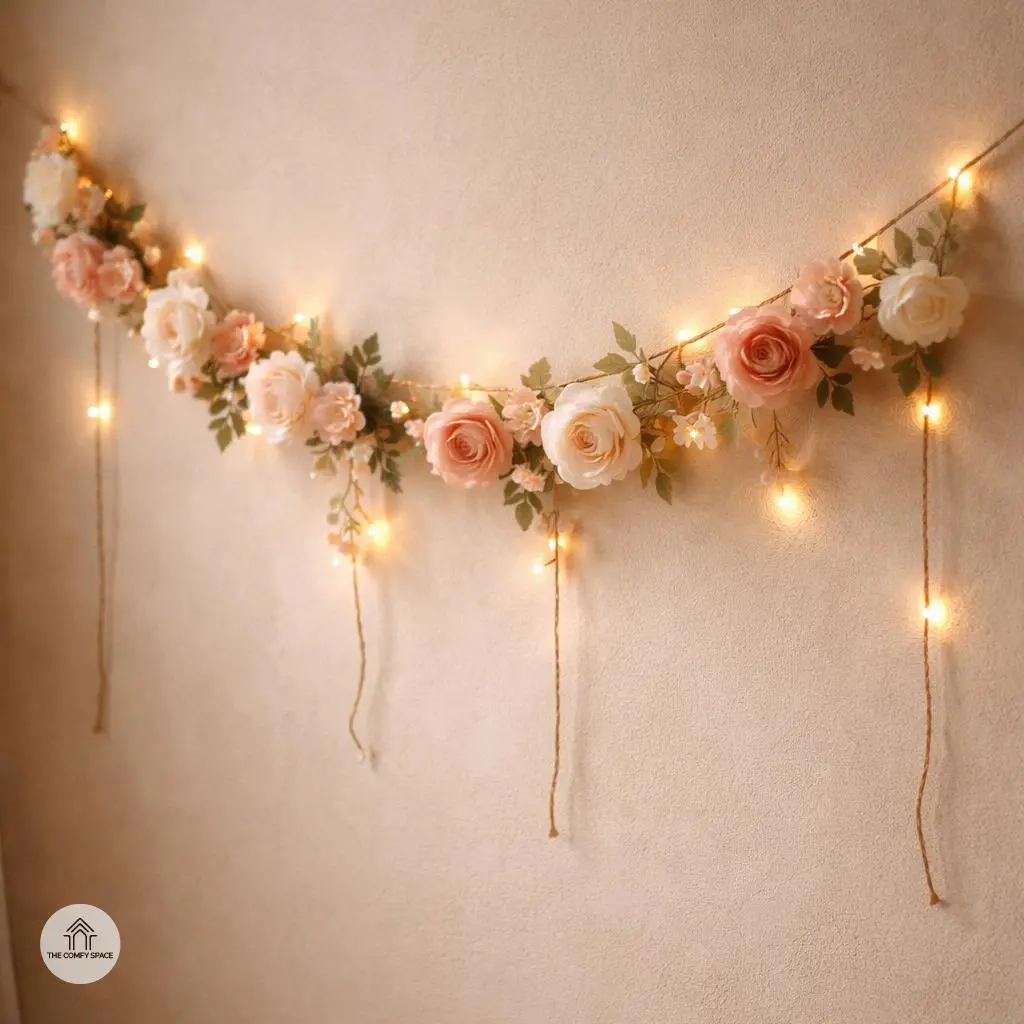
DIY Floral Garlands for Wall Decor
If you’re looking to add a sweet touch to your walls without breaking the bank, DIY floral garlands are a fantastic option. Start by crafting simple flowers from paper or fabric—you don’t need to be a pro crafter; a few folds and cuts can work wonders. Then, string these blooms along twine or ribbon, experimenting with different lengths and patterns to find your perfect look. As interior designer Lara James wisely puts it,
“Handmade details add a soul to your space, instantly making it feel like home.”
One of my early attempts involved a tangled mess of fairy lights and paper flowers—yes, it was chaotic, but the learning curve made the final result a proud moment. To elevate the cozy factor, weave some fairy lights through your garland, creating a warm glow that’s perfect for relaxing evenings or uplifting your mood during gloomy days. Trust me, your walls will thank you!
Personalized Photo Collage with Spring Themes
Creating a personalized photo collage with spring themes is an absolute joy, especially when you add those soft pastel filters to your pictures. It’s like giving your memories a light, airy makeover that instantly lifts your spirits. I once spent an afternoon reprinting old photos at a local print shop, only to realize a pastel filter made a huge difference—it softened harsh daylight and brought out delicate pinks and greens, perfect for spring vibes. This little trick makes your collage feel fresh and inviting, like a gentle spring breeze captured in frames.
To make it truly yours, think about arranging your photos with hand-drawn floral borders. It’s simple but effective—grab your favorite pens and doodle little flowers around the edges. This personal touch transforms your collage from a mere photo display into a heartfelt work of art. And for a playful twist, use washi tape to mount or decorate your photos—trust me, the colorful rolls at craft stores are addictive. Plus, washi tape saves you from sticky messes or tedious framing. As interior designer Anna Rossi humorously notes,
“A bit of tape, a splash of color, and suddenly your wall tells a story.”