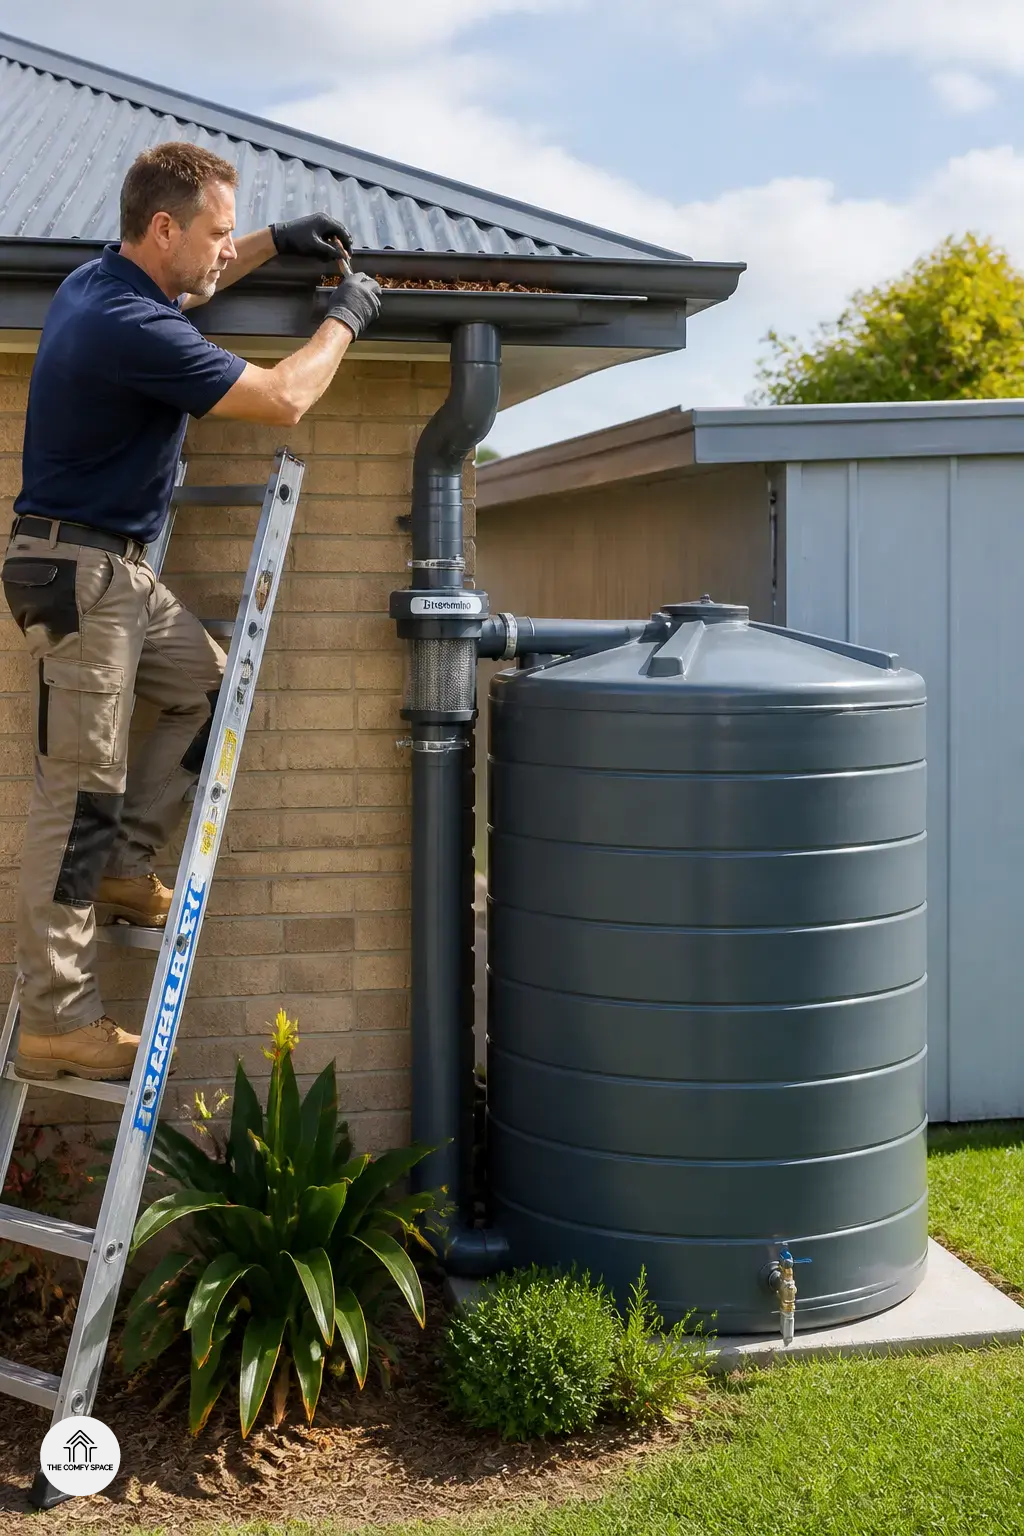
Rainwater collection is one of those ideas that sounds a little “DIY weekend project gone wild” at first, but it’s actually pretty smart. I learned that the hard way after one overwatered garden bed and a surprisingly high water bill. A simple setup can save water, trim monthly costs, and keep your plants happy without turning your backyard into a science lab. “Small systems often deliver the biggest everyday wins,” says Lara Bennett, a home sustainability consultant.
It also helps with cleaning tasks and emergency water storage, which is handy when the weather gets weird. Start small, maybe with one barrel from a familiar store, and don’t rush the placement. Bad positioning and weak filtration are classic beginner mistakes. This guide keeps things friendly and practical, so you can build a system that actually works for real life, not just for Pinterest.
Choose the Right Rainwater Collection Setup
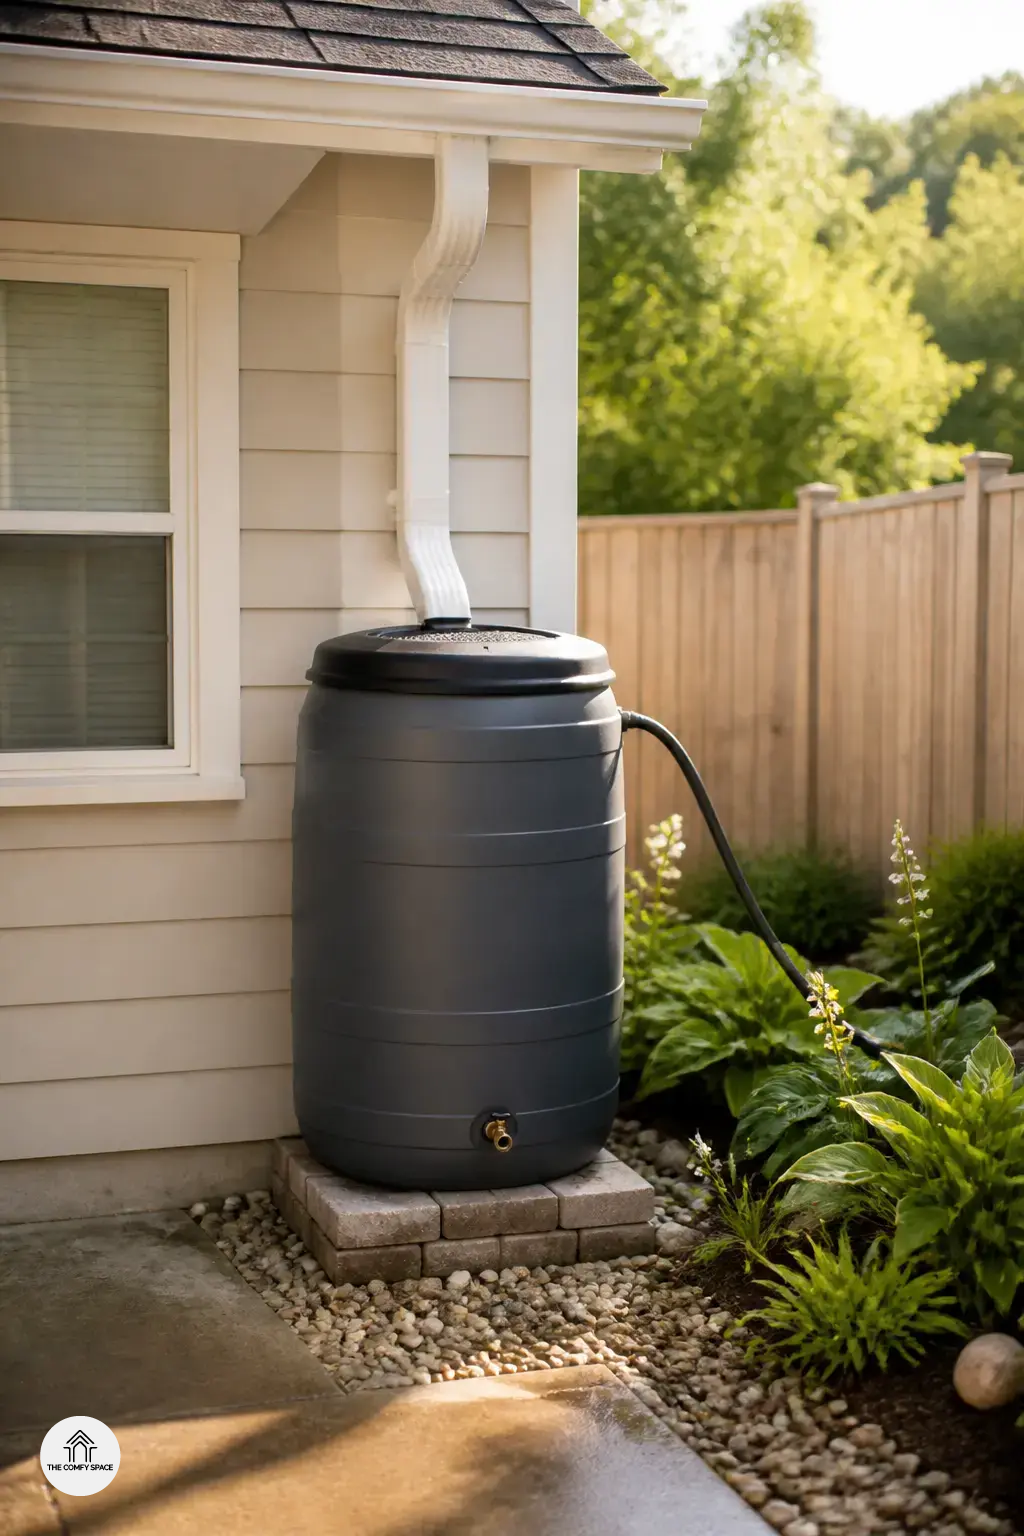
Choosing the right rainwater collection setup can feel a bit like shopping at a big home store with a cart full of “maybe” items. First, decide what you actually want the system to do. Is it for watering plants, rinsing muddy patios, or keeping a small backup supply? Then match that goal to the right size. A simple barrel works well for light use, while a cistern makes more sense if you need more storage.
“Start with the job, not the gadget,” says home water specialist Lena Ortiz.
Before you buy anything, check your roof size, local rainfall, and the space you really have. I once saw someone order a huge tank, only to realize it had nowhere to go except next to the grill. Classic mistake. Measure twice, then measure again. A little planning saves money, stress, and that awkward moment when your “perfect” system doesn’t fit. Keep it practical, and the whole rainwater collection project becomes much easier to install and use.
Select the Best Location for Your System
Choosing the right spot for your rainwater collection system sounds easy, until you realize the “perfect” corner is sloped, muddy, or right where the kids kick a soccer ball. I learned that the hard way after moving a barrel twice from the hardware store-run part of the yard. As “the best setup starts with smart placement,” says Maria Lopez, landscape designer. So,
- Place your collection point under a downspout with steady rain flow.
- Keep the ground level and sturdy for a full tank.
Also, keep it close to where you will actually use the water. Trust me, dragging hoses around gets old fast. If your garden is the target, don’t park the tank across the yard like some kind of hydration treasure hunt. A good location makes the whole rainwater harvesting system easier to use, safer, and way less annoying.
Gather Materials and Tools Before You Start
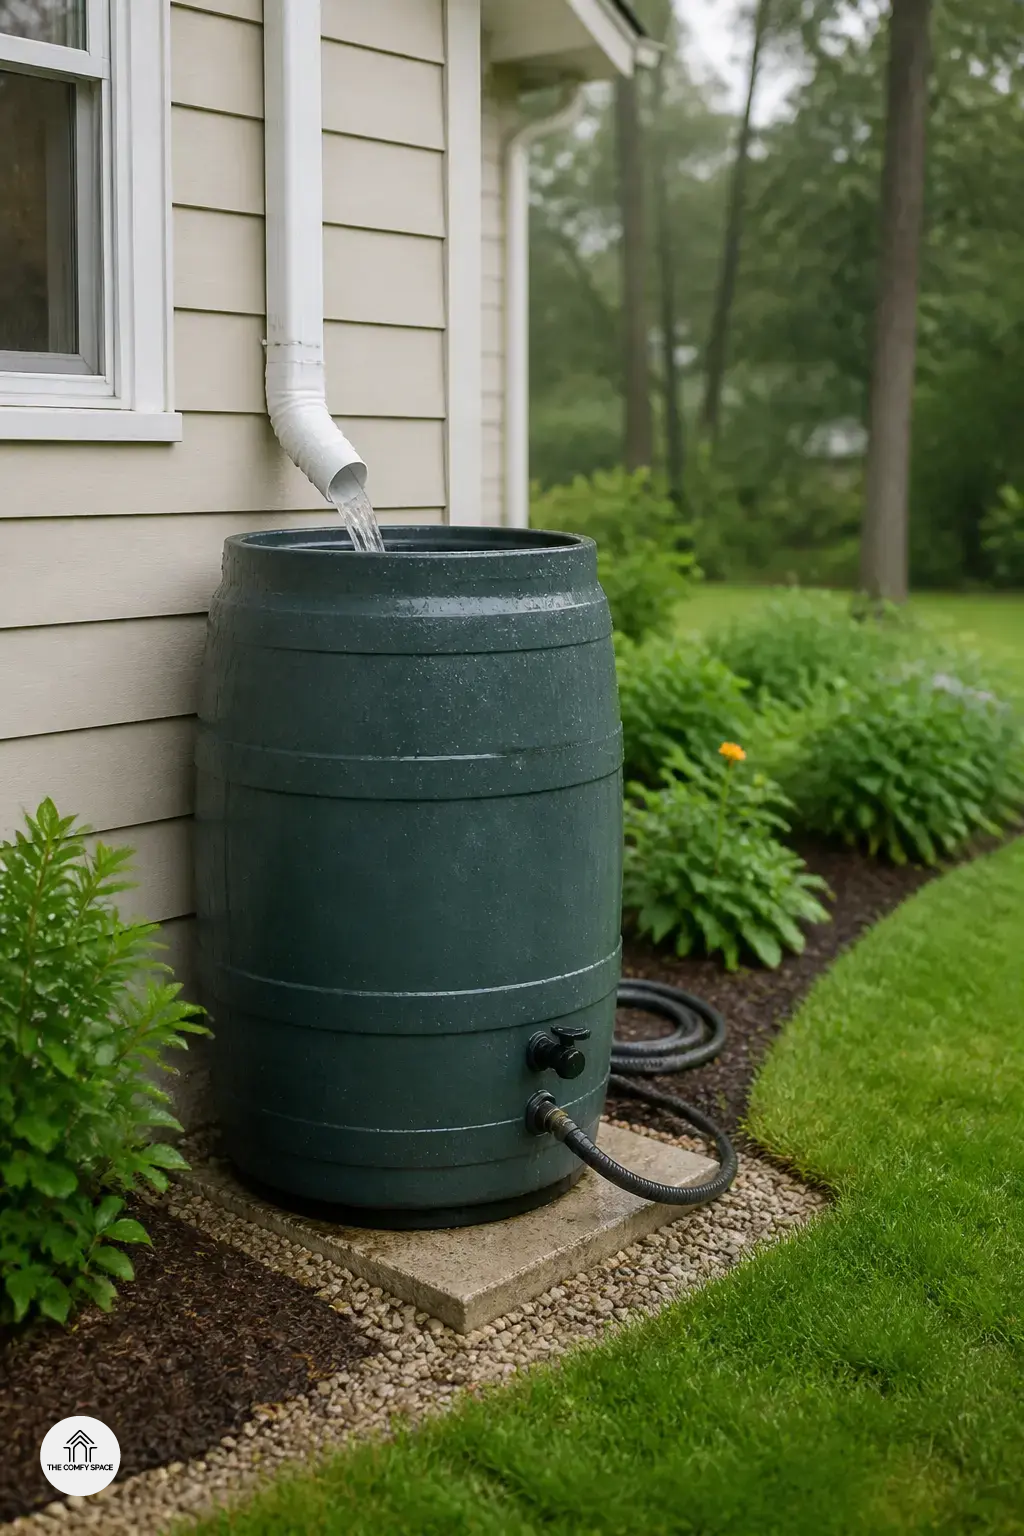
Before you start cutting pipes and feeling like a weekend plumber, gather everything first. A rain barrel or storage tank, gutter diverter, downspout parts, and a screened inlet are the big ones. For tools, keep a drill, saw, level, sealant, and hose fittings close by. I once forgot the sealant and made the classic “quick trip” to the store. It was not quick. As home improvement pro Dana Mitchell says,
“Good prep turns a messy job into a smooth one.”
- Check your parts twice.
- Lay everything out before you climb the ladder.
- Buy a little extra tape and fittings, just in case.
Install the Gutters, Diverter, and Storage Tank
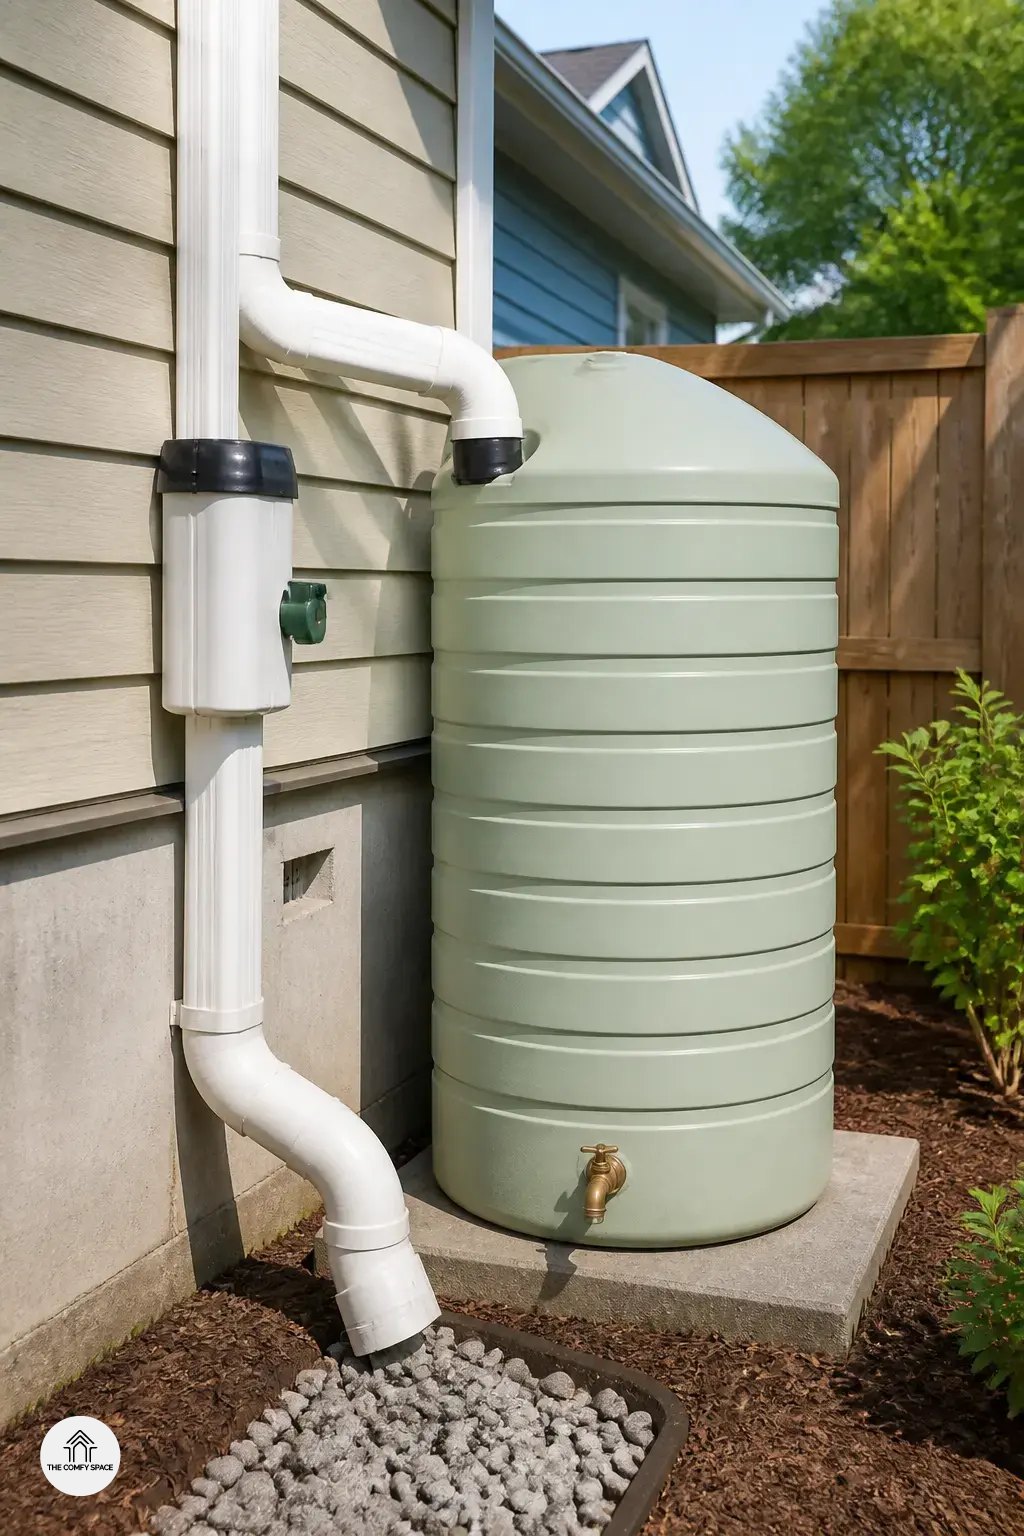
Now for the fun part: getting the gutters, diverter, and storage tank to play nicely together. I learned the hard way that “close enough” is not a real installation plan. Start by connecting the diverter to the downspout so rainwater flows into the tank, not onto your shoes. Add screening to keep out leaves, bugs, and other backyard surprises. As landscape designer Mia Carter says, “Small details save big headaches later.”
Then set the tank securely and connect overflow routing so heavy rain does not turn into a muddy mess. I once skipped that step and ended up with a mini swamp by the garage. Not cute. If you are picking parts at a familiar store like Home Depot or Lowe’s, double-check fittings before you leave. Your future self will thank you.
Test the System and Fix Common Issues
Once the rainwater collection system is installed, don’t skip the test run. I made that mistake once, and yes, water ended up where it absolutely should not have. Run water through the setup and watch for leaks, slow flow, or loose joints. A little patience here saves a soggy headache later.
Then check the first flush and filter.
“Small fixes now prevent big repairs later,”
home water specialist Dana Reed says. If water pools, clogs, or won’t enter the tank smoothly, tweak the angle or tighten fittings. It’s a bit like a DIY trip to the hardware store—annoying at first, but oddly satisfying when everything finally clicks.
Maintain Your Rainwater System for Long-Term Success
Keeping your rainwater collection system happy is not glamorous, but it pays off. I learned that the hard way after skipping gutter cleaning and ending up with a leafy mess that looked like a tiny swamp. As
“Routine maintenance is the cheapest insurance you can buy for a rainwater system.”
says Emma Clarke, a water systems consultant. Clean the gutters and screens regularly so debris does not build up. It is a simple weekend job, and yes, it is still easier than wrestling a clogged hose in the rain.
After storms or seasonal changes, inspect the tank, fittings, and overflow line. I once missed a loose fitting and got a surprise puddle by the shed—very cute, not very useful. Keep an eye on water quality and make small repairs early to avoid bigger headaches later. A quick check now saves a big repair bill later. Think of it like a trip to the hardware aisle at your favorite store: boring, maybe, but absolutely worth it.