Spring’s fresh flowers have this magical ability to instantly uplift any room. Their bright colors and delicate scents breathe life into tired spaces, making your home feel brighter and more welcoming. I remember one winter, stuck indoors and feeling the seasonal blues, a few vibrant tulips on my table literally changed the vibe overnight. As floral designer Lily James says,
“Fresh flowers are nature’s happiness delivered straight to your home.”
It’s true—no matter your style or space, fresh spring blooms work wonders.
What’s even better? DIY centerpieces are for everyone, novice or pro! Trust me, I once feared messing up my arrangements, but this guide breaks it down to simple, playful steps. It tackles common beginner blunders, like overcluttering or under-watering, so you can confidently create eye-catching pieces. Whether you’re a ‘never touched flowers’ type or a budding floral enthusiast, this guide makes flower arranging fun and easy—more like a creative therapy session than a chore.
Choosing the Right Spring Flowers for Your Centerpiece
Choosing the right spring flowers can truly transform your DIY centerpiece from pretty to stunning. Popular spring flowers like tulips, daffodils, and hyacinths are crowd-pleasers for a reason—they bring in vibrant colors and lovely scents that instantly brighten up any room. I learned the hard way that picking from your local market or even your garden makes all the difference. Nothing beats the satisfaction of handpicking flowers yourself, even if you accidentally picked a droopy one or two—hey, it’s part of the fun!
When selecting your blooms, here are some quick tips to spot freshness: look for firm petals, vibrant colors, and no brown spots. Remember, “The freshest flowers make the longest-lasting arrangements,” floral expert Anna Bloom says. It took me a couple of tries to get this right, but now I always test flowers by gently squeezing the stems before buying. Your centerpiece deserves the best, right?
Simple Steps to Create Your DIY Flower Centerpiece
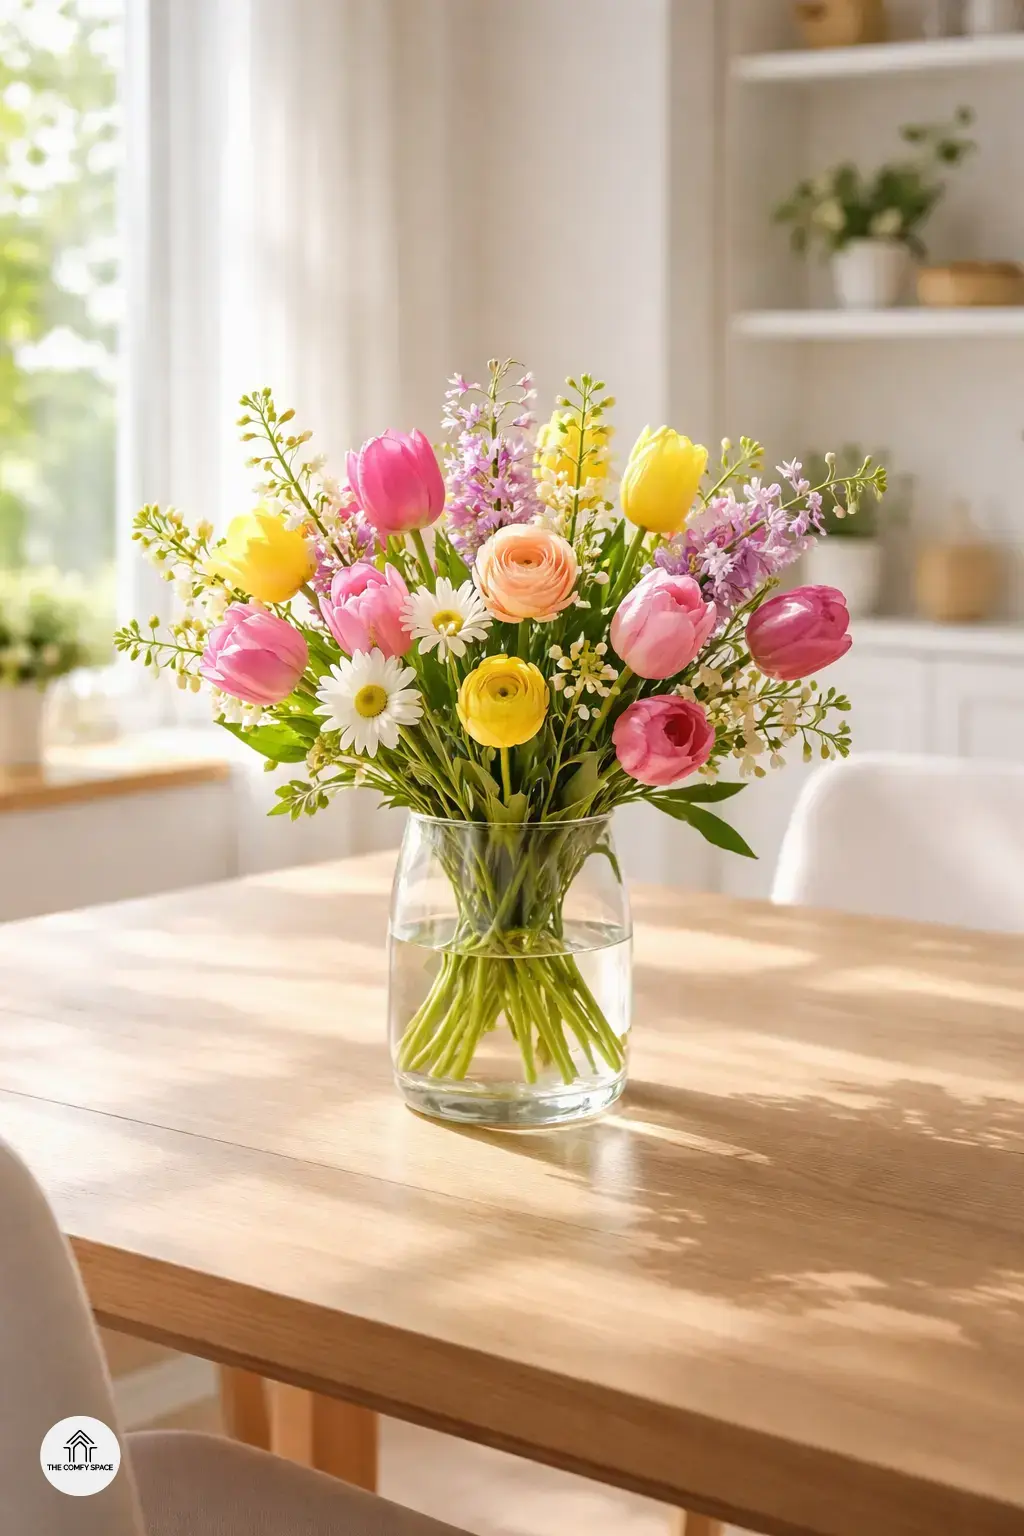
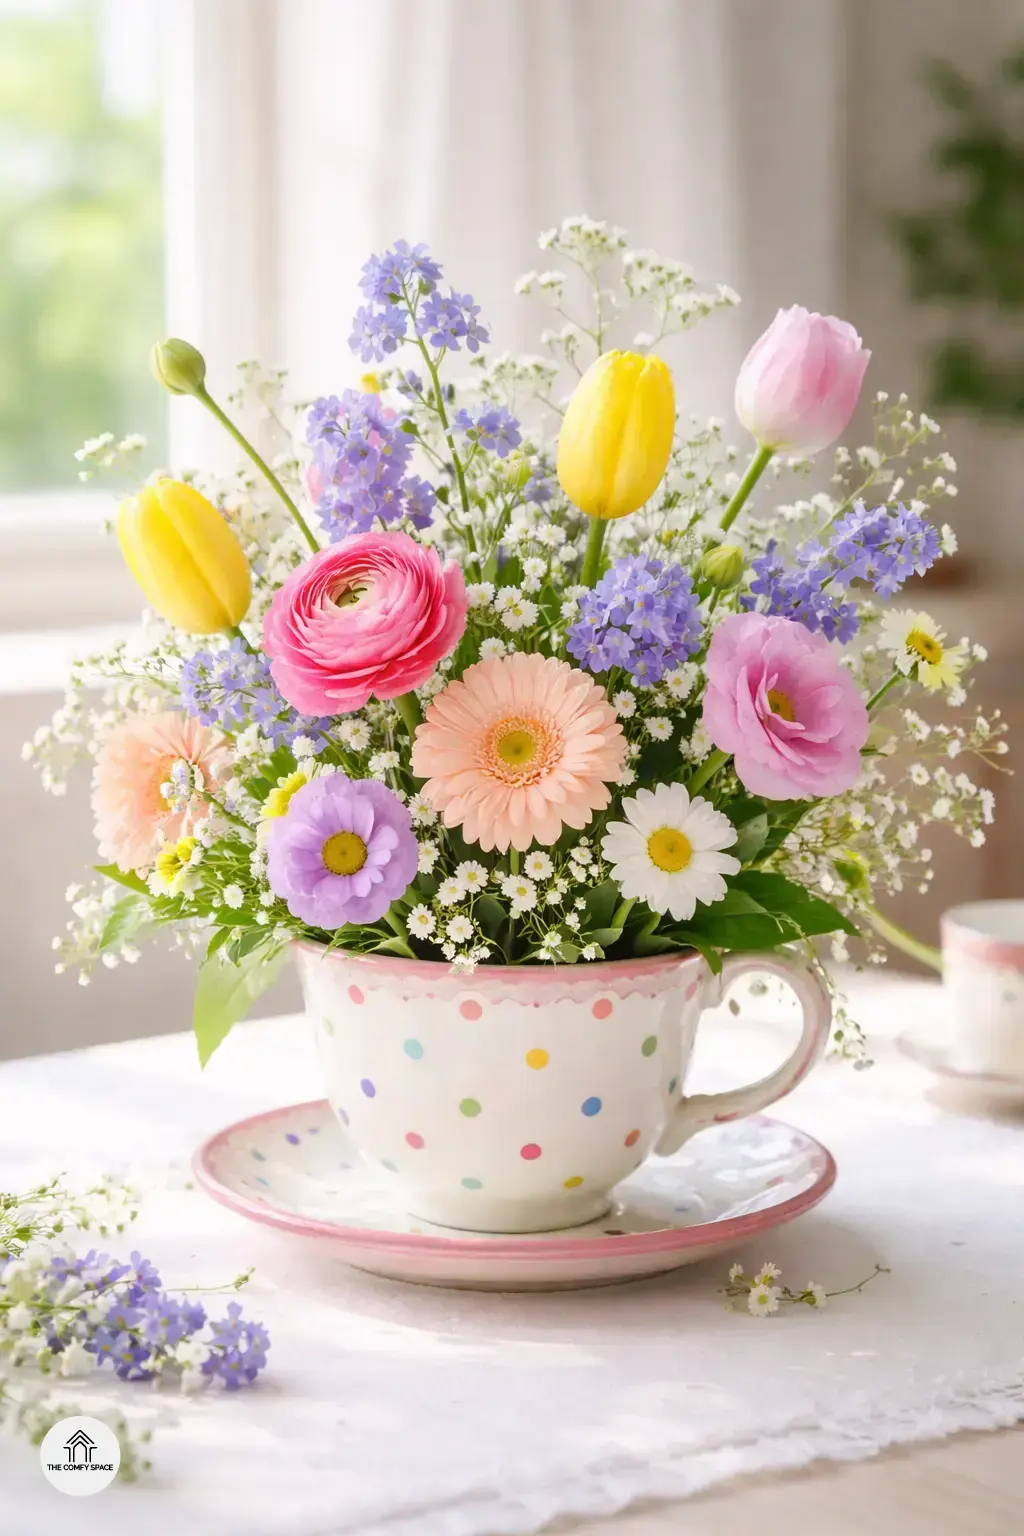
Creating a stunning DIY flower centerpiece doesn’t have to be complicated. Start by selecting the perfect vase or container – it’s like choosing the stage for your floral stars. Think of quirky teacups, mason jars, or sleek glass vases. Remember, size matters! Too big, and your flowers look lost; too small, and you risk a crowded mess. This step often trips people up; I once packed a tiny jar with so many blooms it turned into a colorful chaos!
Next, arrange your flowers with a playful mix of heights and colors. Taller blooms at the center or back create drama, while shorter ones keep things balanced. Don’t forget to add plenty of greenery and filler flowers – these little guys add fullness and texture, making your centerpiece look lush and professional. As floral designer Emma Brooke says,
“Balance isn’t about perfection, it’s about harmony.”
Trust me, embracing imperfection is half the fun!
Common Mistakes and How to Avoid Them
Creating beautiful spring flower centerpieces is fun, but it’s easy to stumble over a few common pitfalls. One lesson I learned the hard way? Always avoid buying flowers that are too mature or wilted. I once grabbed a bunch from my local store that looked okay initially but drooped within hours. A trusted florist says,
“Freshness is key—choose blooms with vibrant petals and firm stems to ensure longevity.”
It really makes a difference in how long your centerpiece stays lively.
Another classic mistake is overcrowding the vase. It’s tempting to go all out, but too many stems can make your arrangement look chaotic and suffocate the flowers. And don’t forget the regular TLC: trimming stems and refreshing the water every couple of days keeps your bouquet happy and healthy. Trust me, learning to embrace these simple habits will turn your DIY centerpiece from meh to marvelous.
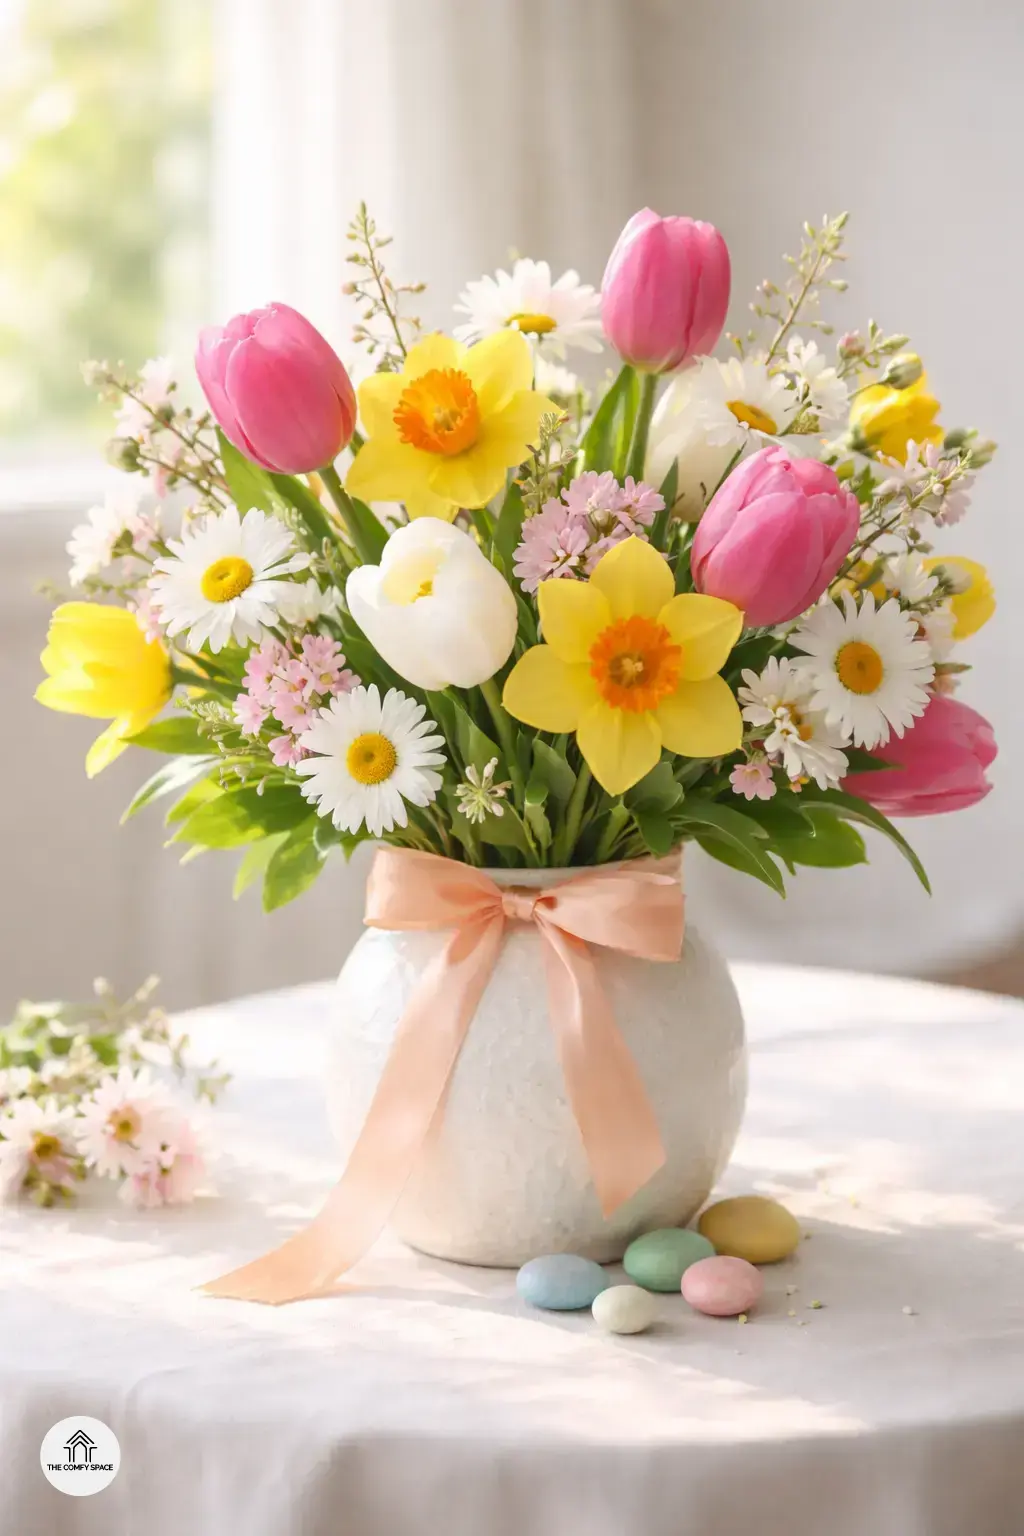
Creative Ideas to Personalize Your Spring Centerpiece
Personalizing your spring centerpiece is a fun way to make your home feel truly yours. Don’t be afraid to mix things up! Incorporating unexpected items like ribbons or colorful stones can instantly add character and a touch of whimsy. For example, I once used a vintage ribbon I found at a thrift store, and it brought such a charming flair to my bouquet—lesson learned, little details make a big difference. As floral expert Jane Bloom says,
“Adding personal touches turns simple blooms into a story.”
Another foolproof tip is mixing different flower types, like pairing tulips with daffodils or daisies, to create a unique, textured look. It keeps things visually interesting and lively! Don’t forget seasonal scents—adding a few drops of essential oils like lavender or eucalyptus to the water can make your whole space smell divine and cozy. Trust me, after a few tries, I realized these small scent touches make guests ask, “Wow, what’s that lovely smell?”