Upcycling old furniture is the perfect weekend project for anyone wanting to save money while being eco-friendly. Instead of spending hours in crowded stores overwhelmed by endless choices, you get to breathe new life into pieces you already own or find at thrift shops for a steal. It’s not just about saving cash; it’s about reducing waste and giving your home a unique flair. As interior designer Lucy Miles says,
“Upcycling lets your creativity shine while being kind to the planet.”
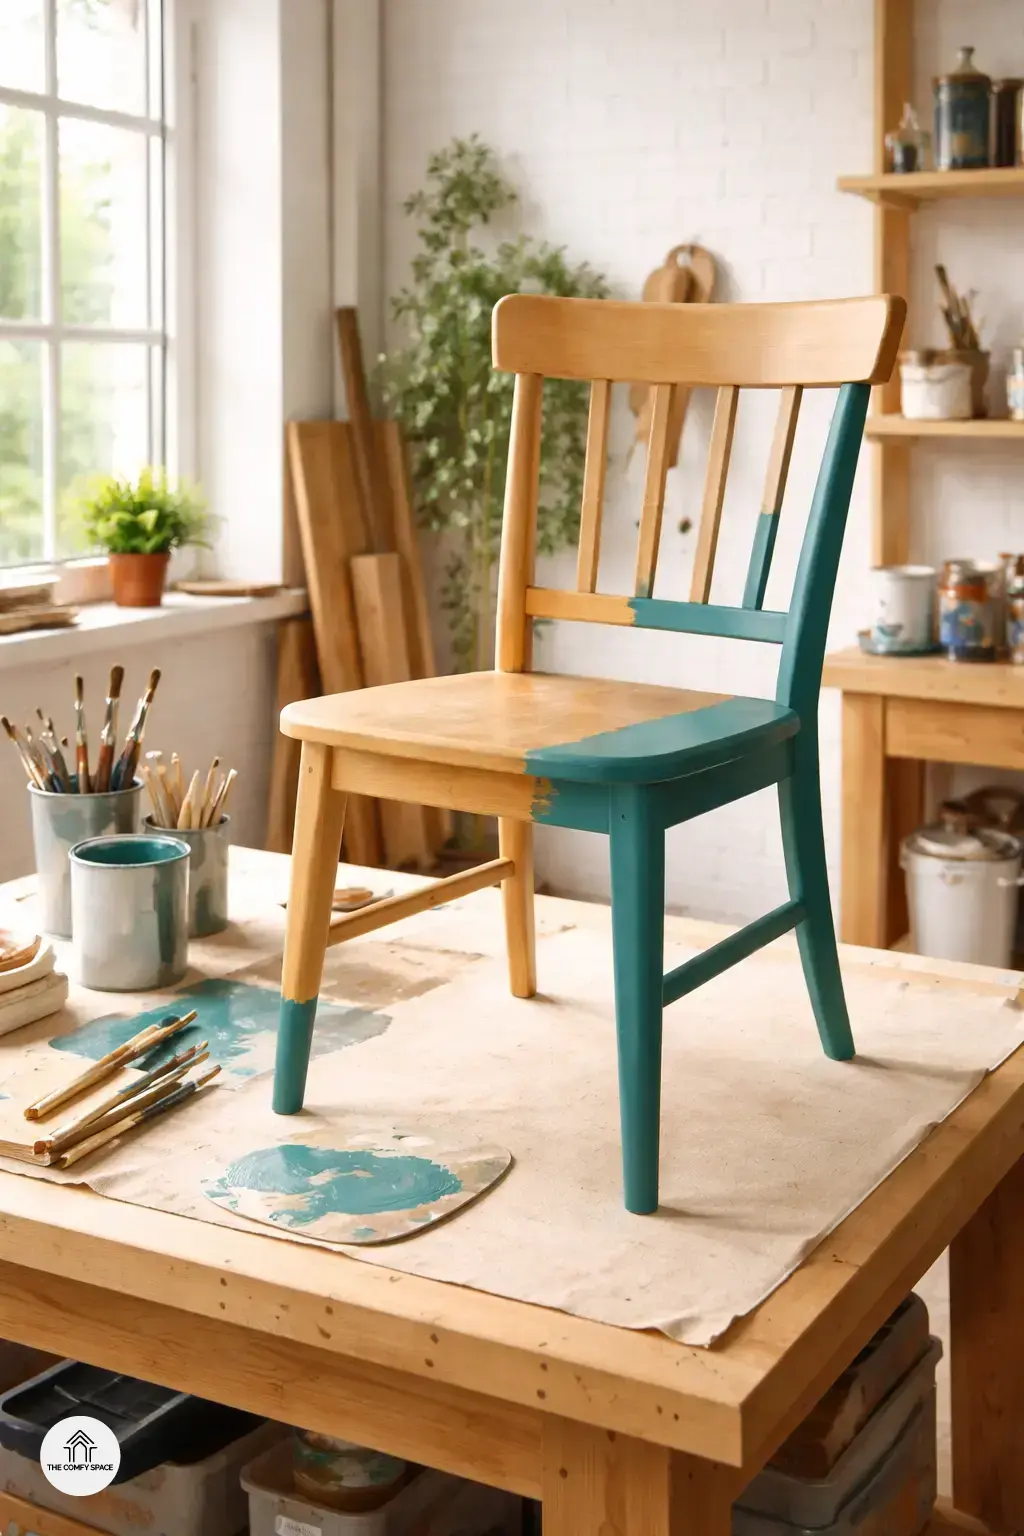
Plus, there’s something truly joyful about creating something with your own hands. I’ve had my share of paint smudges and sanding mishaps—but seeing a plain old chair turn into a stylish centerpiece? Worth every second. It’s a satisfying blend of relaxation, accomplishment, and style that few other weekend projects offer. So grab your supplies, and prepare to enjoy the rewarding chaos of transformation!
Choosing the Right Furniture to Upcycle
Choosing the right furniture to upcycle can make or break your weekend DIY project. Look for solid wood pieces with good bones—they’re like a blank canvas waiting for your creative touch. Avoid items with too much damage or missing parts; trust me, wrestling with a wobbly leg or patching big holes can turn your fun project into a frustration fest. I once picked a gnarly old dresser, only to realize halfway through it was beyond saving—lesson learned!
Thrift stores and garage sales are treasure troves for these gems. Keep an eye out during your usual weekend strolls or casual errands. Sometimes, a simple chair or side table hides potential under layers of dust and paint. As veteran upcycler Sarah Jones says,
“Great furniture doesn’t have to be expensive—it just needs a little love and vision.”
So, get that keen eye ready and start hunting!
Essential Tools and Materials for Furniture Upcycling
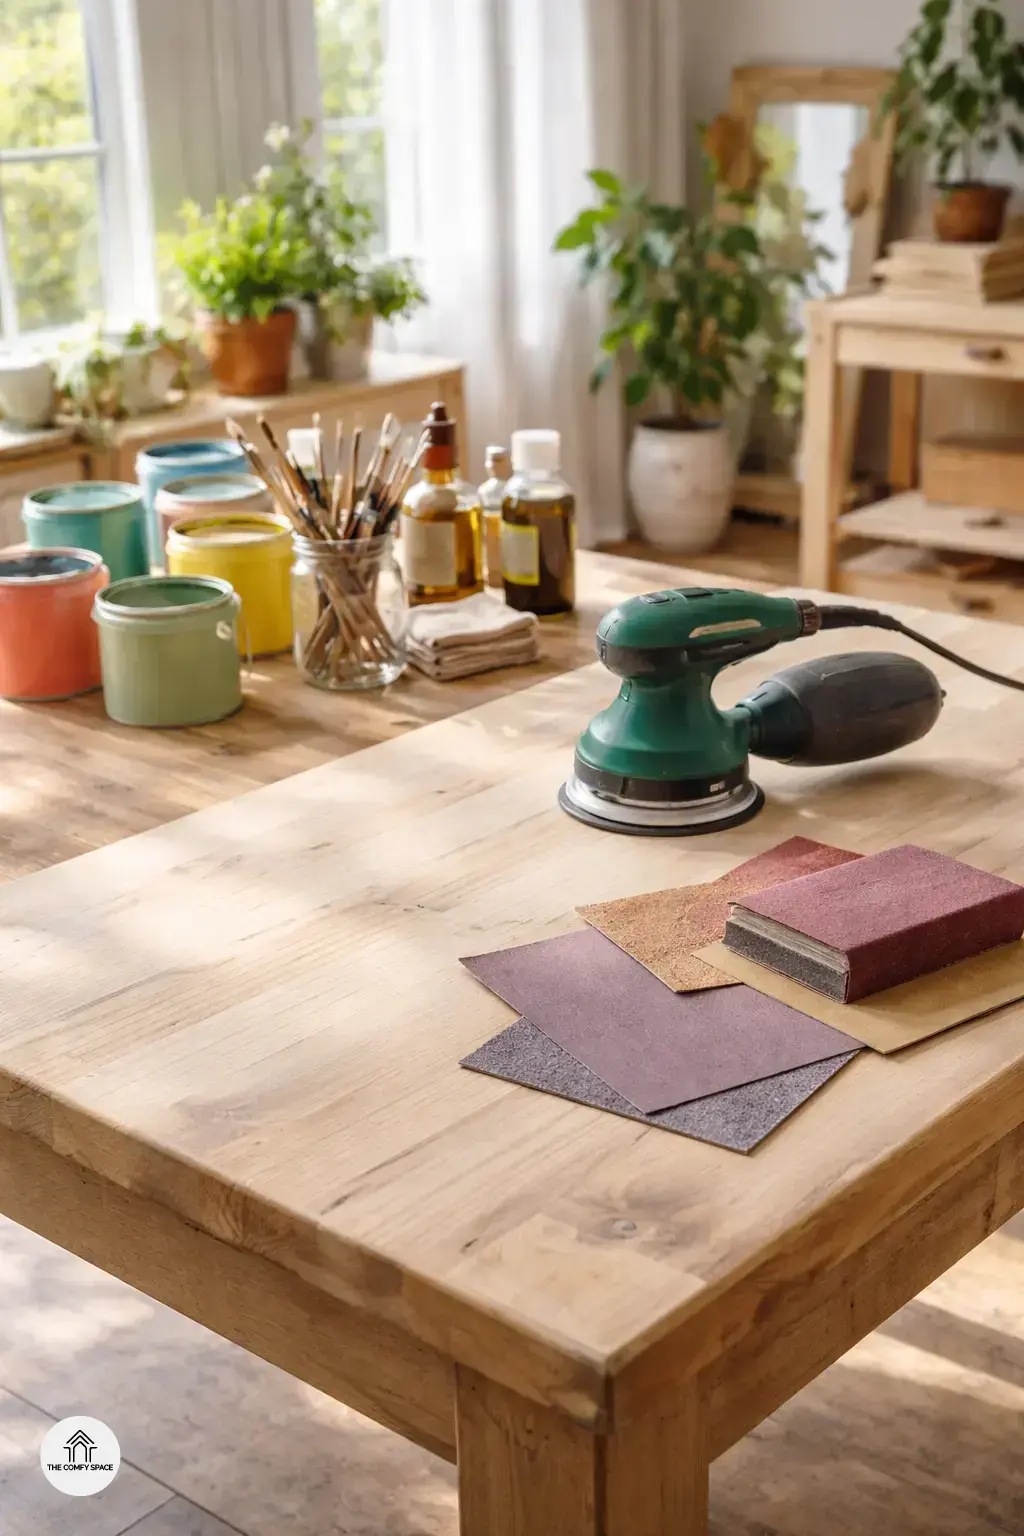
If you’re diving into the world of furniture upcycling, having the right tools on hand can make all the difference. Imagine trying to smooth a rough wooden surface with just your bare hands—yeah, not fun! Basic sanding tools, like sandpaper or an electric sander, will save you time and give your piece a flawless base coat. “Prep work is half the battle,” DIY expert Lisa Turner says. Trust me, skipping this step led to a lumpy finish on my first project—lesson learned!
Next up, pick paints, stains, and brushes that match your vision. Whether you want a vibrant pop of color or a subtle wood stain, these materials are your best friends. Don’t forget safety gear—gloves and masks protect you from dust and fumes, keeping your upcycling weekend accident-free. Plus, shopping for these essentials at your local hardware store always feels like a mini treasure hunt, doesn’t it?
Simple Upcycling Techniques to Try This Weekend
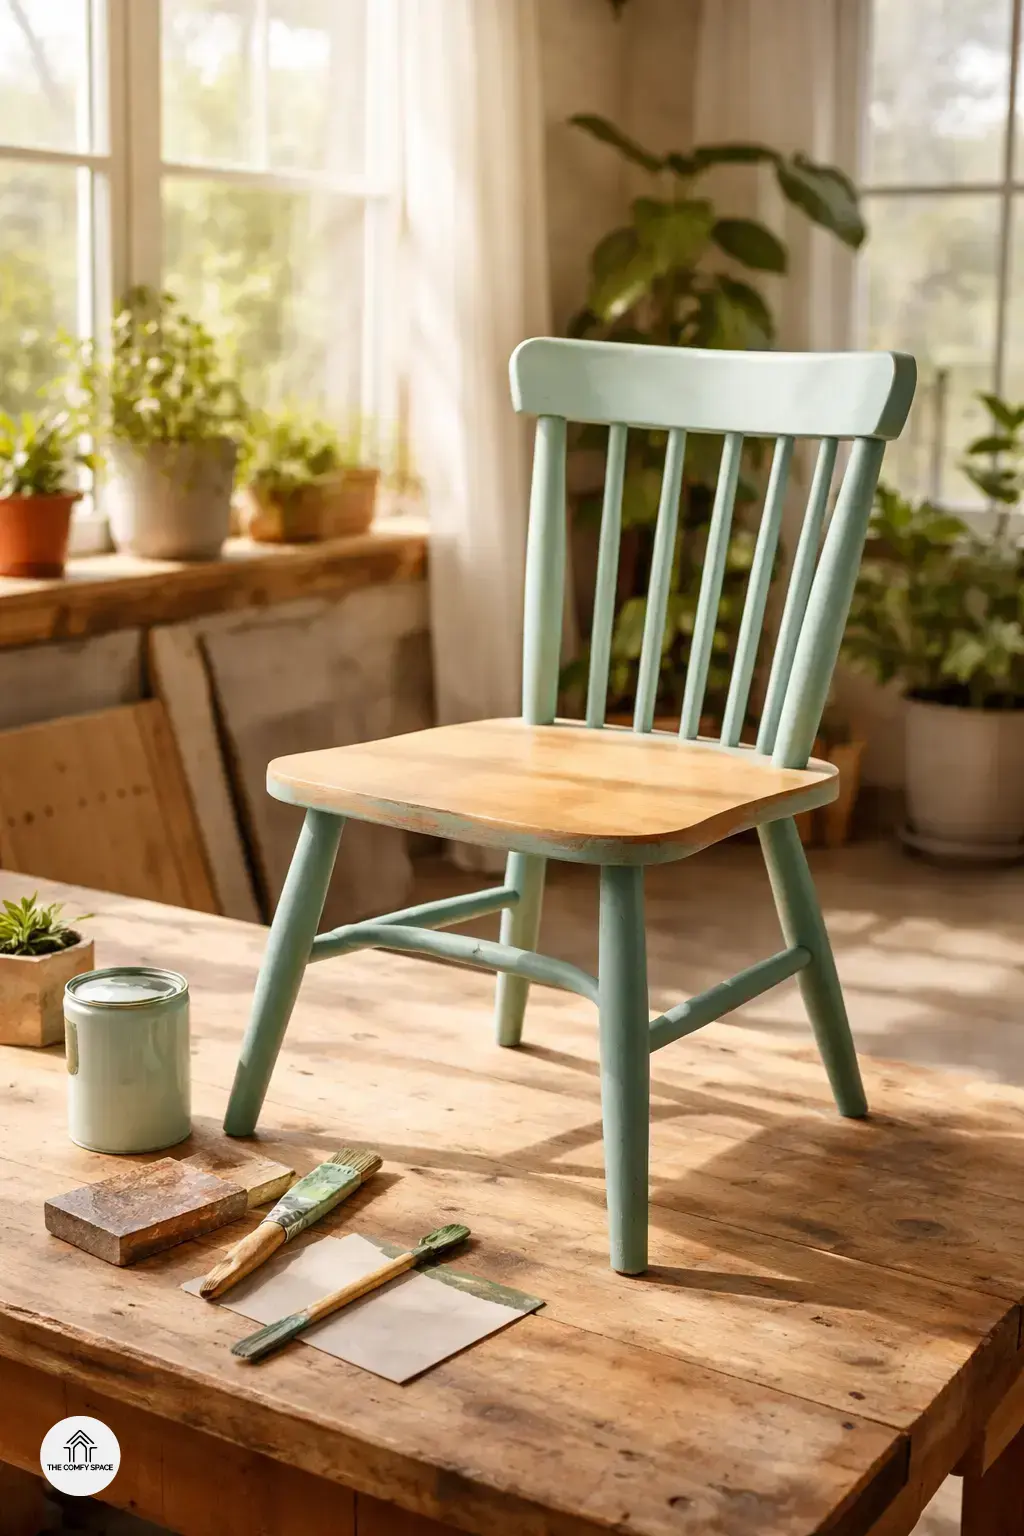
Upcycling old furniture doesn’t have to be complicated. Sometimes, the simplest techniques can make the biggest impact. Sanding and repainting with bright colors is a favorite of mine—nothing lifts a tired piece like a splash of sunny yellow or a vibrant teal. Just remember, a little sanding mess is totally normal—protect your space and enjoy the dust dance! “A fresh coat of paint works like magic to transform a piece entirely,” a DIY expert once shared.
Want to add some personality? Try decoupage using fun patterns or vintage paper. It’s like giving your furniture a stylish outfit! Or maybe swap out old knobs and handles with sleek, modern hardware for an instant update. These tiny tweaks make a big statement and are easy weekend wins. I learned this the hard way, fumbling with rusty screws, but trust me: new hardware is a game changer!
Common Mistakes and How to Avoid Them
Upcycling old furniture sounds like a fun weekend project, but skipping the prep work is a classic blunder. I once ignored sanding and ended up with peeling paint in just a week! Remember, prepping surfaces properly prevents peeling and ensures the paint sticks like a charm. “Preparation is half the battle won,” says Jamie, a seasoned DIY enthusiast.
Also, using the wrong paint can turn your stylish piece into a disaster. Wood, metal, or laminate all need different types of paint. And trust me, rushing the drying time? Been there, ruined a lovely finish with smudges. Give your creation time to dry fully — patience pays off with a neat, long-lasting look.