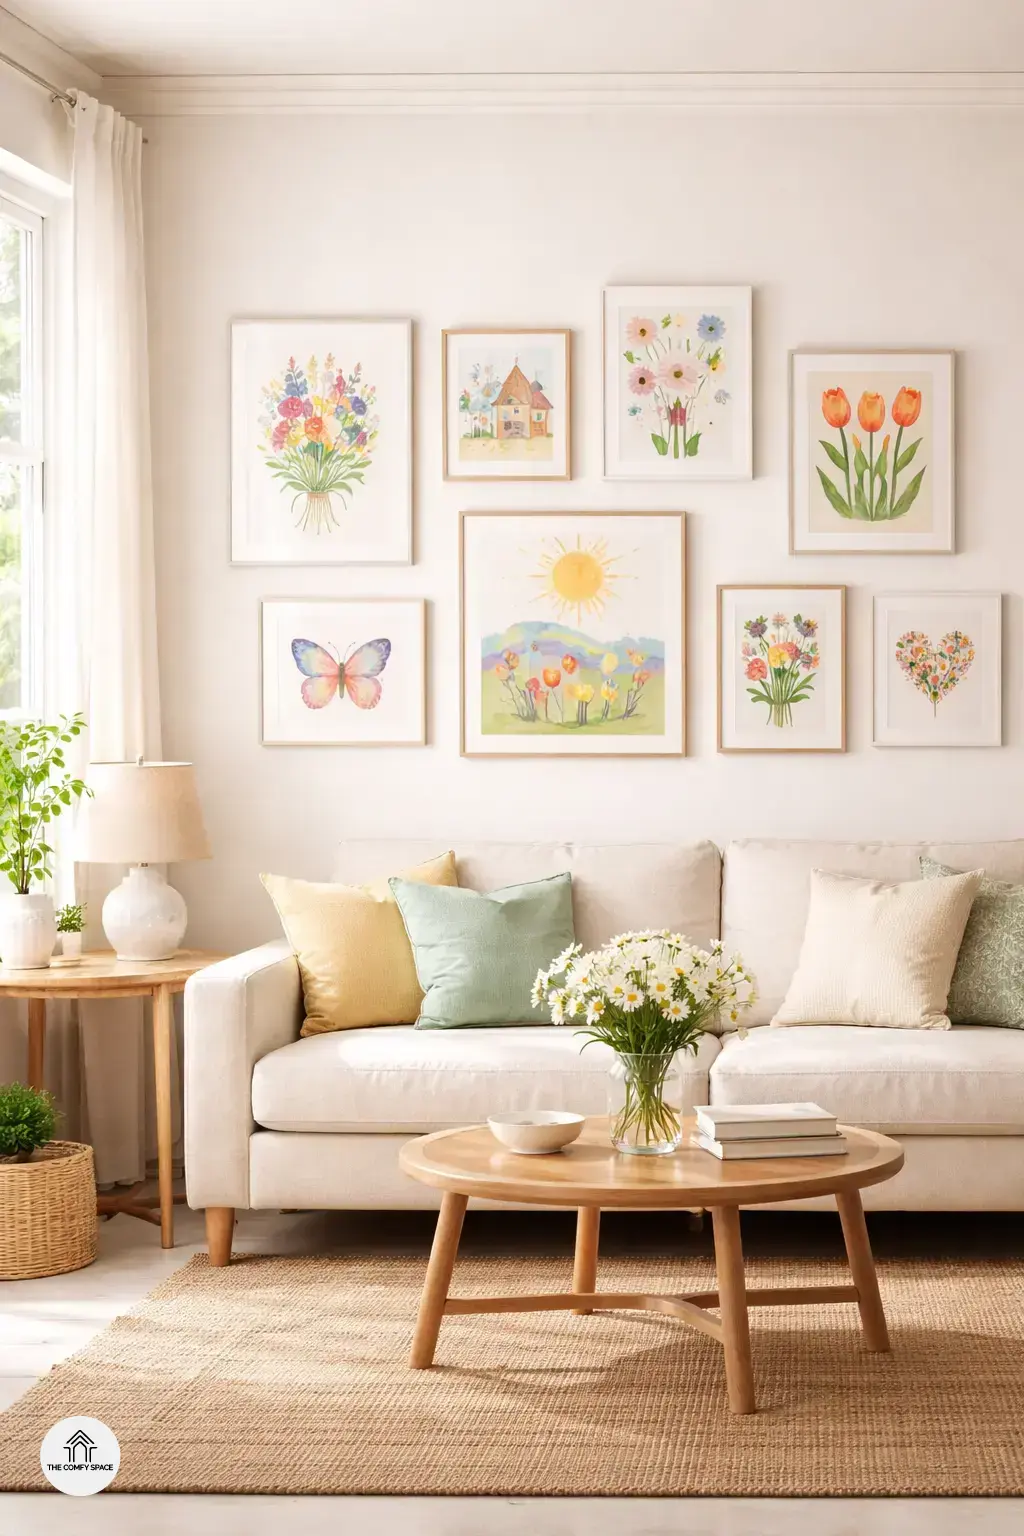
Welcome spring into your home by creating a personalized gallery wall that truly reflects your style and spirit. There’s something magical about surrounding yourself with art that you made—it’s like catching a glimpse of your own creativity every time you walk by. “A personalized gallery wall not only brightens your space but also brings joy and warmth that mass-produced art can’t match,” decor expert Ella Thompson says. Plus, it’s a fun excuse to get your hands a bit messy and experiment with colors that scream spring!
In this post, you’ll learn how DIY art adds a one-of-a-kind touch to your home decor, making your walls a vibrant storybook of your personal taste. Expect easy, step-by-step projects that even those who have struggled with a paintbrush before can nail. From playful botanical prints to abstract bursts of spring color, you’ll leave inspired and ready to craft your way to a beautifully brightened space!
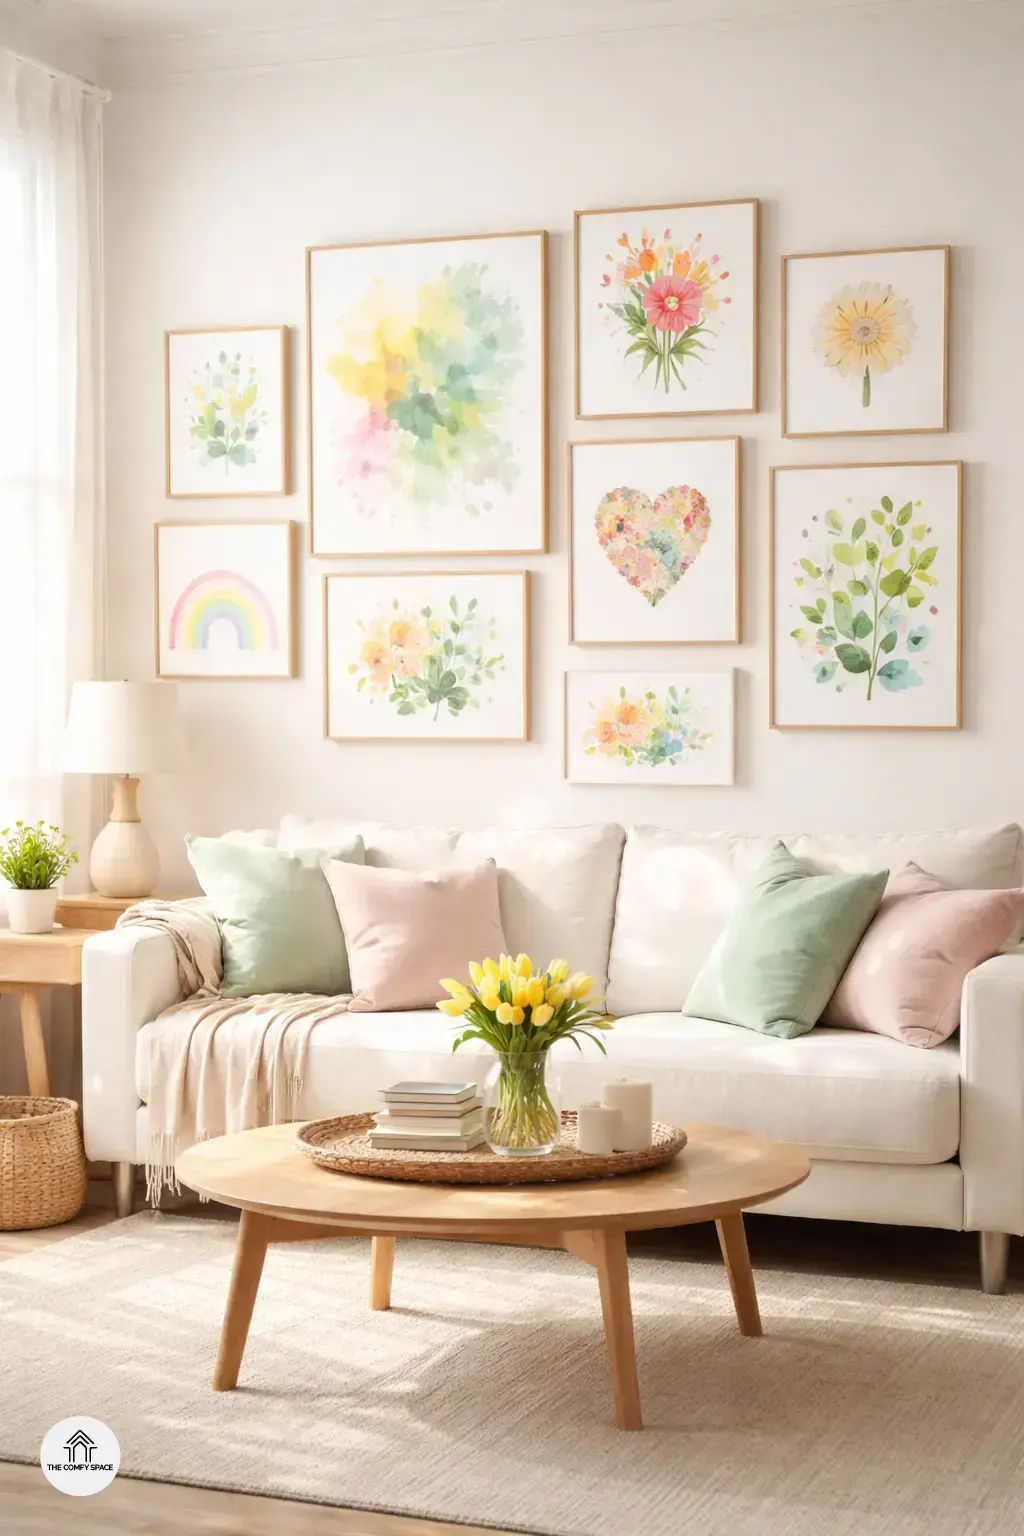
Picking the Perfect Spring Palette
Picking the perfect spring palette for your DIY gallery wall is like choosing the vibe for a party—get it right, and everything pops! Start with fresh, vibrant colors that just scream spring. Think soft pastels like blush pinks and mint greens mixed with a splash of brighter hues like sunny yellows or coral. Early attempts might feel like a rainbow exploded all over your wall; trust me, I learned the hard way by mixing colors that just didn’t play nice together.
Here’s a pro tip: balance is key. Avoid color clashes by sticking to a limited palette and layering shades thoughtfully. If you’re unsure, test colors side-by-side before committing. As color expert Emma Lively says,
“A well-chosen palette breathes life into your space, making it uniquely yours.”
So play around but keep it cohesive—your future self will thank you when your wall feels like a fresh spring breeze!
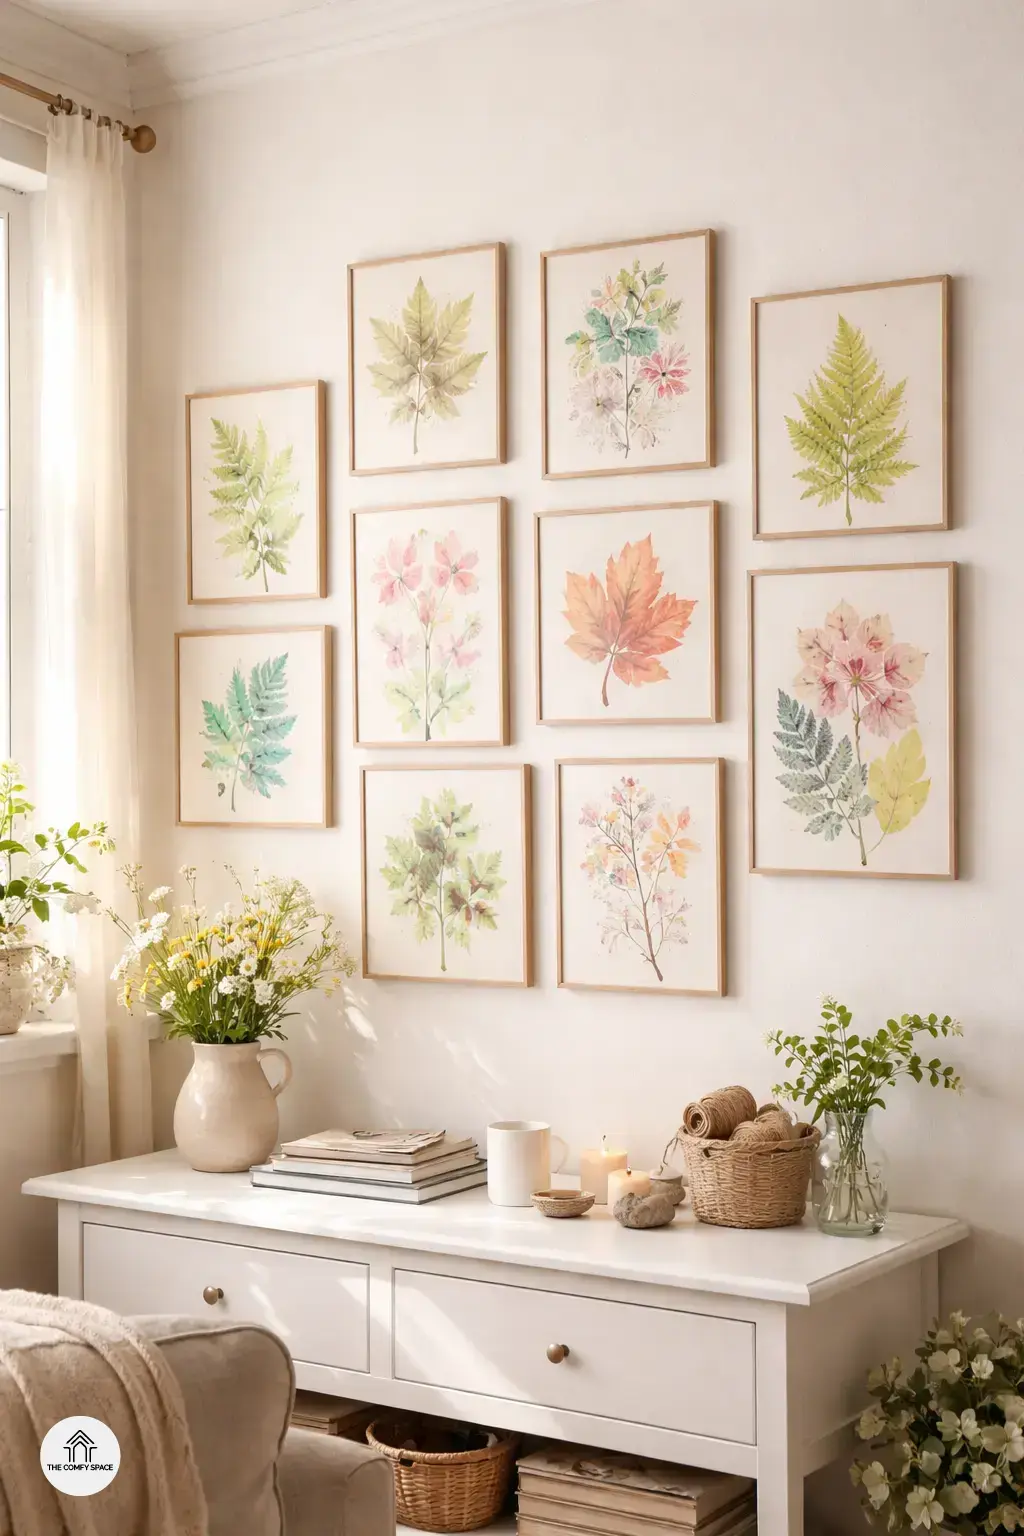
Easy DIY Botanical Prints
Creating easy DIY botanical prints is a fantastic way to bring a bit of nature’s charm right into your home. Using leaves and flowers to create prints gives you endless possibilities—each one unique! All you need are some basic materials like paint, paper, and your gathered greenery. I remember my first try ended up with a giant paint blob instead of a leaf shape, but honestly, those smudges made the piece feel more personal and fun. A little mess never hurt anyone, and it’s part of the charm!
Don’t be afraid to experiment with colors and layering. Try pressing different leaves to see the delicate veins pop or mixing colors to brighten your prints. As design guru Emily Larson says,
“Embrace the imperfections; they’re what make handcrafted art truly yours.”
Plus, you’ll learn a ton through these fun trials which is the best reward. Grab your paint and go make some happy accidents!
Fun with Mixed Media: Combining Textures
Combining different textures like fabric, paper, and natural elements adds a lively touch to your spring gallery wall. Mixing materials creates depth and interest in your DIY art, making each piece stand out. I remember my first go at using fabric glue—it was a sticky mess, almost like the art was fighting back! But that trial taught me to prep my surfaces and let glue dry slowly for better results.
Layering textures is like giving your art a playful personality. It draws the eye and makes your space feel warm and inviting. As interior designer Sarah Lee puts it,
“Texture is the secret sauce that makes any room come alive.”
So, don’t be shy—experiment with layering and watch your wall spring to life with handcrafted charm.
Arranging Your Spring Gallery Wall
Arranging your spring gallery wall doesn’t have to be a stress-fest. Instead of obsessing over perfection—which, let’s be honest, can kill the fun—try planning your layout with a flexible mindset. Use simple household items like a ruler, a string, or even a piece of painter’s tape to measure and space your artwork evenly. This easy hack helps keep things balanced without pulling out all the fancy tools. “Sometimes, the charm lies in the imperfections,” interior designer Sara Mills says, reminding us to embrace the quirky.
Now, about hanging mishaps—oh, been there! If you end up with a nail hole in the wrong spot (or three), don’t freak out. Use some wall putty or a tiny dab of paint to touch it up later. It’s part of the DIY journey! Think of it as your wall telling the story of your handmade adventure. Just laugh, adjust, and carry on—your spring gallery wall will brighten your space and your mood.